How to Configure Signature Appearance
TurboSign stamps each signed field onto the finished PDF with a thin outline, a small label, and a verification hash. It also decides how locked fields — read-only values imported onto a document that the signer can't change — appear while someone is signing. You can control all of this for your whole organization from one settings screen.
This guide shows you how to find and change the Signature Appearance and Locked Fields Rendering options.
Signature Appearance — how each signed field looks on the finished PDF:
- Show signature outline and label — the thin border and caption drawn around each signed field on the PDF.
- Show verification hash — the short verification code printed beneath a signature.
Locked Fields Rendering — how locked (read-only) fields look to the signer in the signing portal:
- Show locked fields with grey background — draw each locked field as a grey box, or, when turned off, render its value as plain document text (and hide blank locked fields entirely) for a cleaner page.
All three are on by default, so your documents look the same until you change them. These settings apply to every new signature request in your organization.
Step 1: Open the account menu
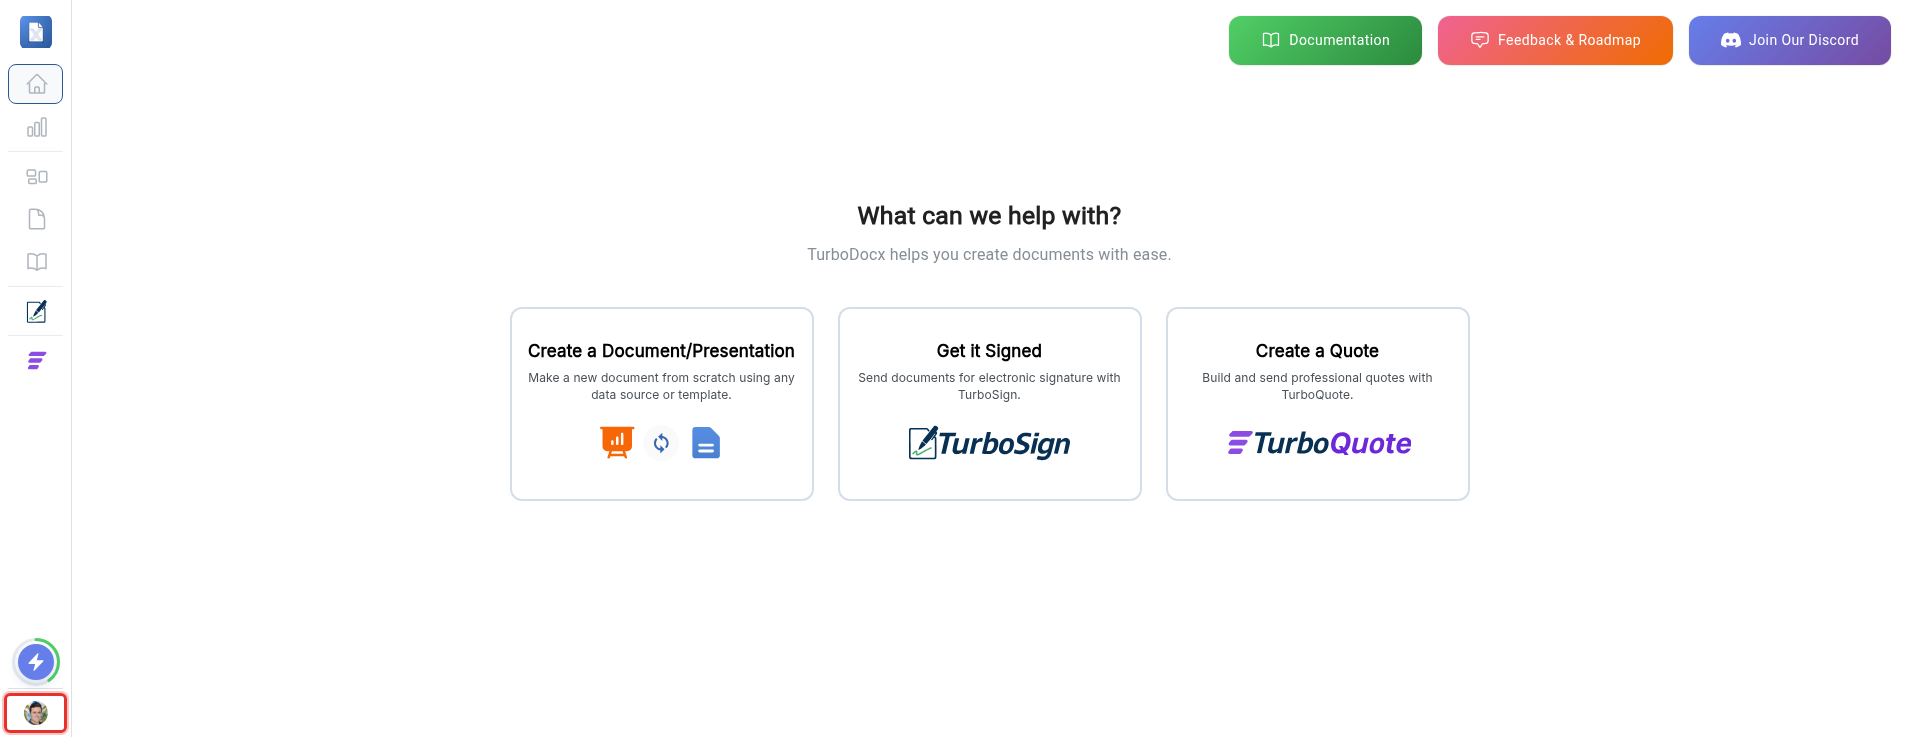
In the left sidebar, click your account avatar at the bottom.
Step 2: Open Settings
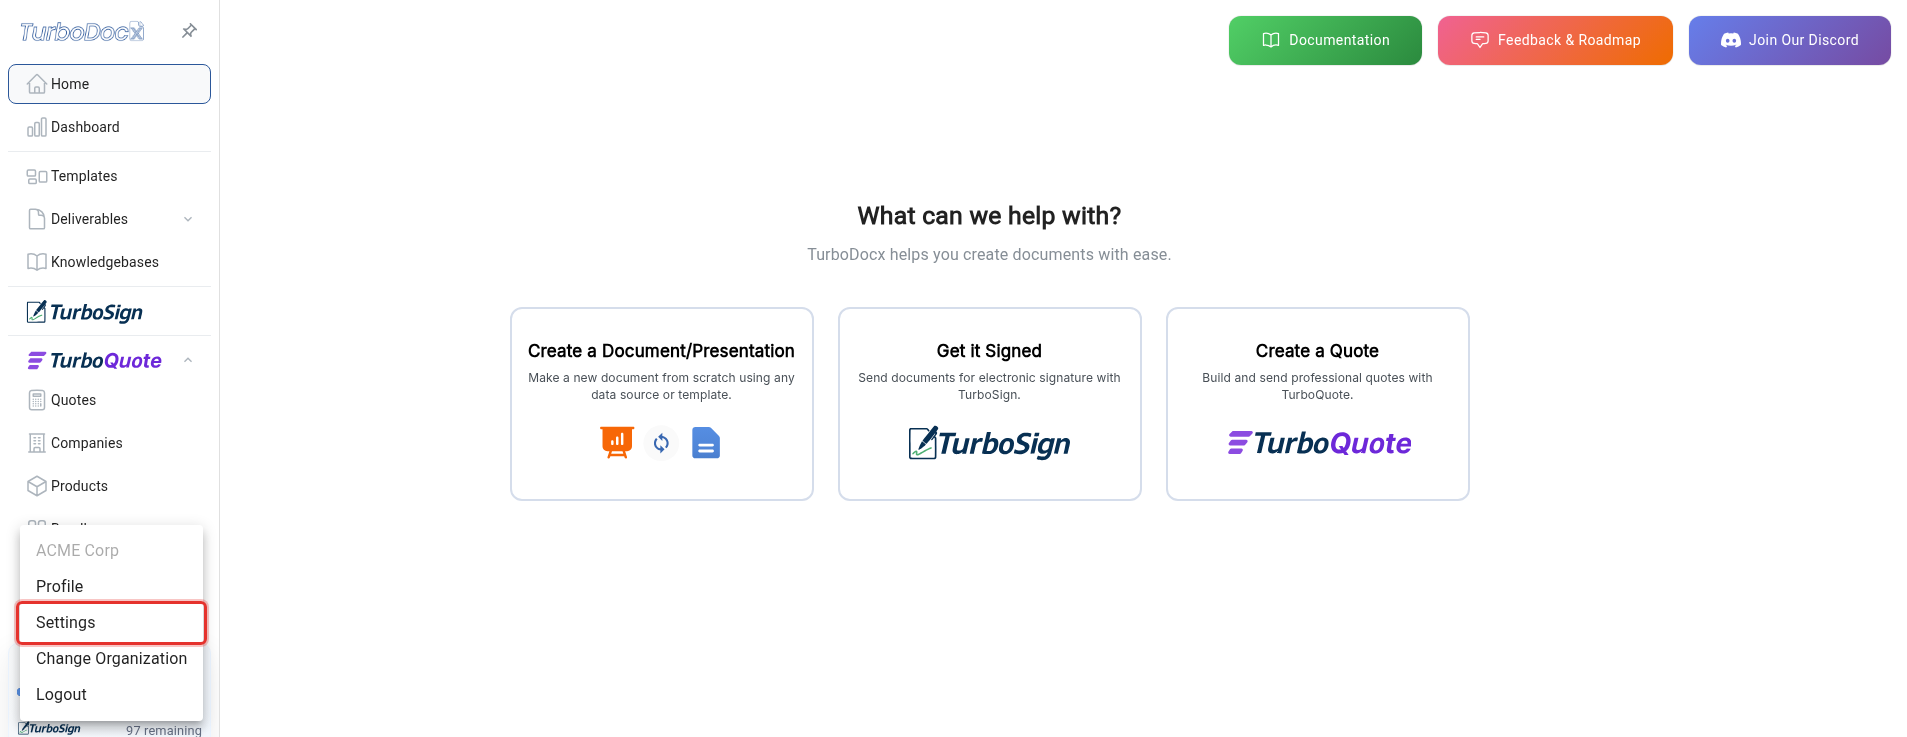
In the menu that appears, click Settings.
Step 3: Go to Organization Settings
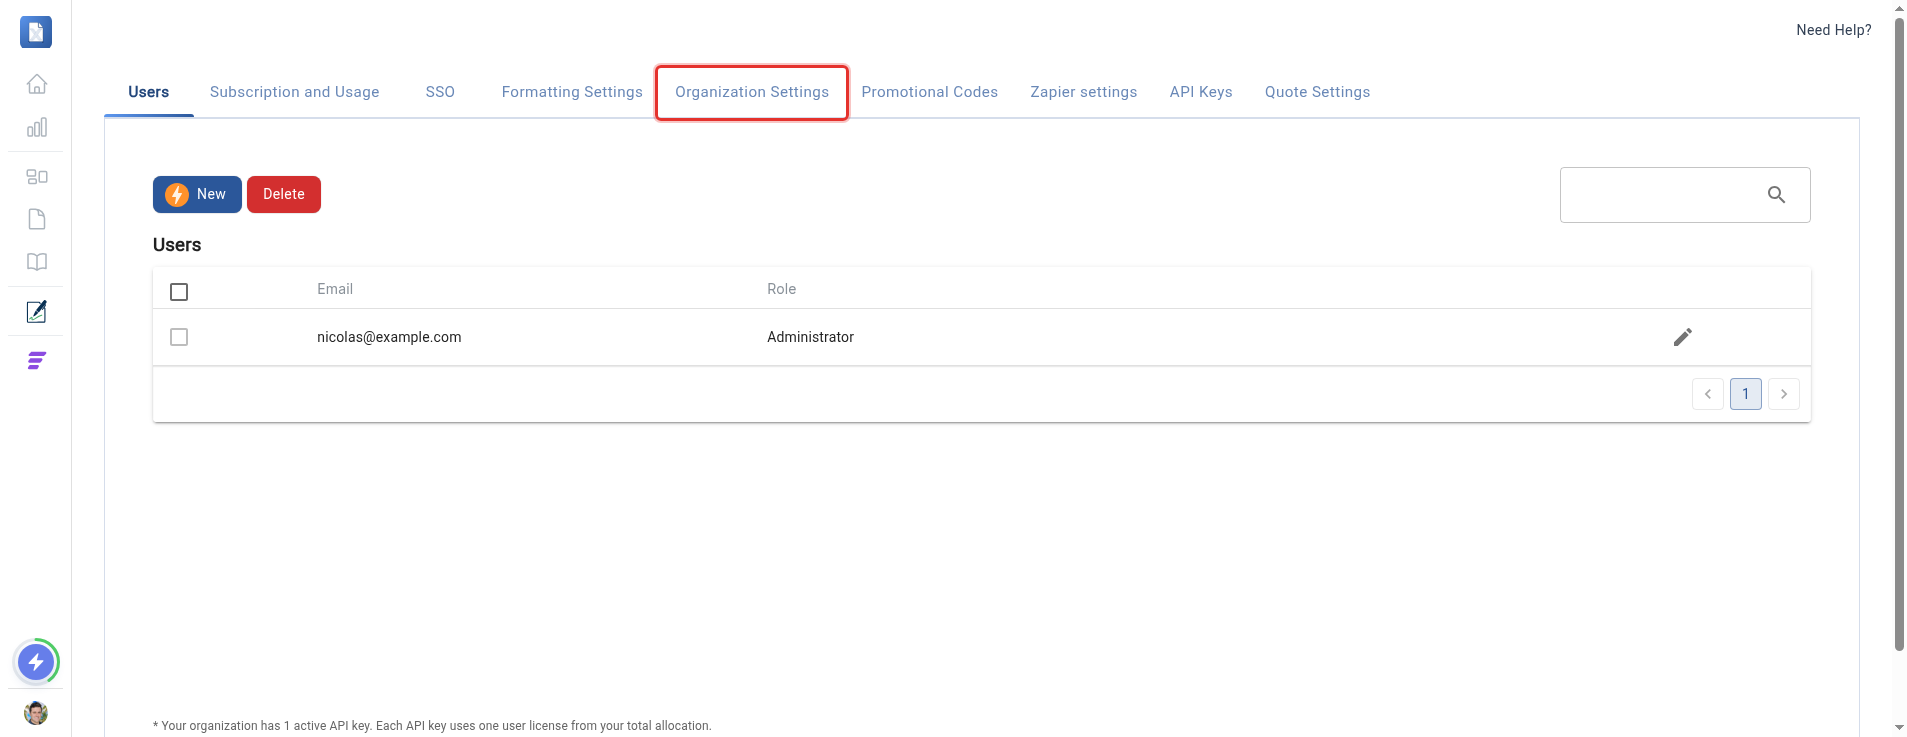
At the top of the Settings page, click the Organization Settings tab.
Step 4: Open E-Signature settings
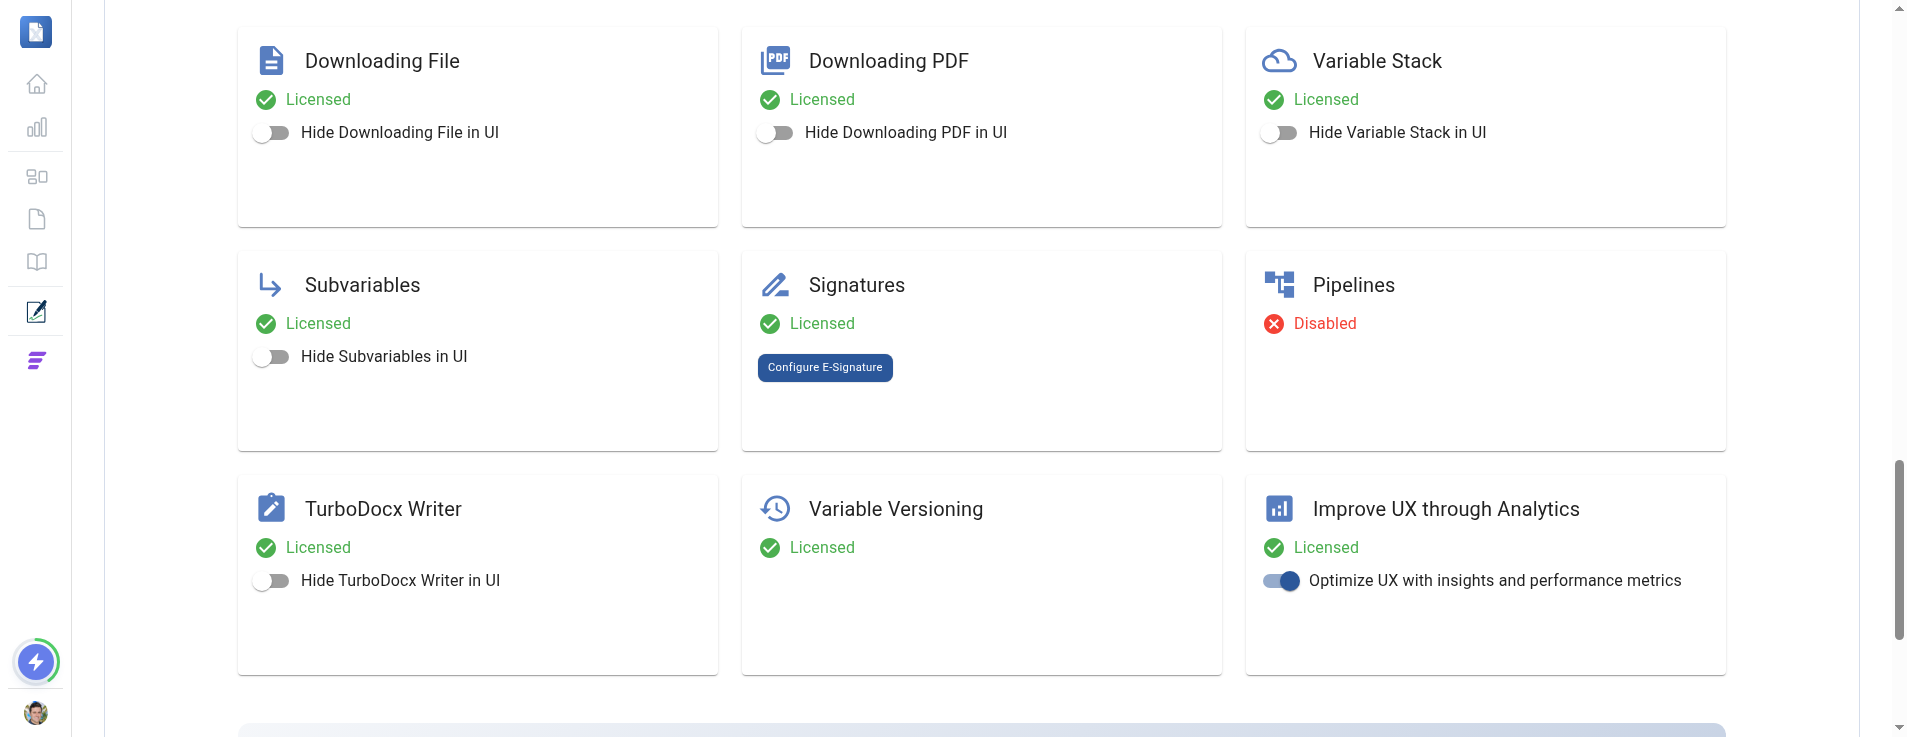
Scroll to the Signatures card under Core Features and click Configure E-Signature.
Step 5: Set the signature appearance options
In the E-Signature Settings dialog, find the Signature Appearance section. Use the two switches to turn each option on or off:
- Show signature outline and label
- Show verification hash
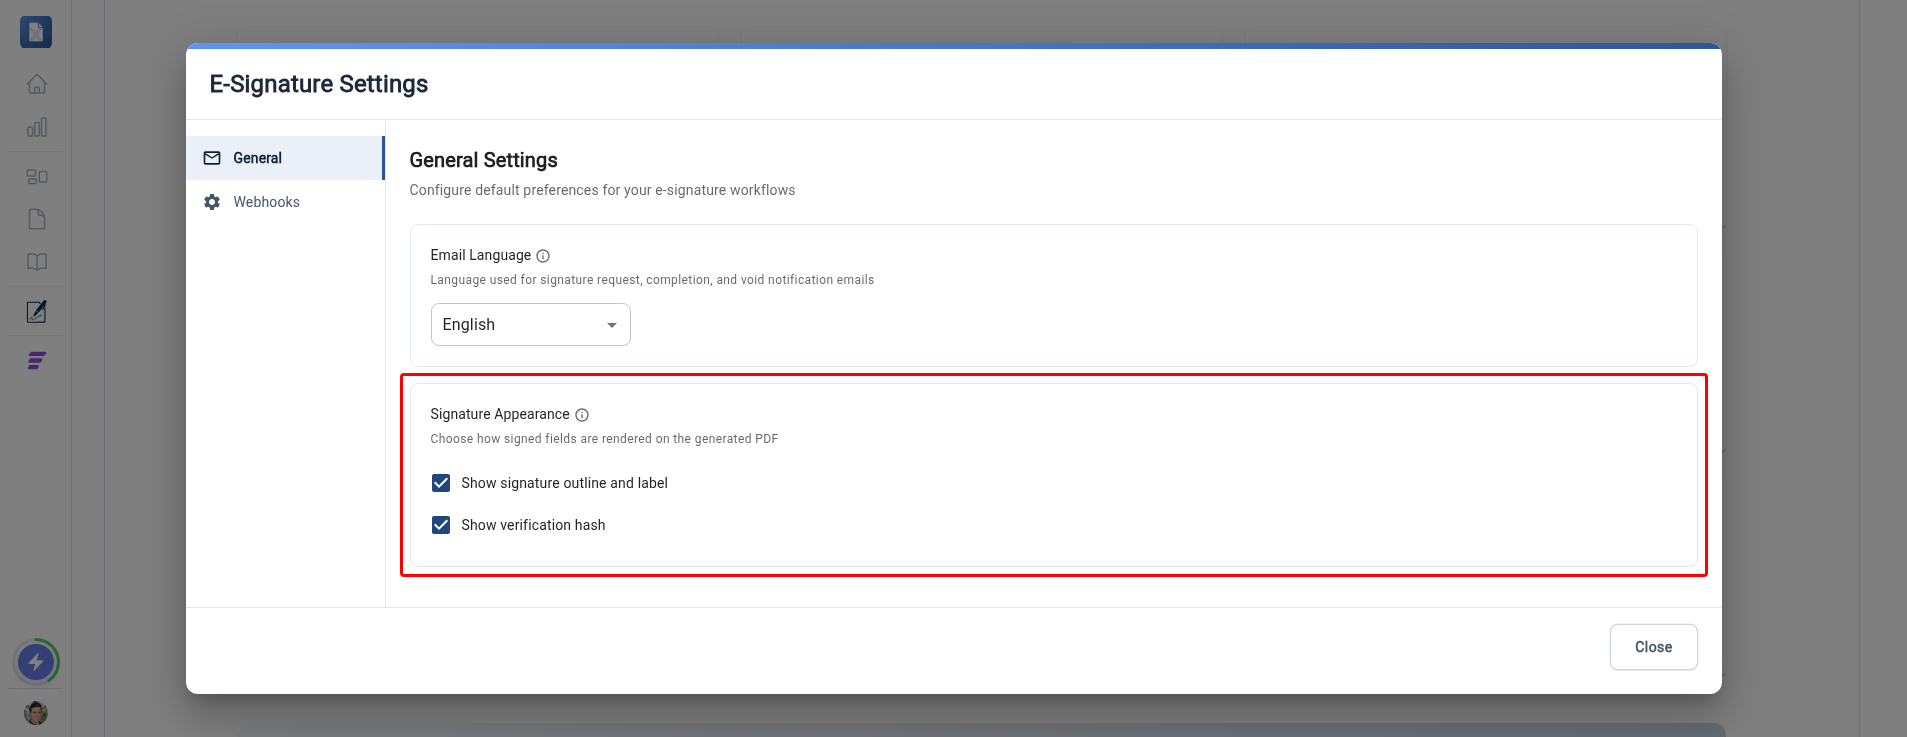
Your choice is saved for the organization and applies to future signature requests.
Step 6: Choose how locked fields appear
In the same E-Signature Settings dialog, find the Locked Fields Rendering section below the appearance options.
- Leave Show locked fields with grey background on (the default) to keep drawing each locked field as a grey box.
- Turn it off to render locked values as plain document text instead. Blank locked fields are then hidden completely, which keeps the page clean and stops an empty box from sitting over the text beneath it.
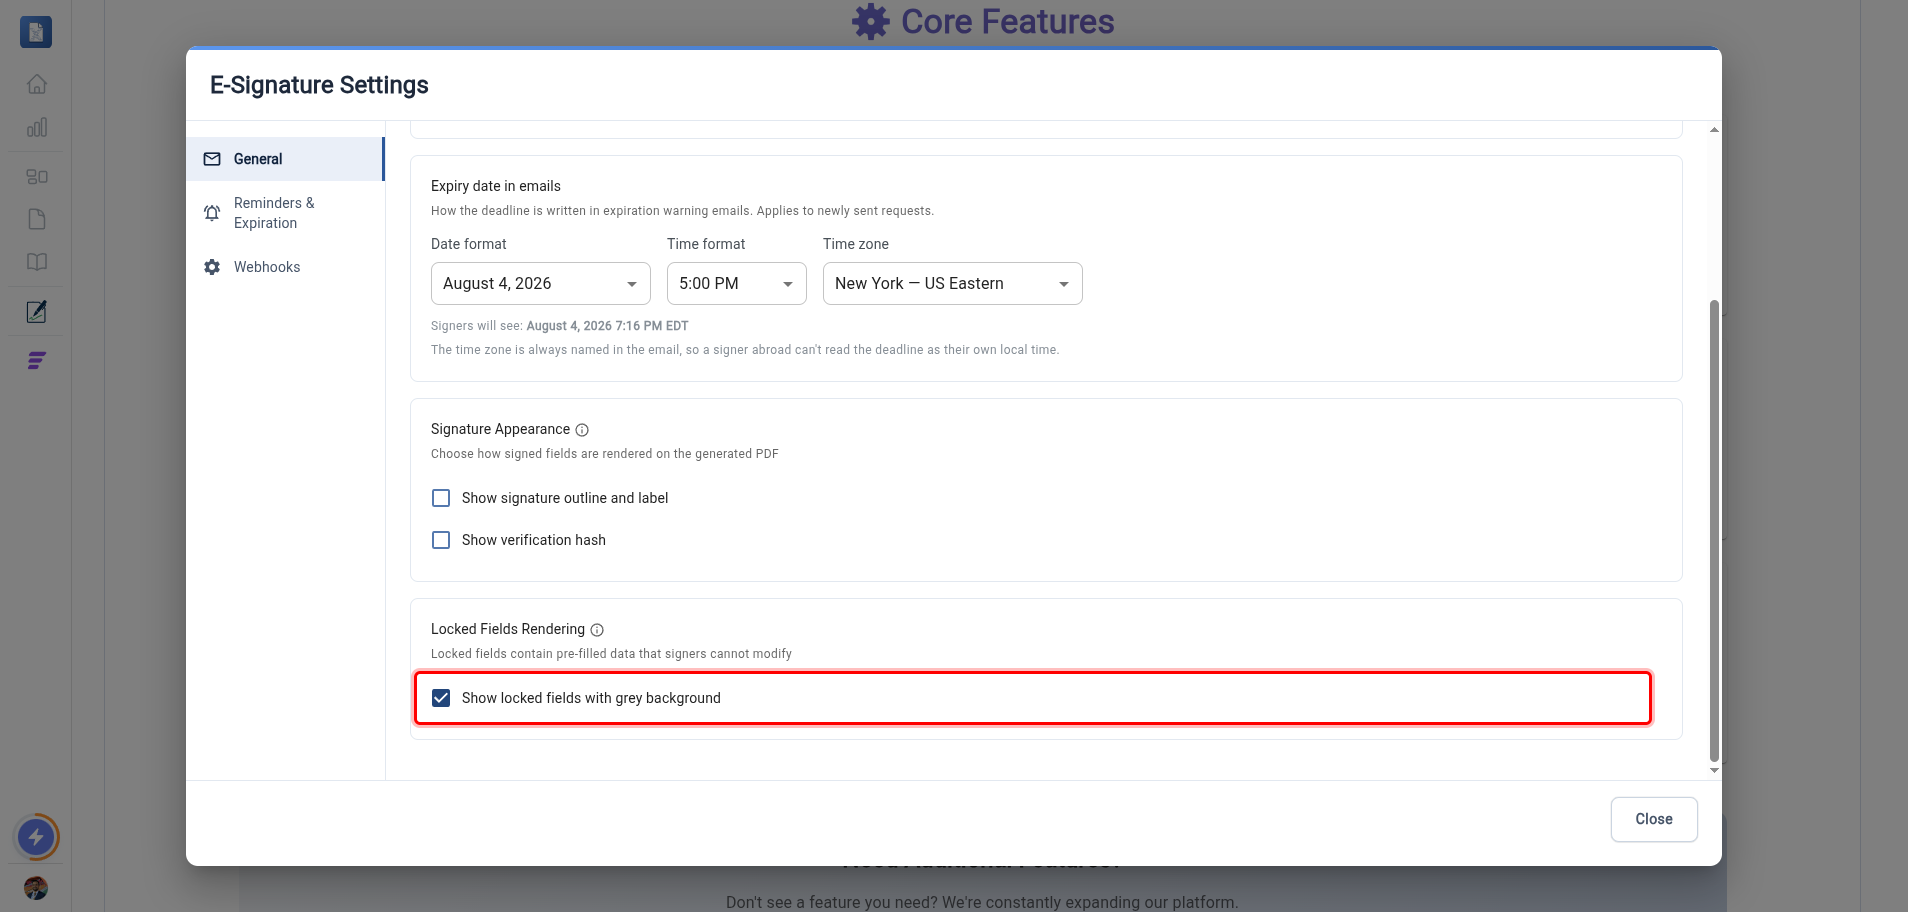
This setting changes what signers see in the signing portal; it does not change the signature stamp on the finished PDF.
Turning the two Signature Appearance options off gives a cleaner, minimal signature stamp — useful when you want the signature to blend into a formal document layout. Turning Show locked fields with grey background off similarly declutters the signing page for the recipient. Signed PDFs still carry their full audit trail either way.