Setting Up a Wrike Automation
This guide walks you through connecting your Wrike account to TurboDocx and creating an automation with a trigger status and monitored folder. Once complete, you'll configure the automation's action in a follow-up guide.
Prerequisites
Before starting, make sure you have:
- A Wrike API access token (see Get Your Wrike Access Token below)
- A template in TurboDocx ready for document generation (see How to Create a Template)
- The Wrike folder permalink for the folder you want to monitor
Get Your Wrike Access Token
- Log into Wrike
- Go to Settings > Apps & Integrations > API
- Create a new permanent access token or use an existing one
- Copy the token — you'll paste it in the next section
For detailed instructions, see Wrike's official API documentation.
Connect Wrike to TurboDocx
Step 1: Open Wrike Integration Configuration
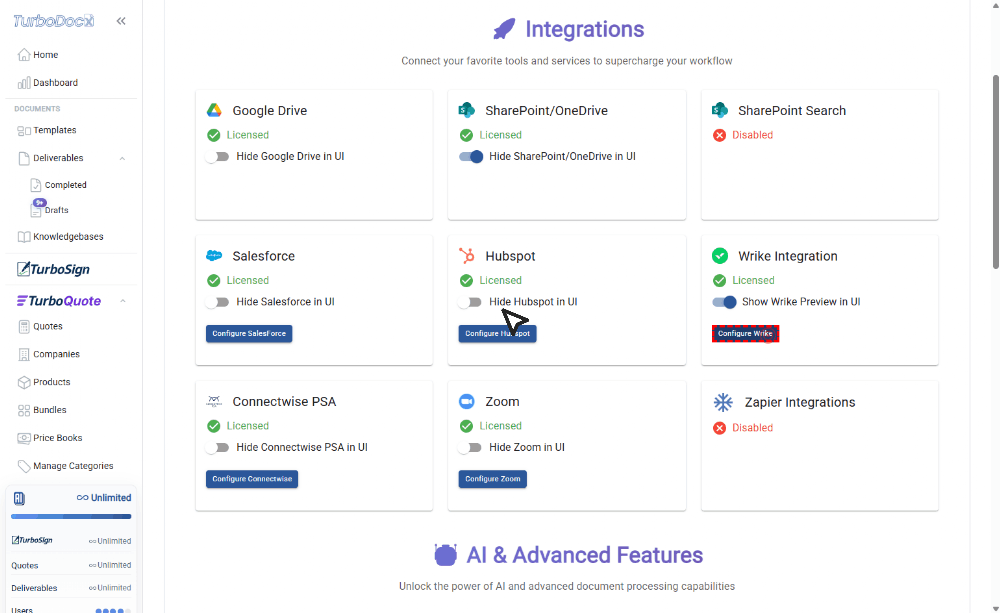
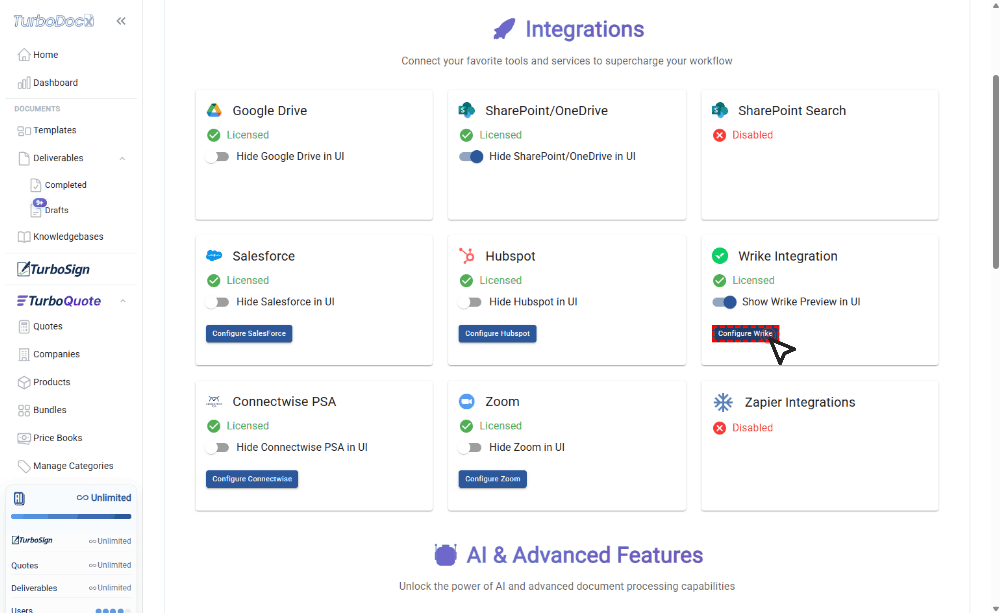
Navigate to the Integrations page within TurboDocx. Locate the Wrike Integration card and click the Configure Wrike button to open the configuration panel.
Step 2: Enter Your Wrike API Key
See Wrike's API documentation for how to generate a permanent access token.
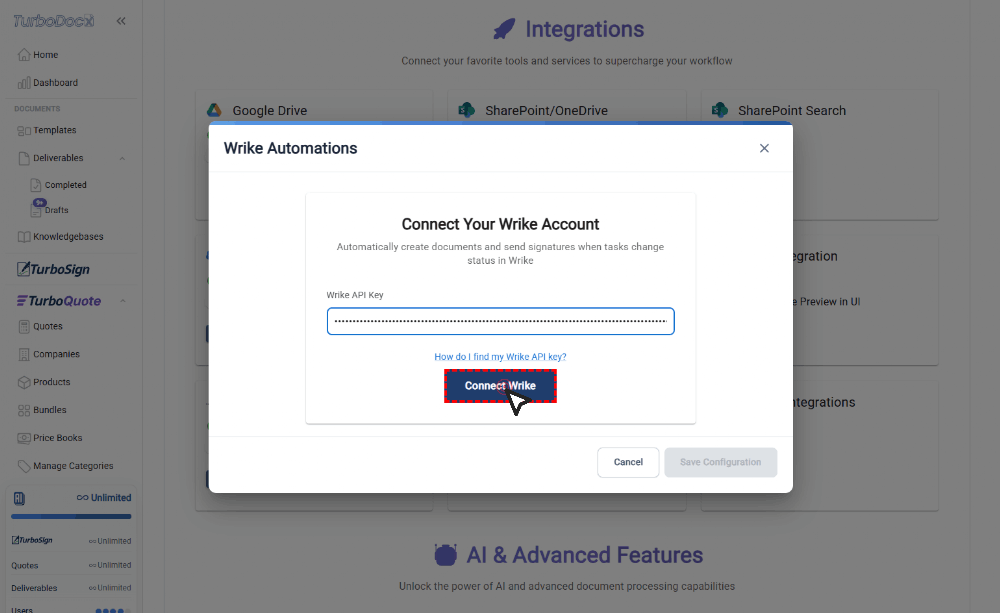
In the Wrike Automations connection dialog, locate the Enter your Wrike API key text input field. Click inside the field and paste your Wrike API access token.
Step 3: Connect Your Wrike Account
Click the Connect Wrike button to validate your API key and establish the connection between Wrike and TurboDocx.

Create Your First Automation
Step 4: Start Creating an Automation
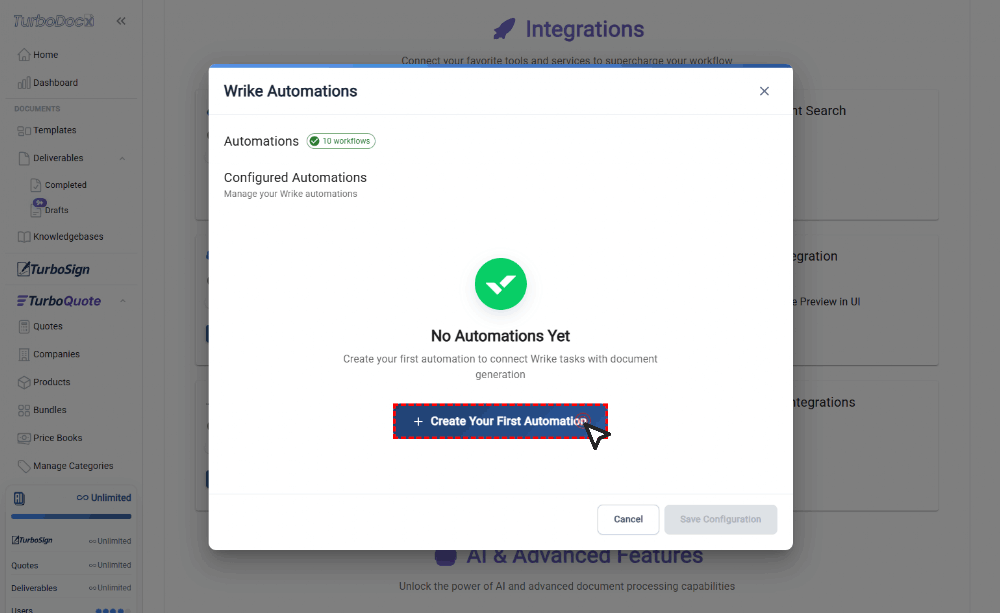
Click the + Create Your First Automation button in the Wrike Automations popup to begin setting up a new automation workflow.
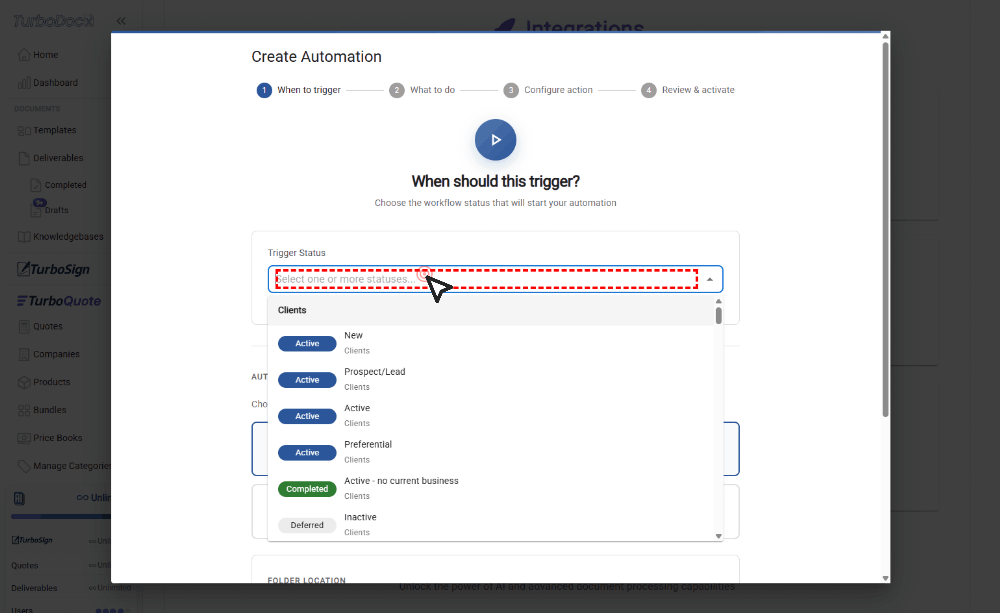
Step 5: Select a Trigger Status
Click on the Select one or more statuses... input field inside the Trigger Status dropdown. Select one or more workflow statuses that should trigger the automation.
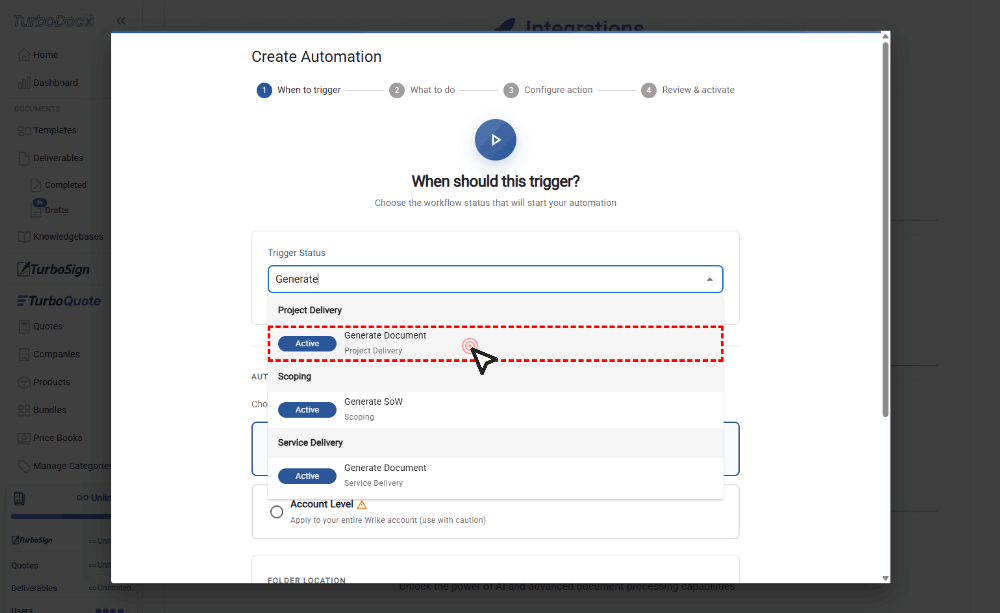
Step 6: Choose the Specific Trigger Status
In the Trigger Status dropdown list, click the status option you want to use as the trigger (e.g., Generate Document – Project Delivery).
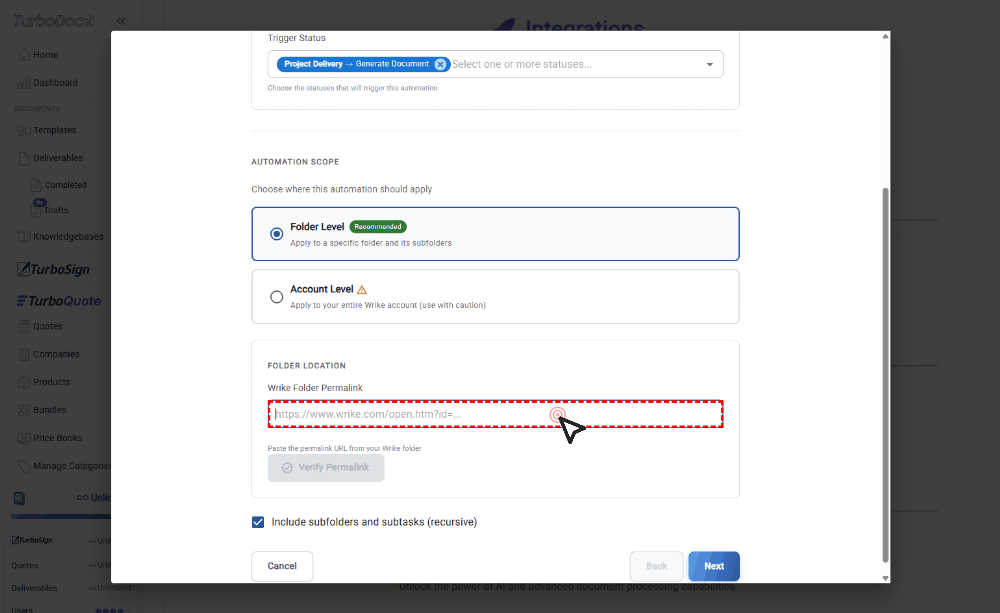
Step 7: Enter the Wrike Folder Permalink
Click on the Wrike Folder Permalink text box in the Folder Location section. Paste or type the Wrike folder URL that this automation should monitor.
In Wrike, right-click on the folder or project you want to monitor and select Copy Link. The URL will look like: https://www.wrike.com/open.htm?id=1234567890
Step 8: Verify the Folder Permalink
Click the Verify Permalink button to validate that the provided Wrike folder URL is correct and accessible.
Step 9: Proceed to the Next Step
Click the Next button at the bottom-right corner of the setup modal to continue to action configuration.

What's Next?
After completing the base automation setup above, choose which type of automation to configure:
- How to Setup Document Generation Automation — automatically generate documents from a template when the trigger fires
- How to Setup E-Signature Automation — generate documents and send them for digital signature via TurboSign