How to Setup E-Signature Automation
After setting up your Wrike automation with a trigger status and folder, follow these steps to configure it to generate documents and automatically send them for e-signature.
Configure E-Signature Automation
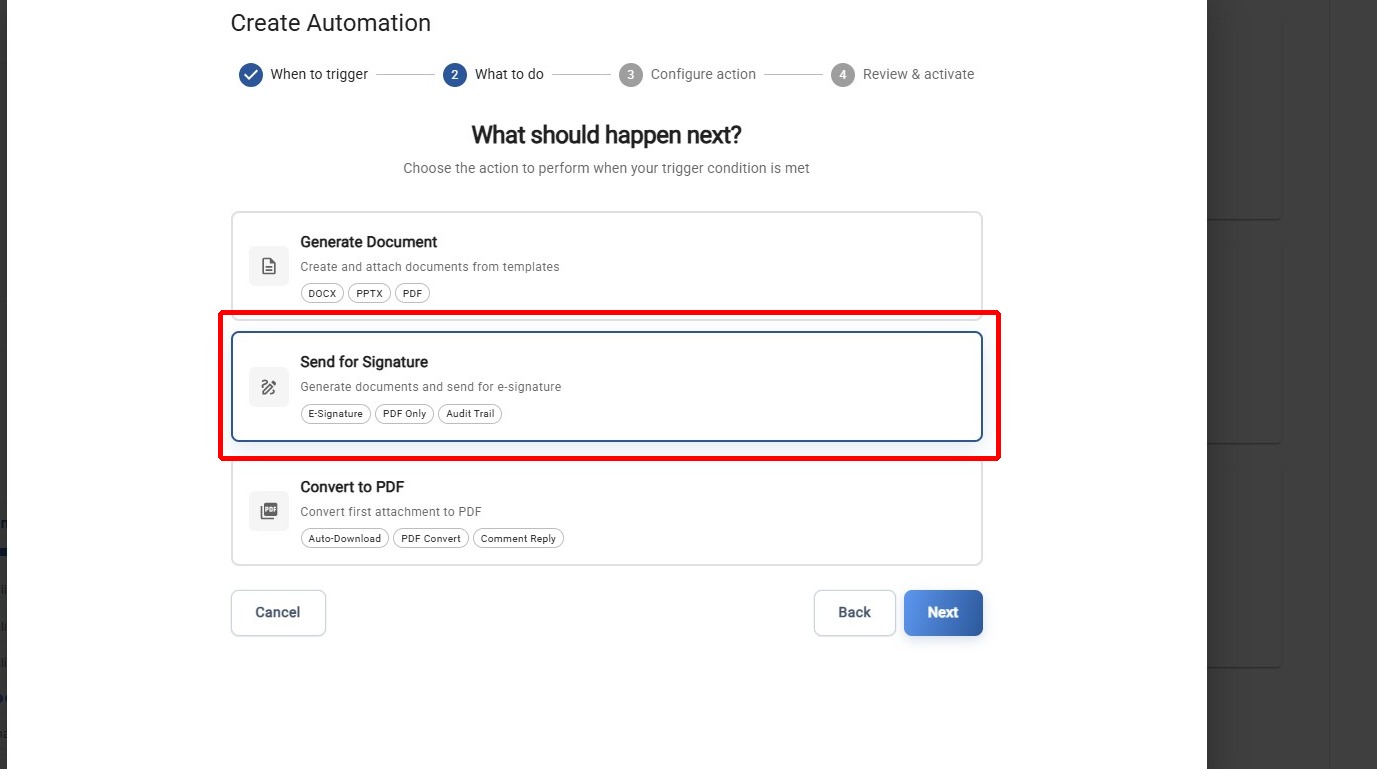
Step 1: Select Send for E-Signature
Click the Send for e-signature action card to select it as the automation action.
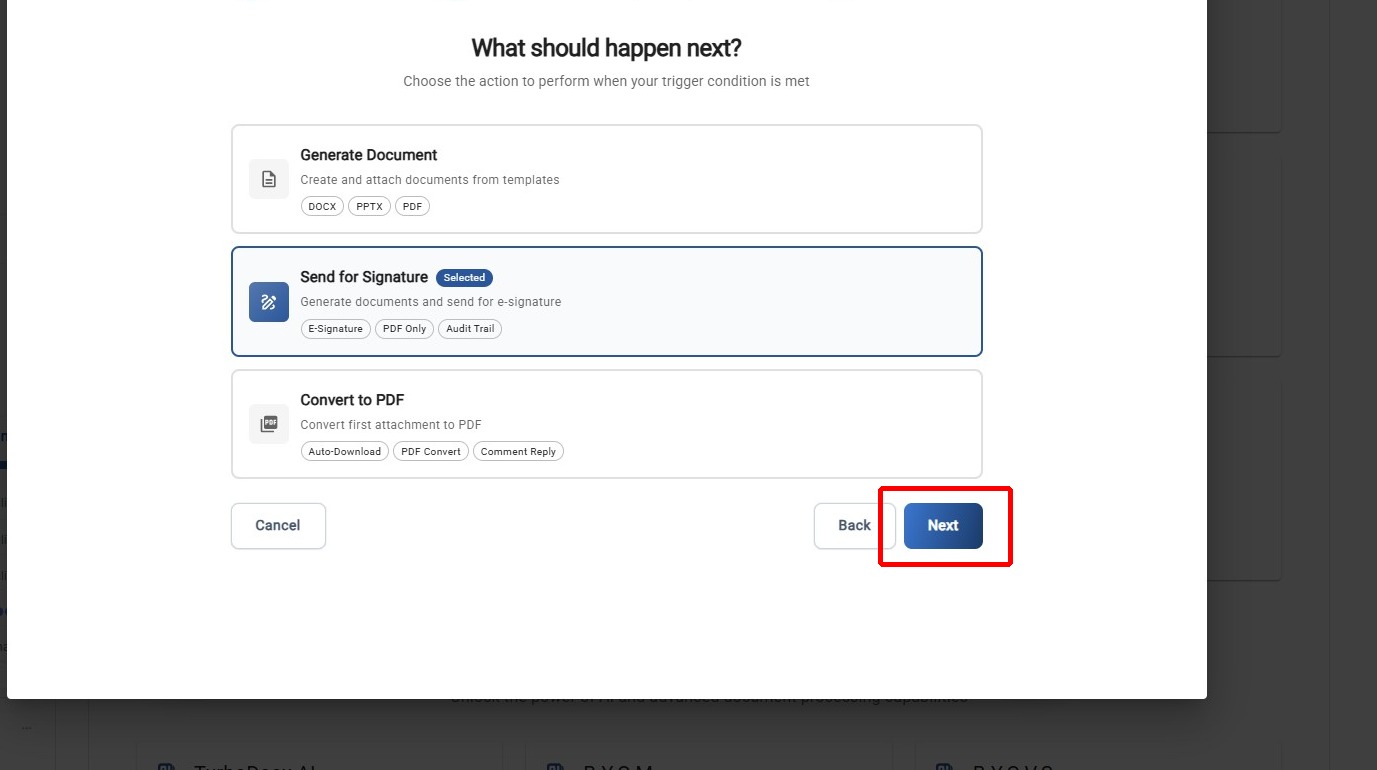
Step 2: Proceed to Signer Configuration
Click Next to continue to the signer configuration step.
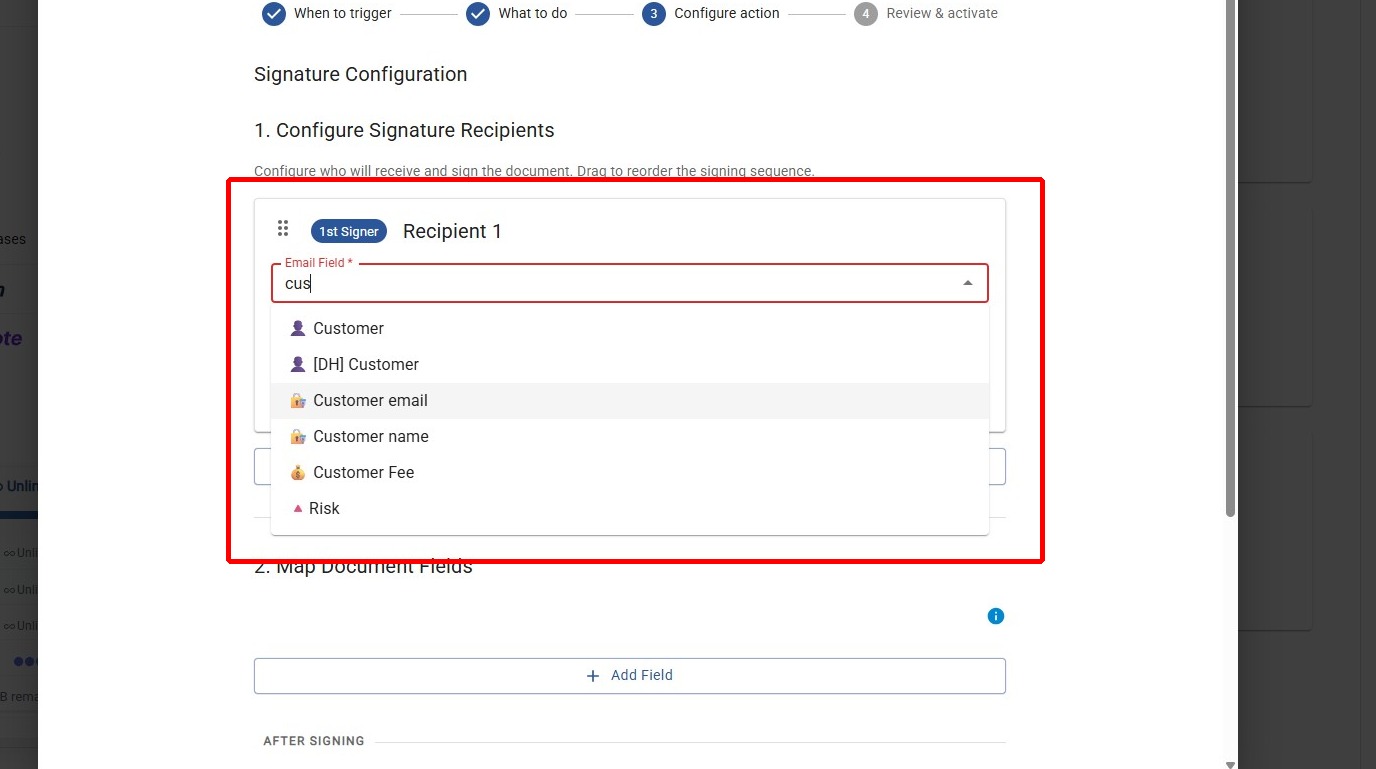
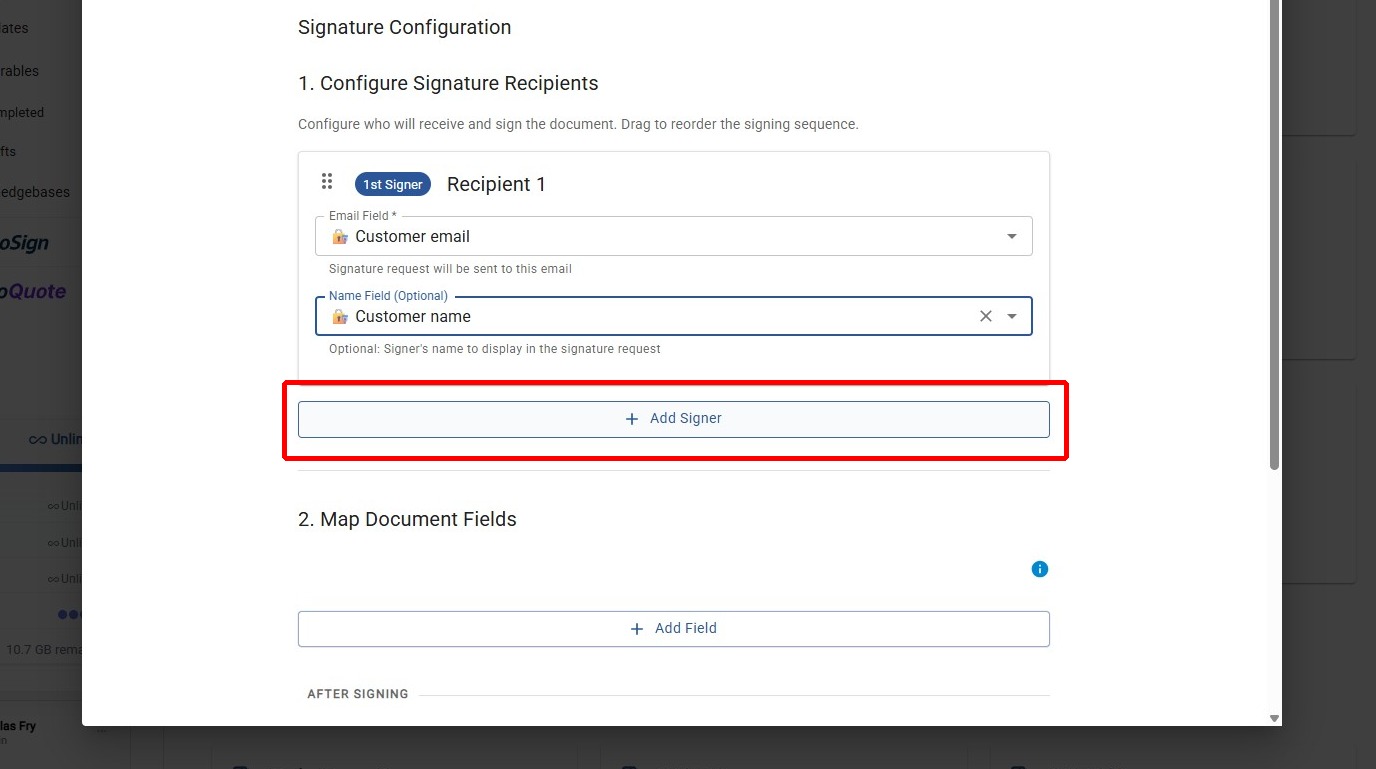
Configure Signers
Step 3: Select the First Recipient's Email Field
Select the Wrike field that contains the first recipient's email address. This field will be read from the Wrike task to determine who receives the signature request.
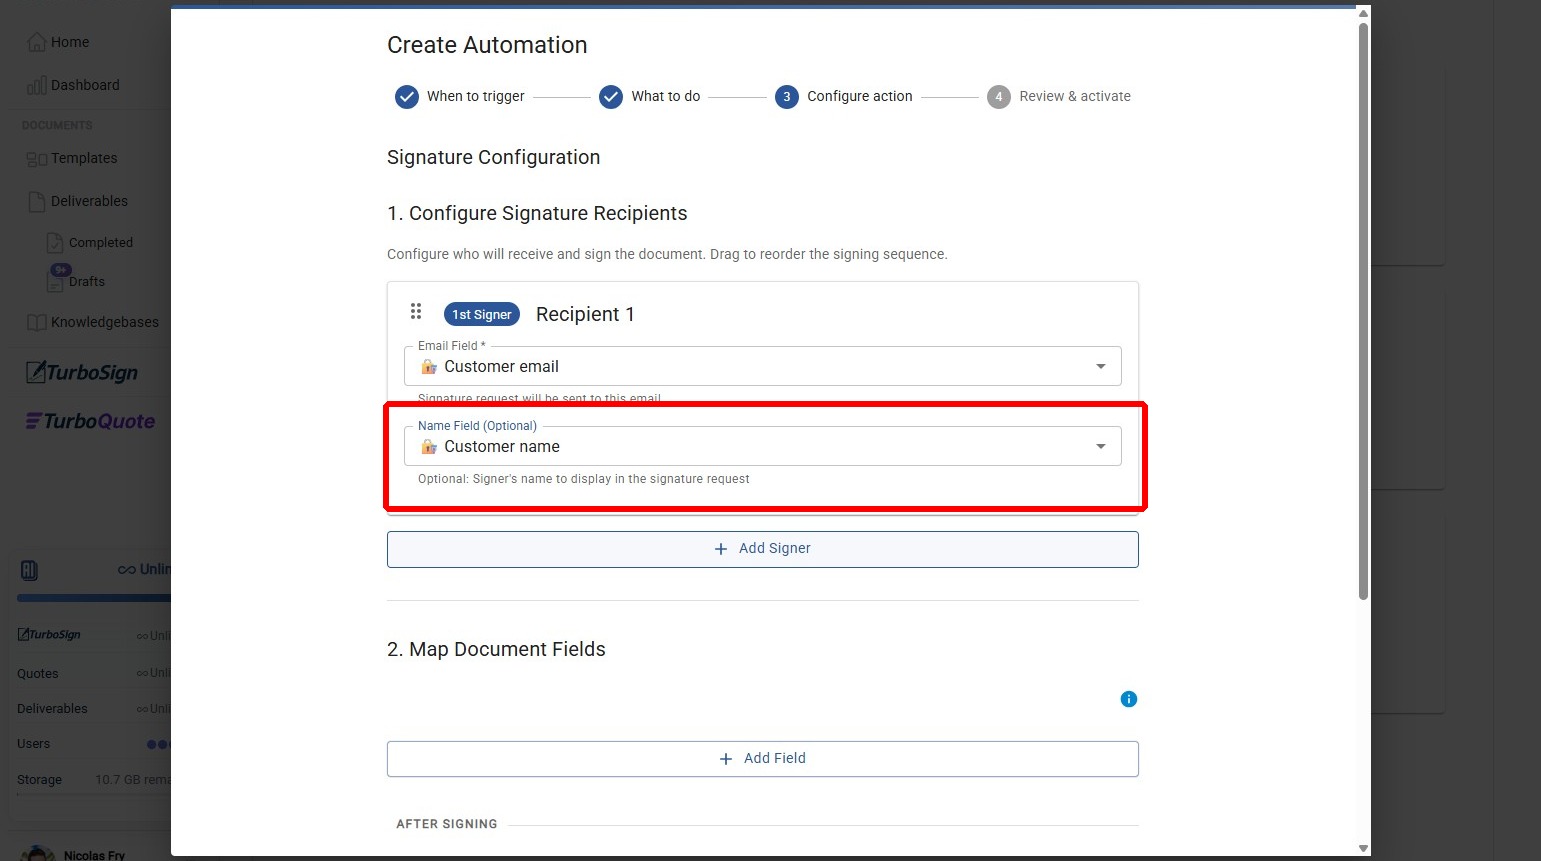
Step 4: Select the Recipient's Name Field (Optional)
Optionally, choose the field that represents the name of the recipient. This will be used in the signature request email.
Step 5: Add Additional Signers (Optional)
Optionally, add additional signers if your document requires multiple signatures.
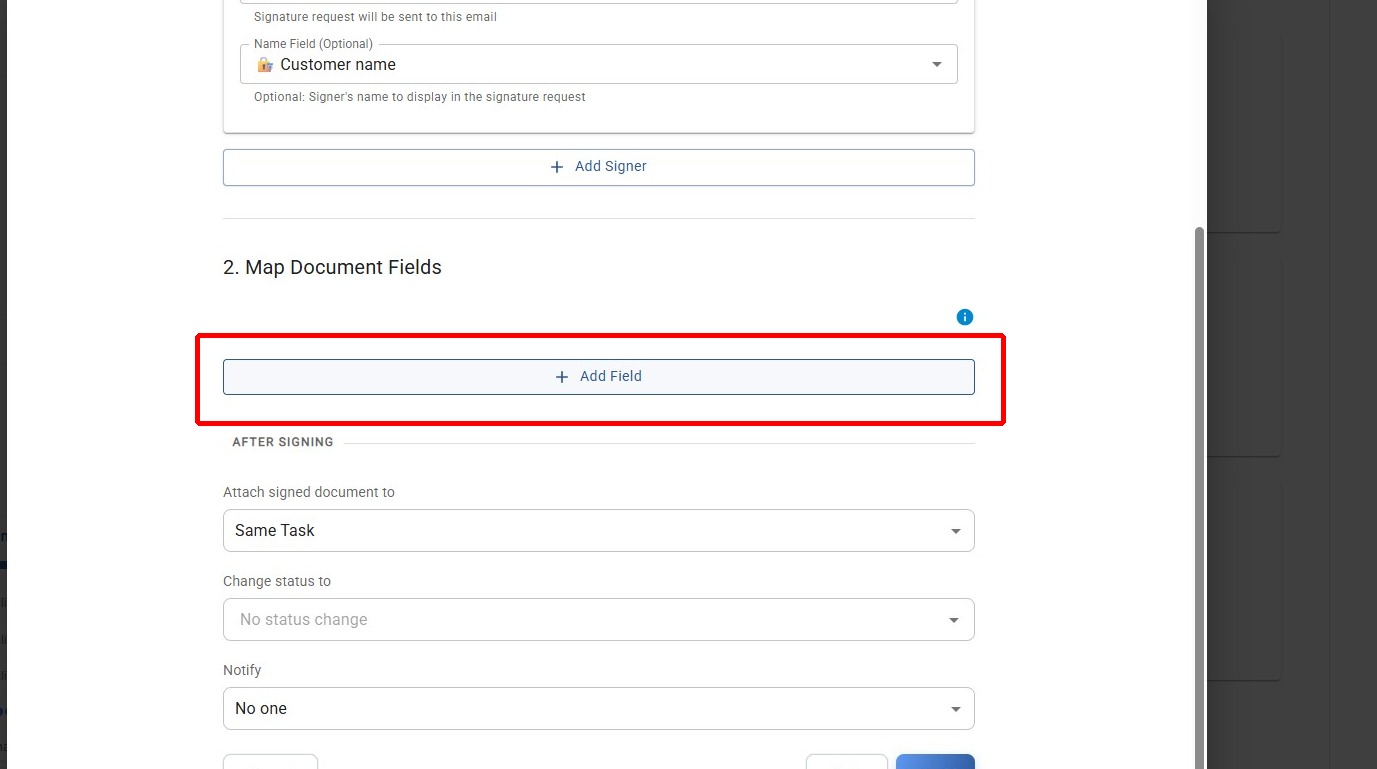
Map Document Fields
Step 6: Add a Document Field
Click Add Field to begin mapping document fields that the signer will need to fill out.
Step 7: Choose Document Fields
Click and choose the document field(s) that need to be completed by the signer.
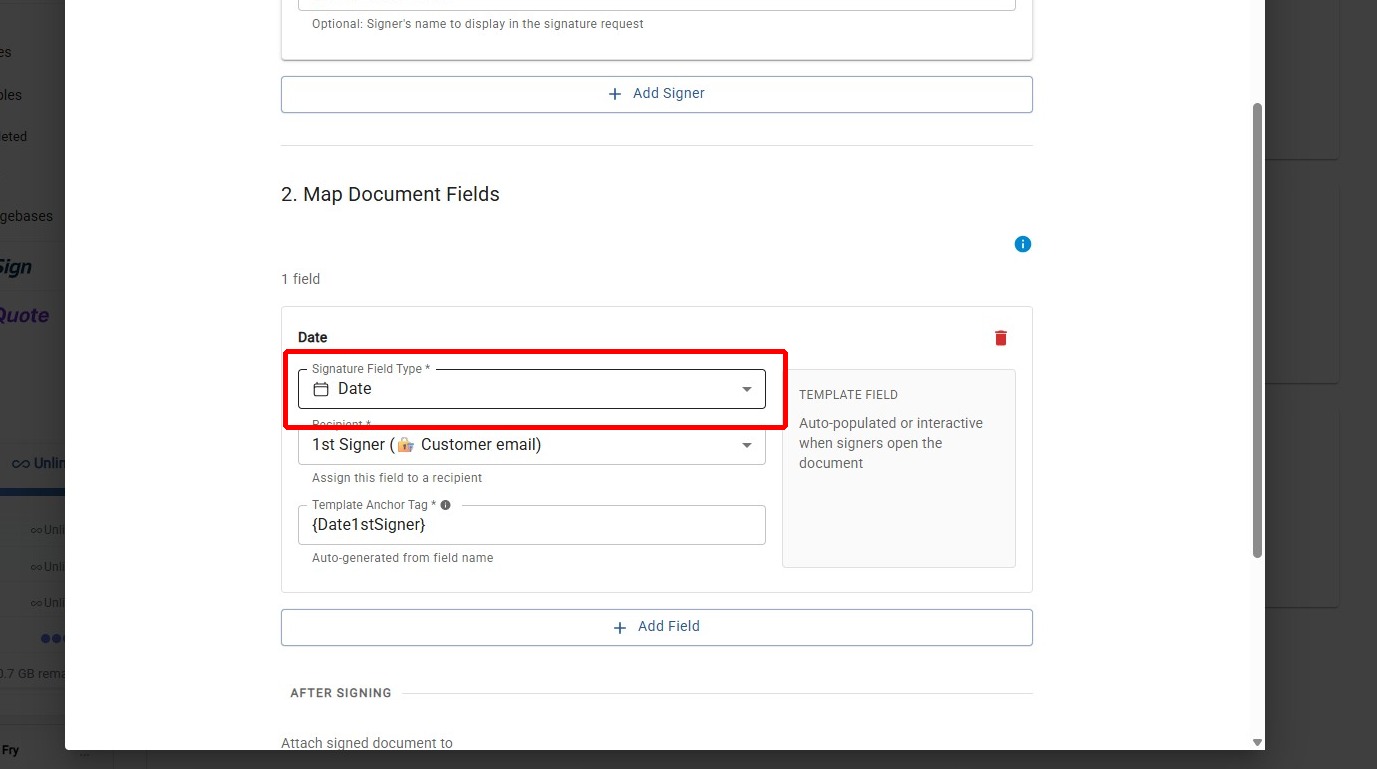
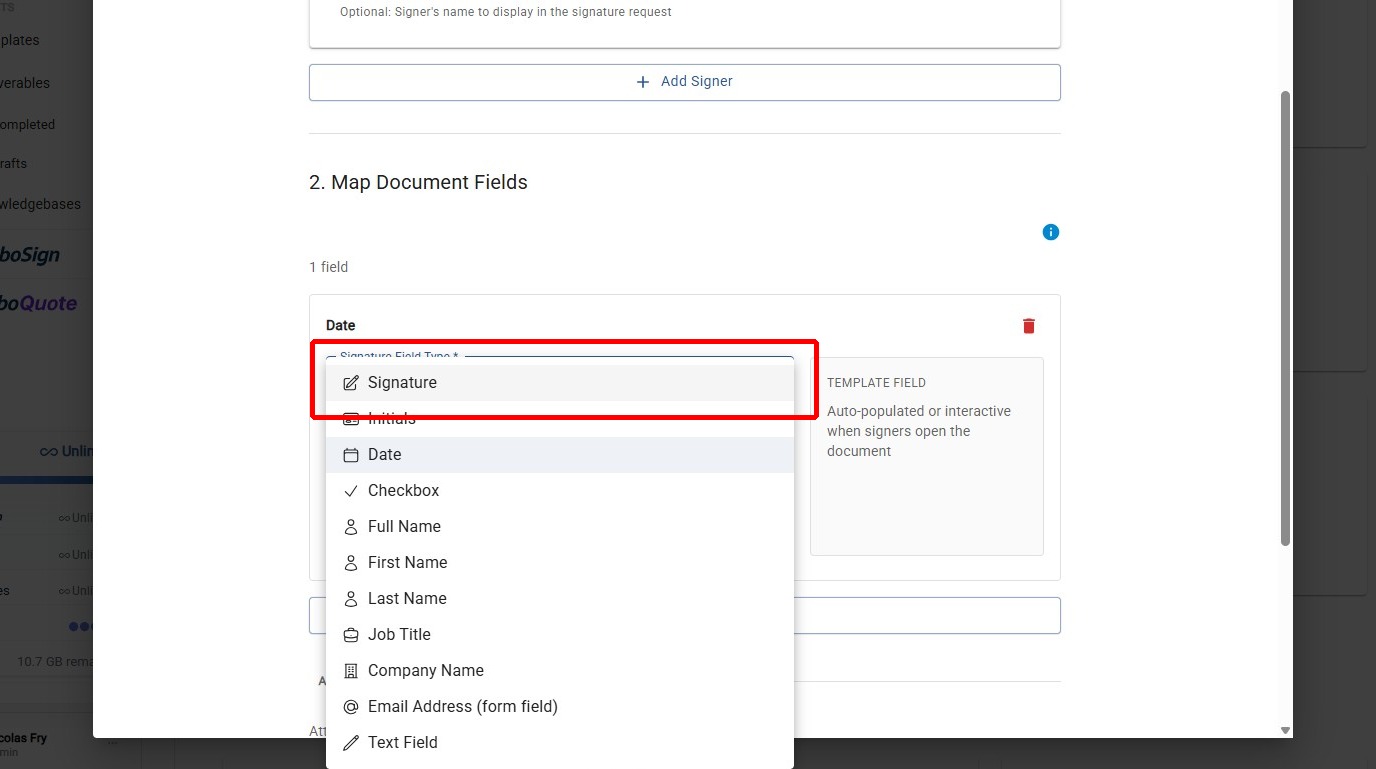
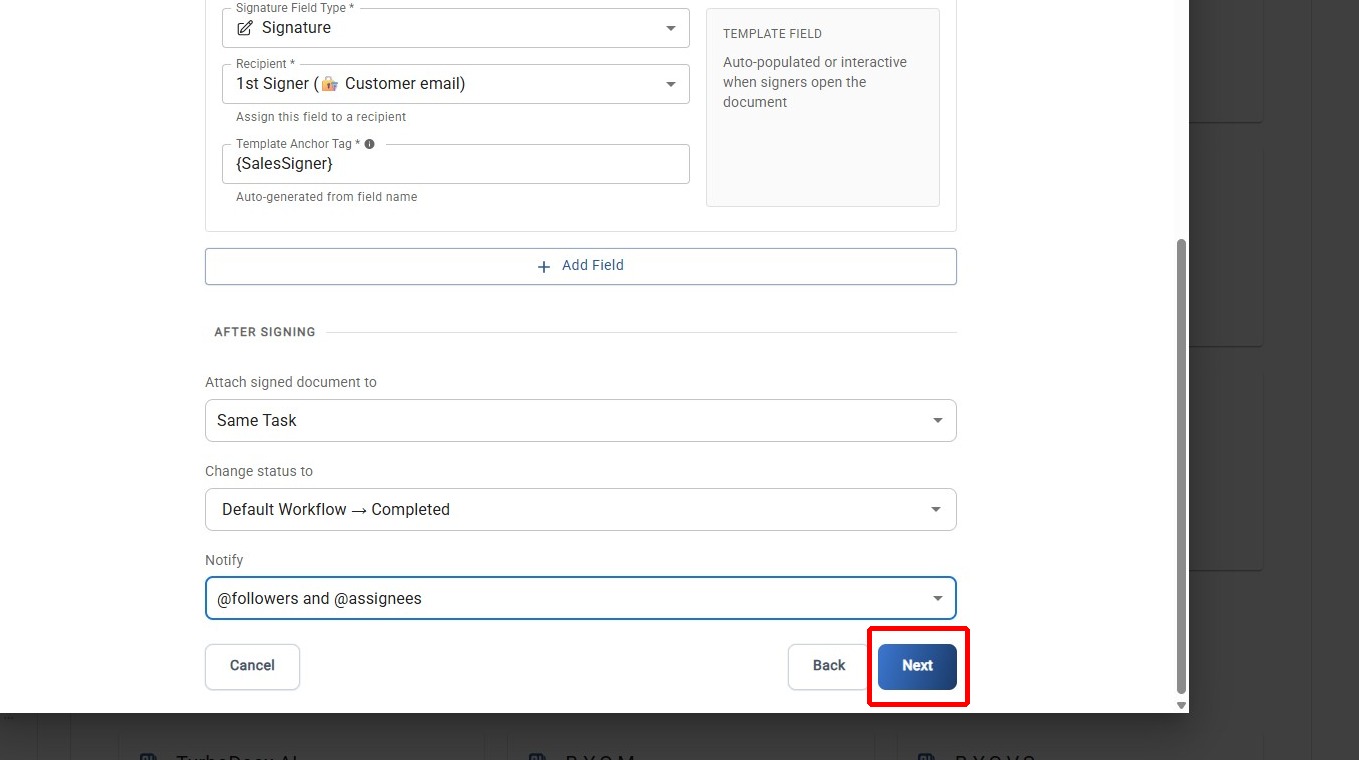
Step 8: Select the Field Type
Select the specific field type for the document field (e.g., signature, date, text).
Step 9: Set the Anchor Tag
Change the anchor tag to match the placeholder in your template (e.g., {SalesSigner}). This tells TurboSign where to place the field in the generated document.
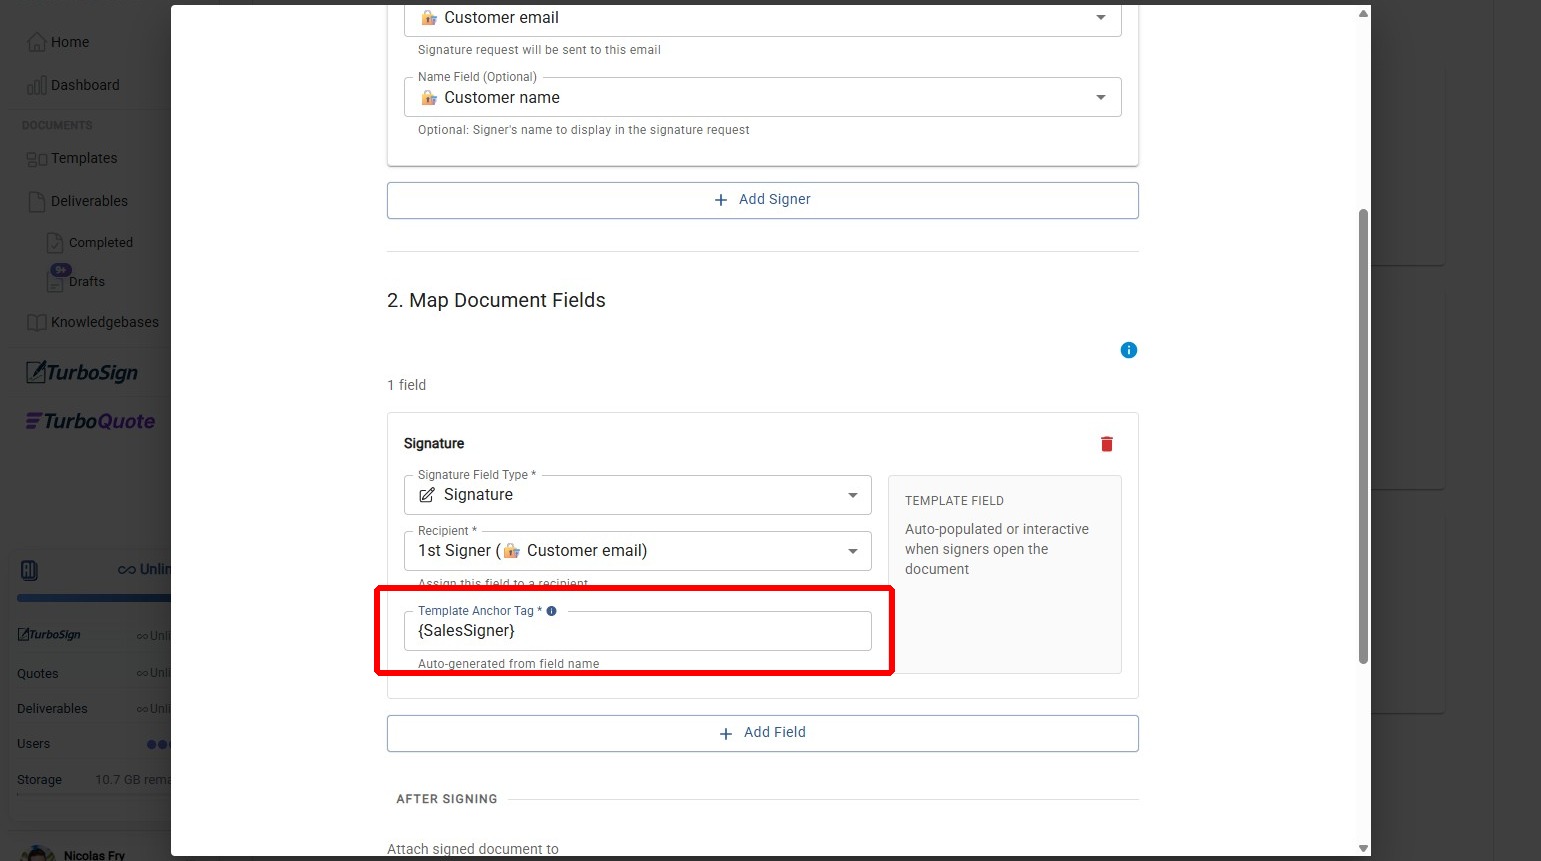
The anchor tag you set here must exactly match the corresponding variable in your document template. If they don't match, TurboSign won't be able to place the signature field. See How to Add Signature Anchors for how to configure these in your template.
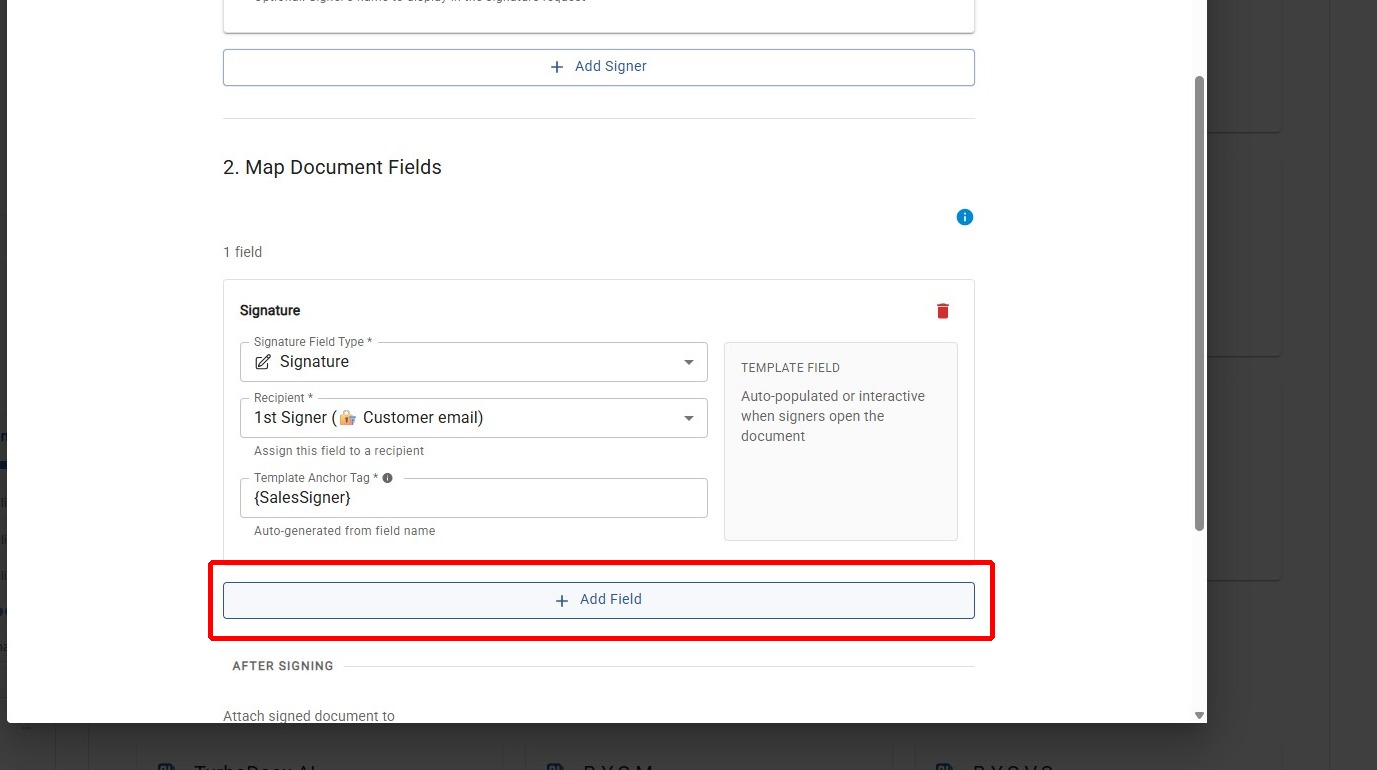
Step 10: Map Additional Document Fields (Optional)
Optionally, repeat the process to map more document fields for the signer.
Post-Signature Settings
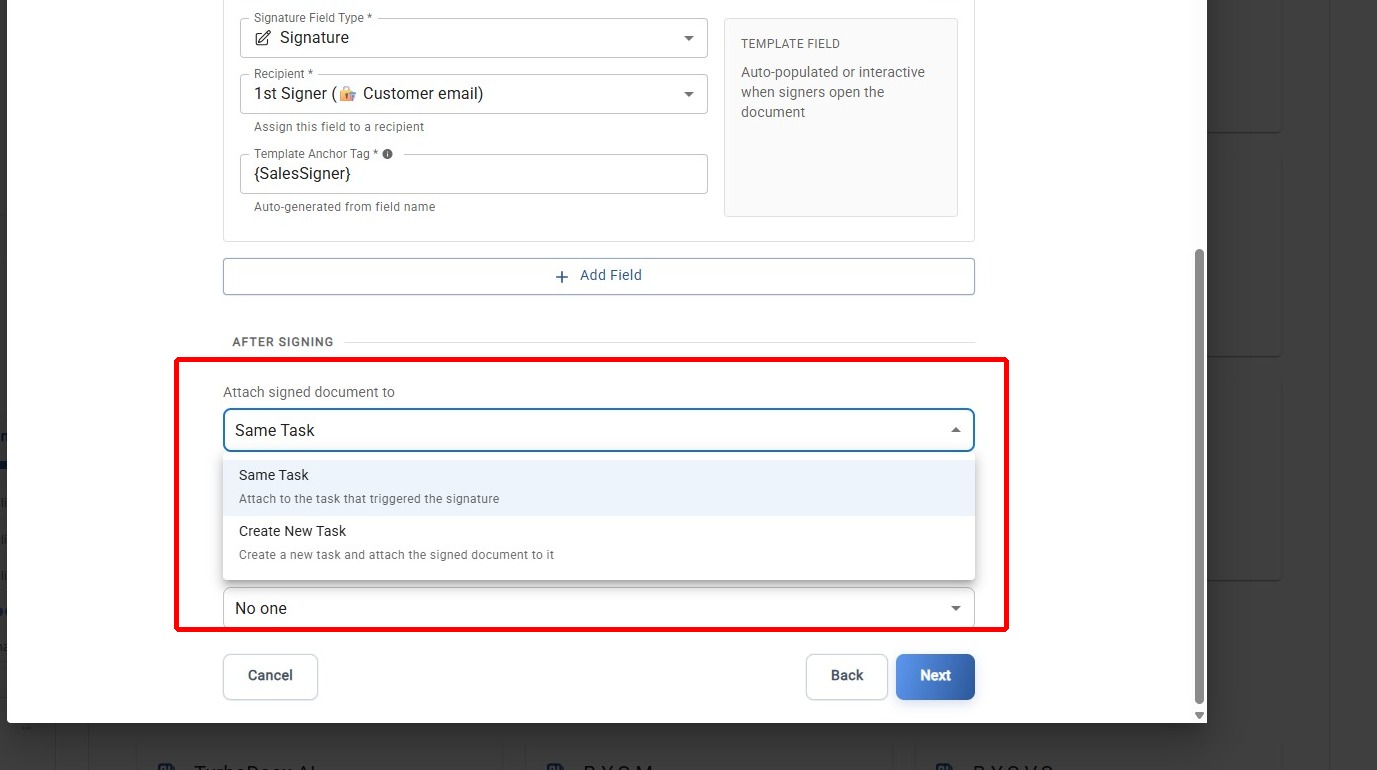
Step 11: Choose Where the Signed Document Gets Attached
Select where the signed document should be attached after all signatures are complete.
Step 12: Choose a Post-Signature Task Status (Optional)
Optionally, choose which status the triggering Wrike task should be changed to after the signature is completed.
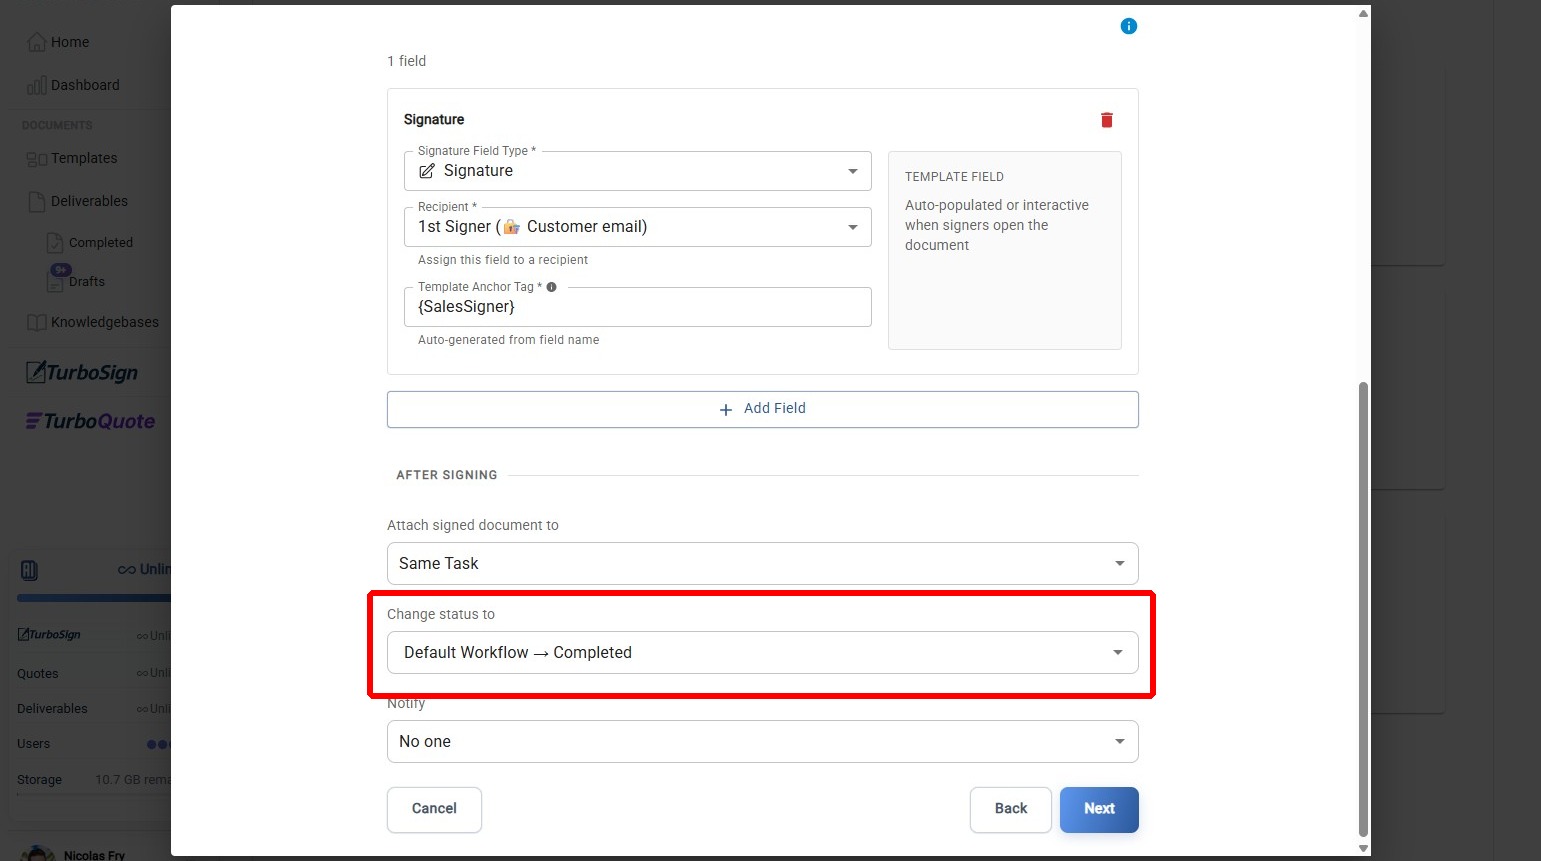
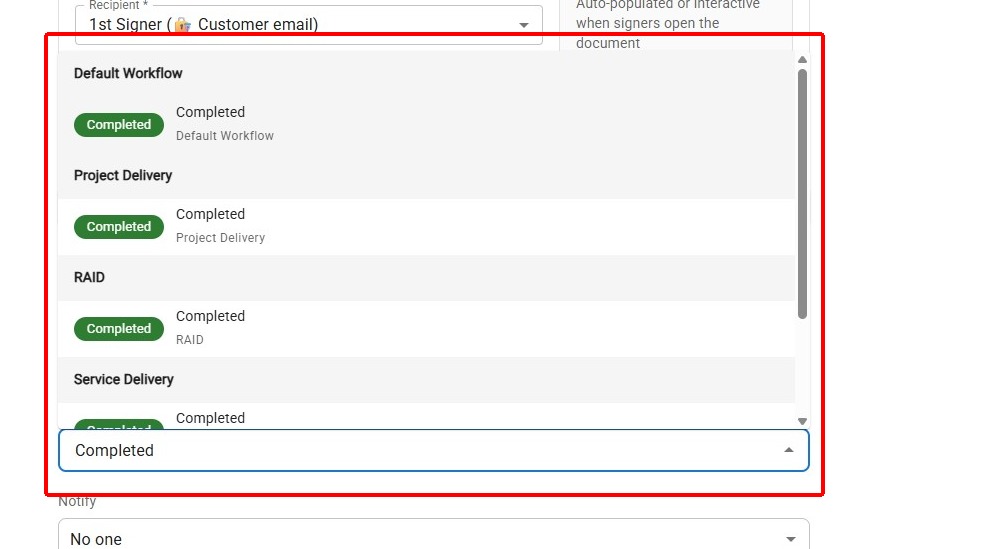
Step 13: Select the Completed Status
Select the status to apply (e.g., Completed) so your Wrike workflow advances automatically after signing.
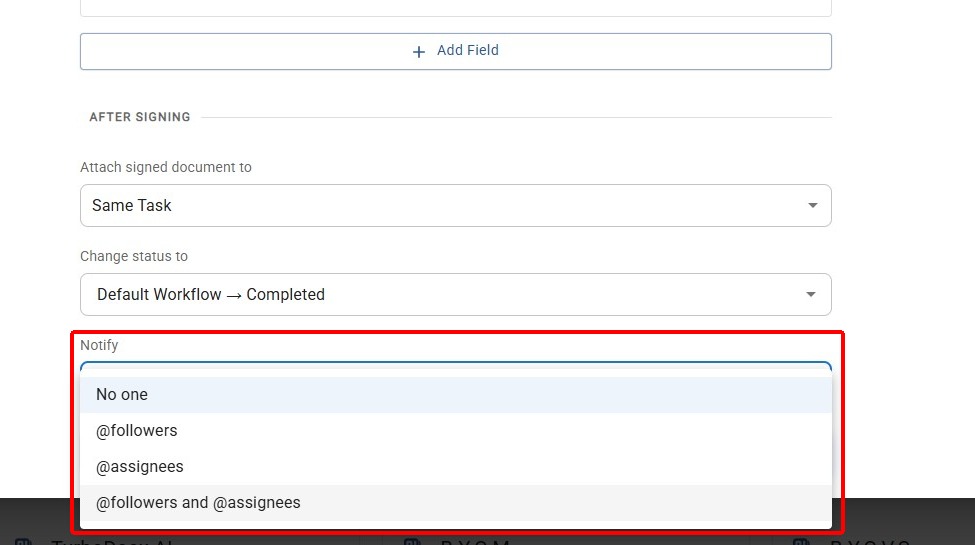
Step 14: Configure Notifications (Optional)
Optionally, choose who gets tagged or notified after a signature is completed.
Finalize the Automation
Step 15: Proceed to Final Step
Click Next to advance to the automation creation step.
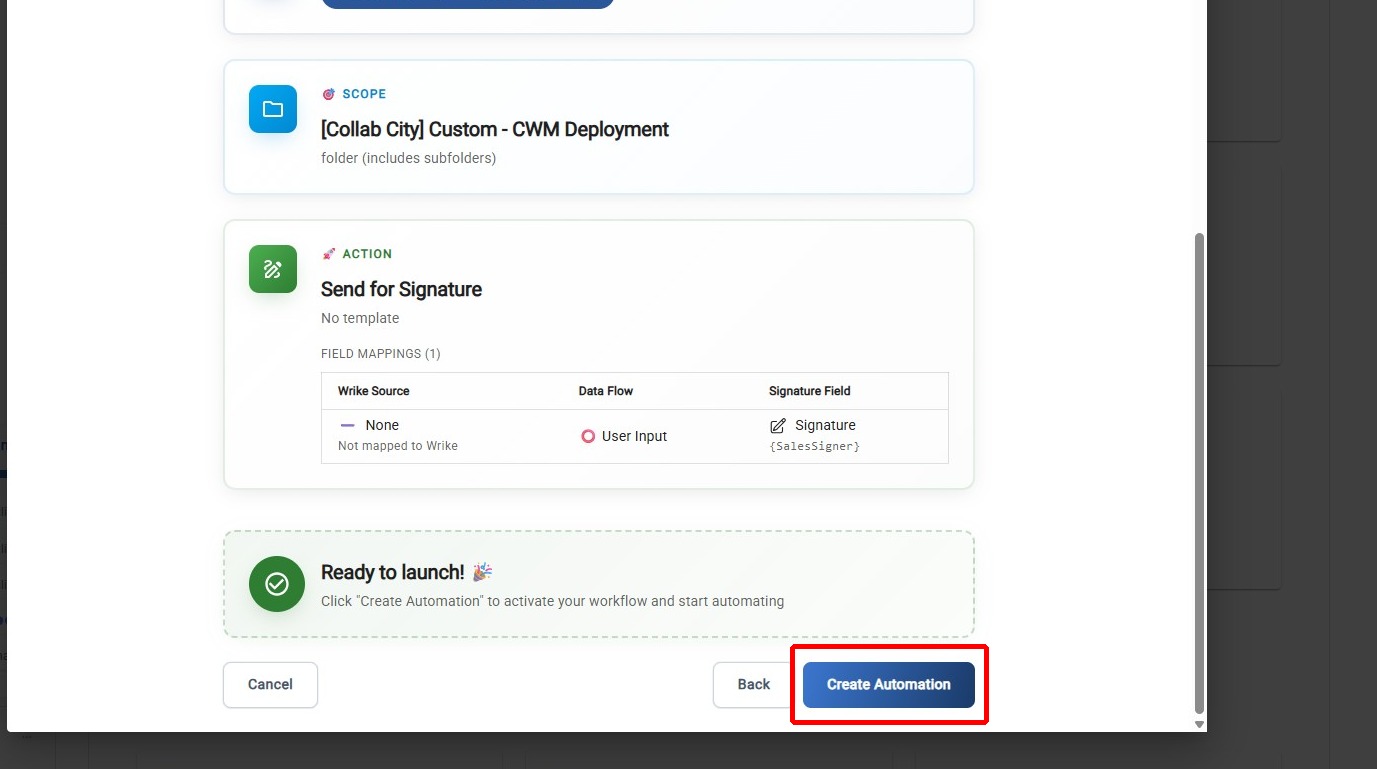
Step 16: Create the Automation
Click Create Automation to save and activate your e-signature automation workflow.
What's Next?
- How to Add Signature Anchors to your template if you haven't already
- How to Setup Static Field Mapping to template variables for static data
- If something isn't working, see Troubleshooting and FAQ