How to Add a Wrike Table
A Wrike Table variable turns a single template variable into a table. When the Wrike automation runs, TurboDocx fills that table with the triggering folder or project's sub-items (its tasks, and its subfolders or subprojects), one row each. You choose which Wrike fields become the columns, how the rows are laid out, whether nested sub-items are expanded, and an optional filter that limits which sub-items appear.
This is different from Static Field Mapping, which maps one Wrike field to one variable. A Wrike Table maps one variable to many rows.
Prerequisites
- A template uploaded to TurboDocx with at least one variable that is on its own line (a rich-text variable, so the generated table has room to render)
- A connected Wrike account (see Setting Up a Wrike Automation)
Configure the table
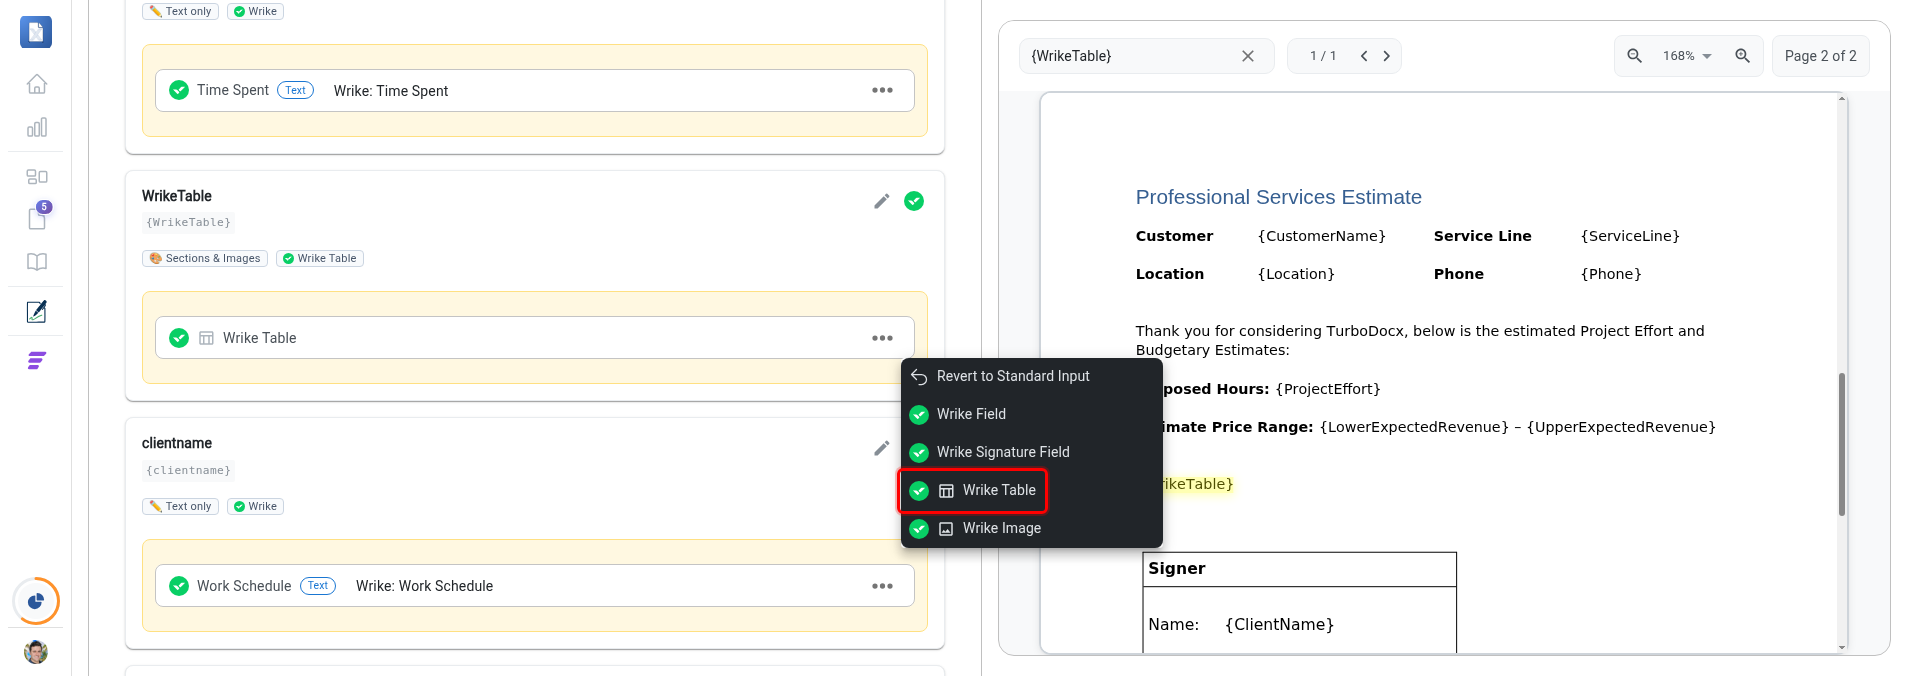
Step 1: Open the variable menu
On your template's Details page, find the variable you want to turn into a table. On its input row, click the three-dot menu (the "..." button at the right of the row).
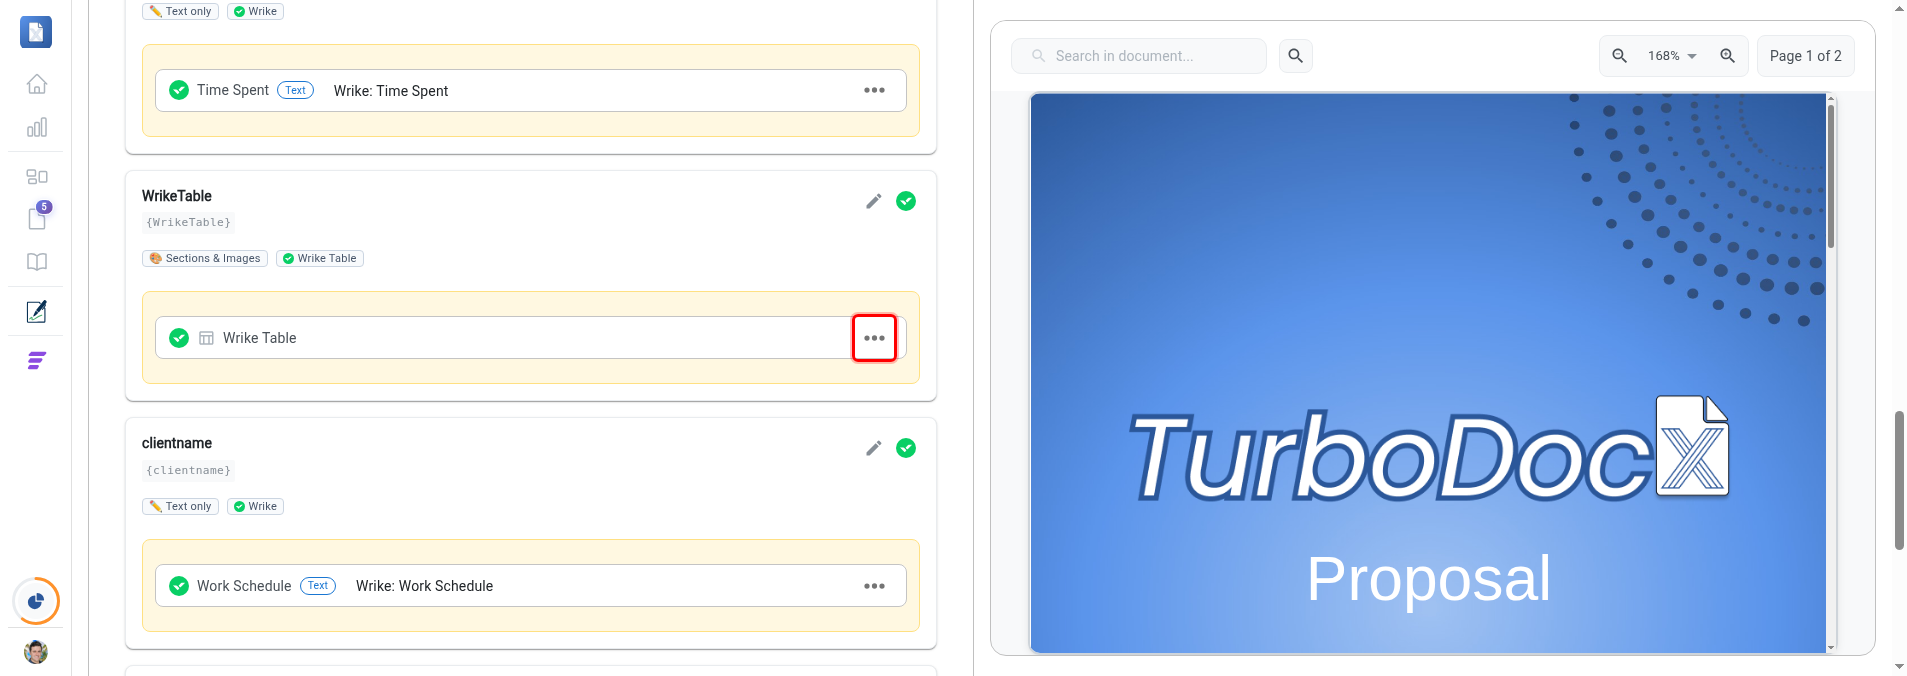
In the menu that opens, click Wrike Table. This opens the Wrike Table editor with a live preview.
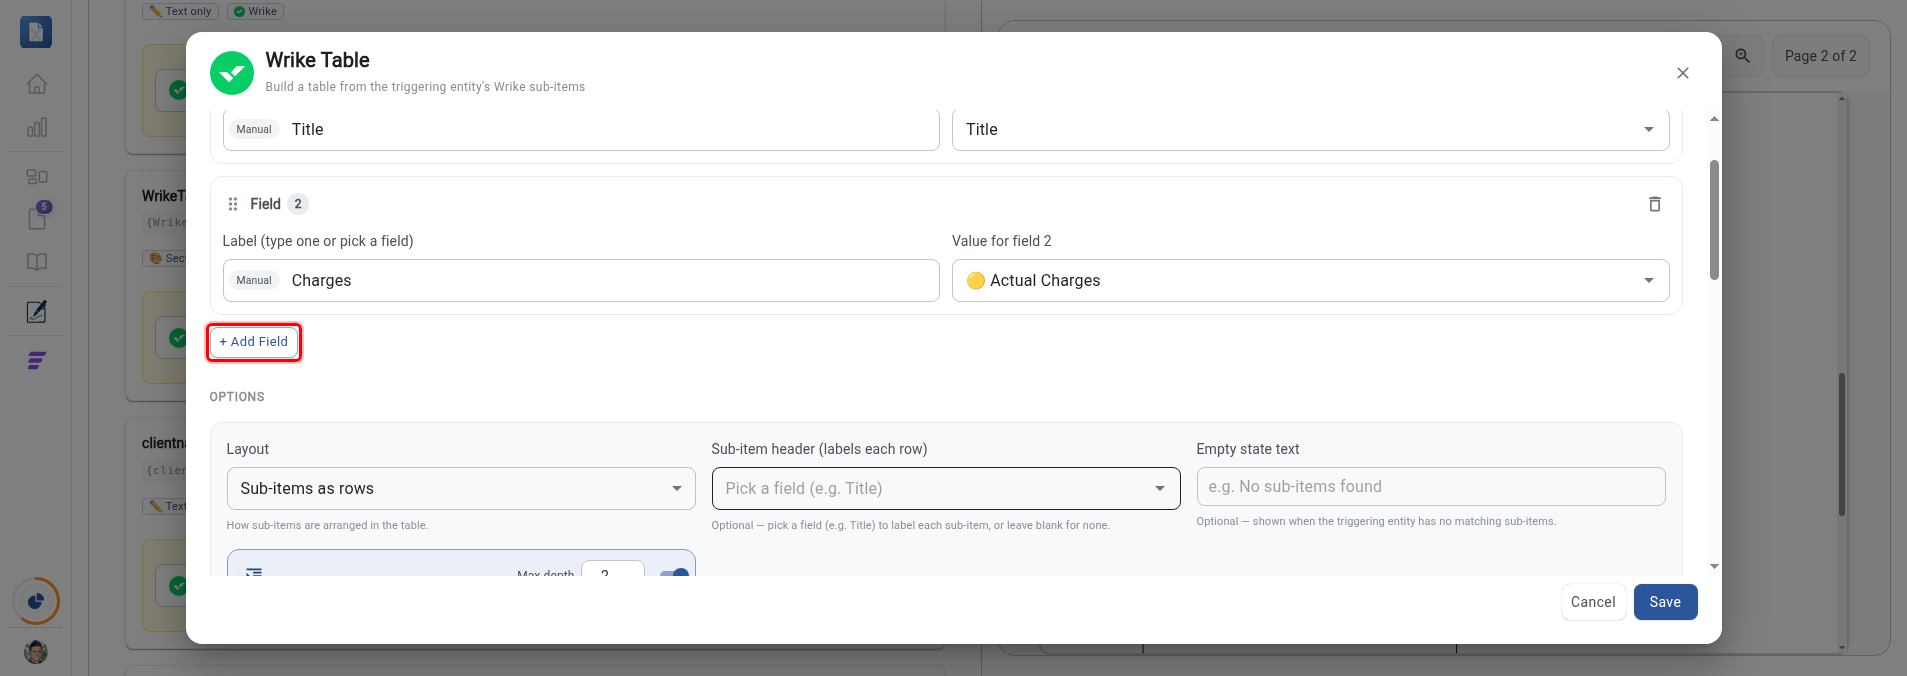
Step 2: Add fields (columns)
Each field is a value source plus a label:
- Value source: the Wrike field whose value fills the cells (for example Title, Status, Due Date, Assignee, or any custom field).
- Label: type your own column heading, or pick a field and use its name as the heading.
Add as many fields as you need, and drag the handles to reorder them. To show each row's entity type (Task, Folder, or Project), add the built-in Item Type field as a column.
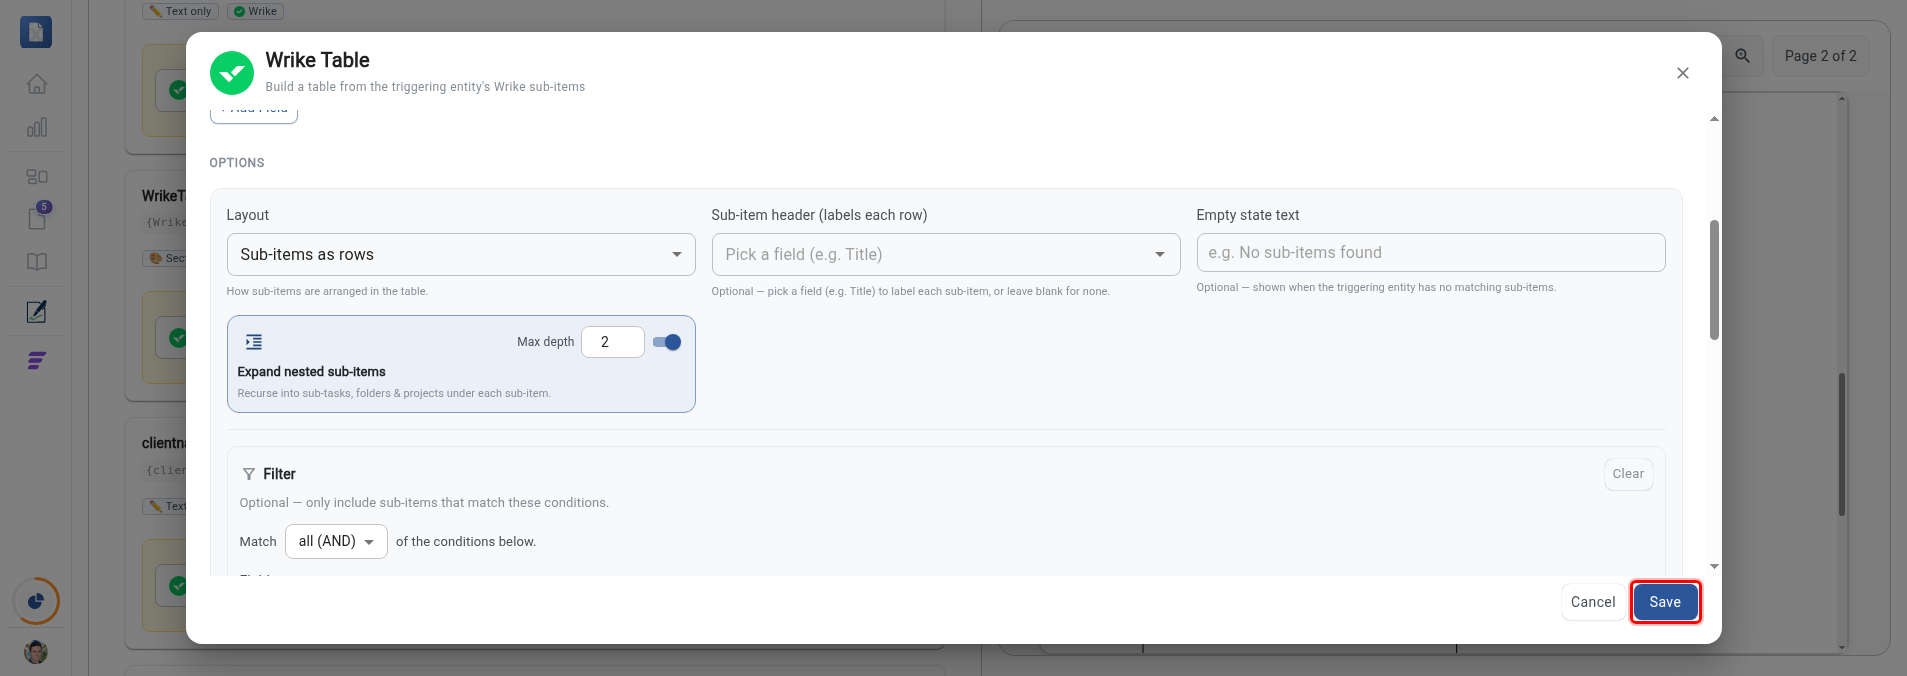
Step 3: Choose the layout
- Sub-items as rows (default): each sub-item is a row, each field is a column.
- Sub-items as columns: the table is transposed.
You can also pick an optional Sub-item header field (for example Title) to label each sub-item along the other axis, and set Empty state text that renders when the trigger has no sub-items.
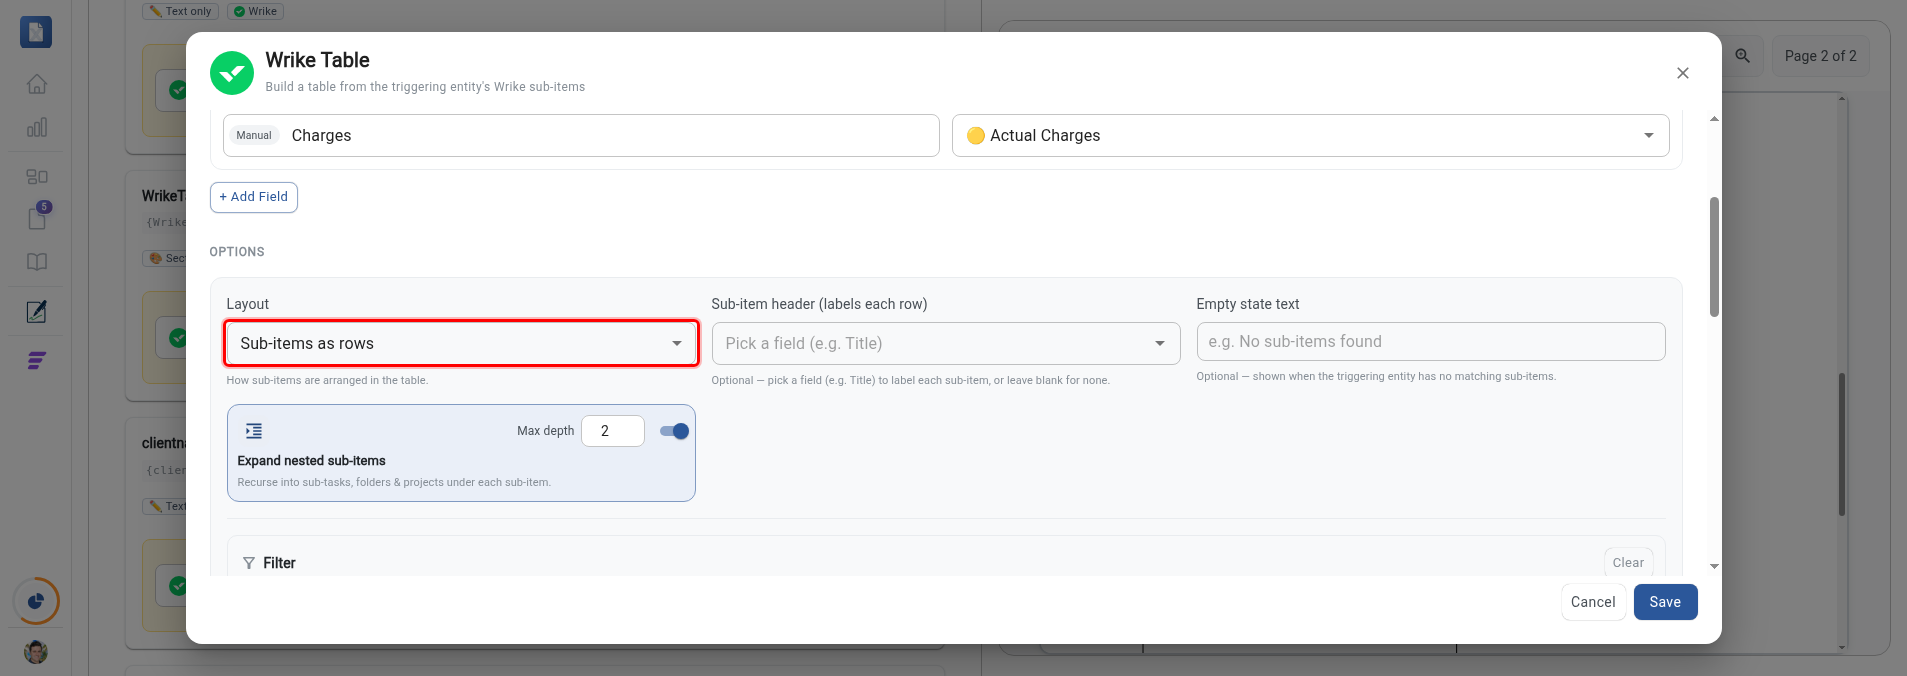
Step 4: Expand nested sub-items (optional)
Turn on Expand nested sub-items to recurse beneath the direct children. Max depth controls how many nested levels are expanded (1 to 5). Each nested row is numbered hierarchically (1, 1.1, 1.1.1) and indented so the hierarchy reads cleanly. Nesting is available only in the rows layout.

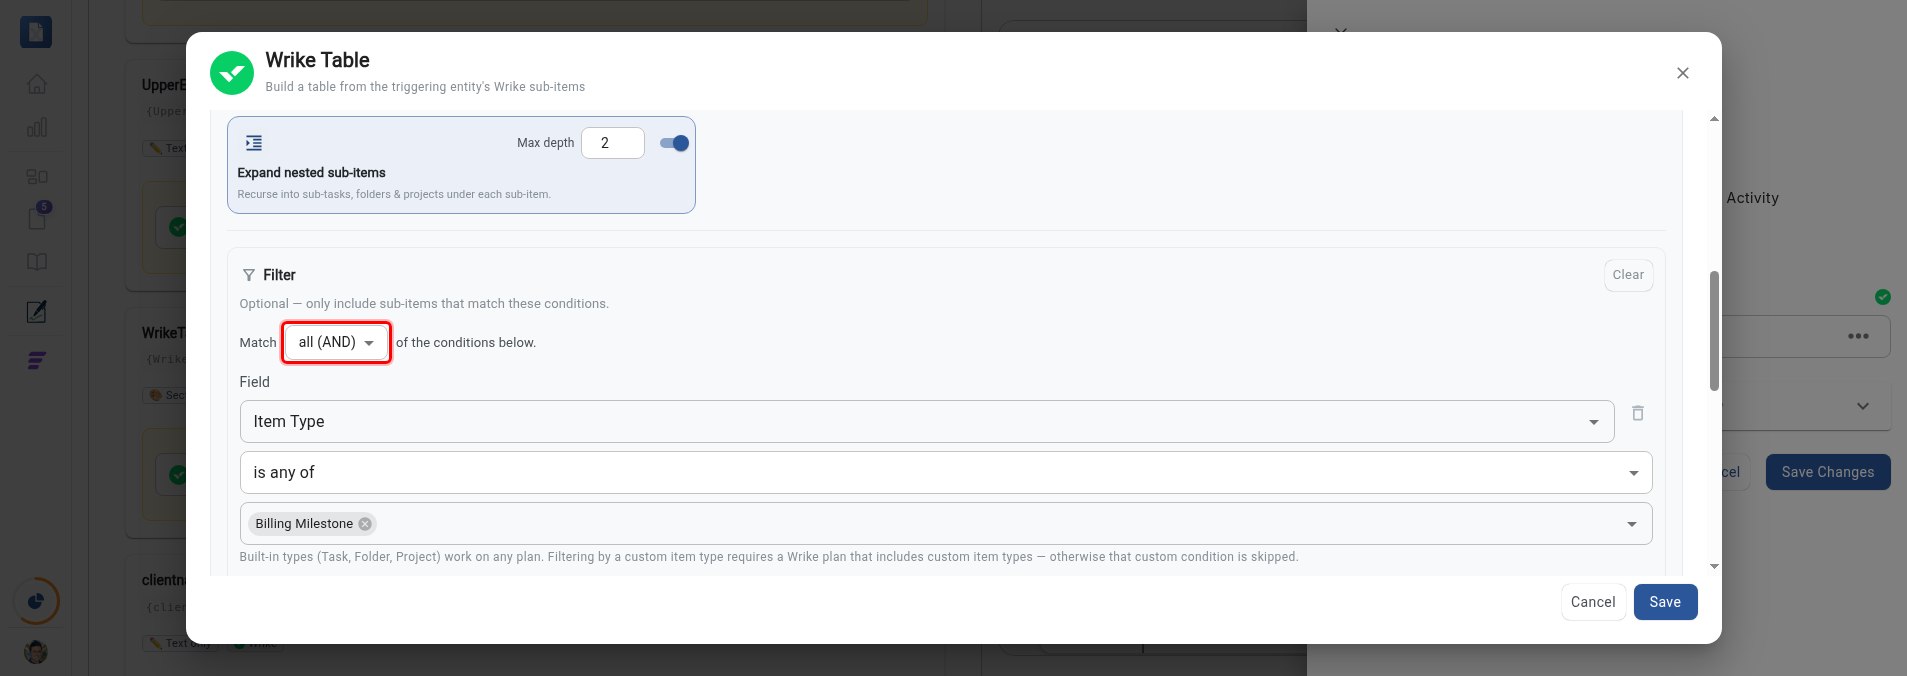
Step 5: Filter which sub-items appear (optional)
Add a Filter to include only sub-items that match one or more conditions. Pick a field, then an operator and value. The available operators adapt to the field you pick:
- Item Type: "is any of" / "is none of", choosing from the built-in Task, Folder, and Project types plus your Wrike custom item types.
- Date fields: before, after, on, on or before, on or after, between, plus relative options (overdue, in the next N days, in the last N days).
- Other fields: is set, is not set, is checked, is not checked, equals, not equals.
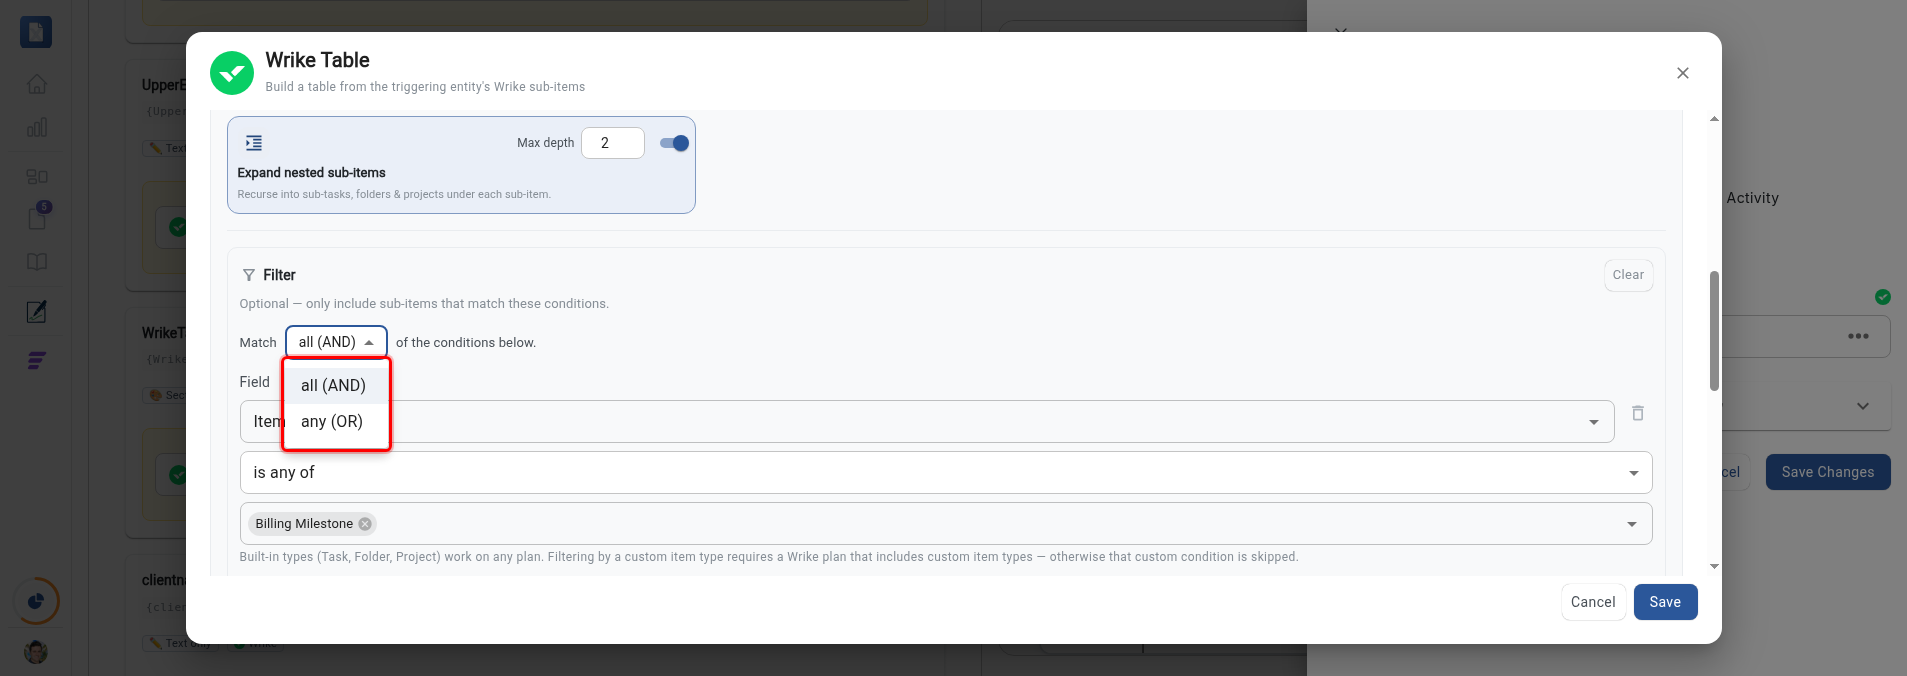
Combine multiple conditions
Click + Add condition to add another row to the filter (up to 10). When you have two or more conditions, a Match all (AND) / any (OR) selector appears:
- all (AND): a sub-item must satisfy every condition to appear.
- any (OR): a sub-item appears if it satisfies at least one condition.
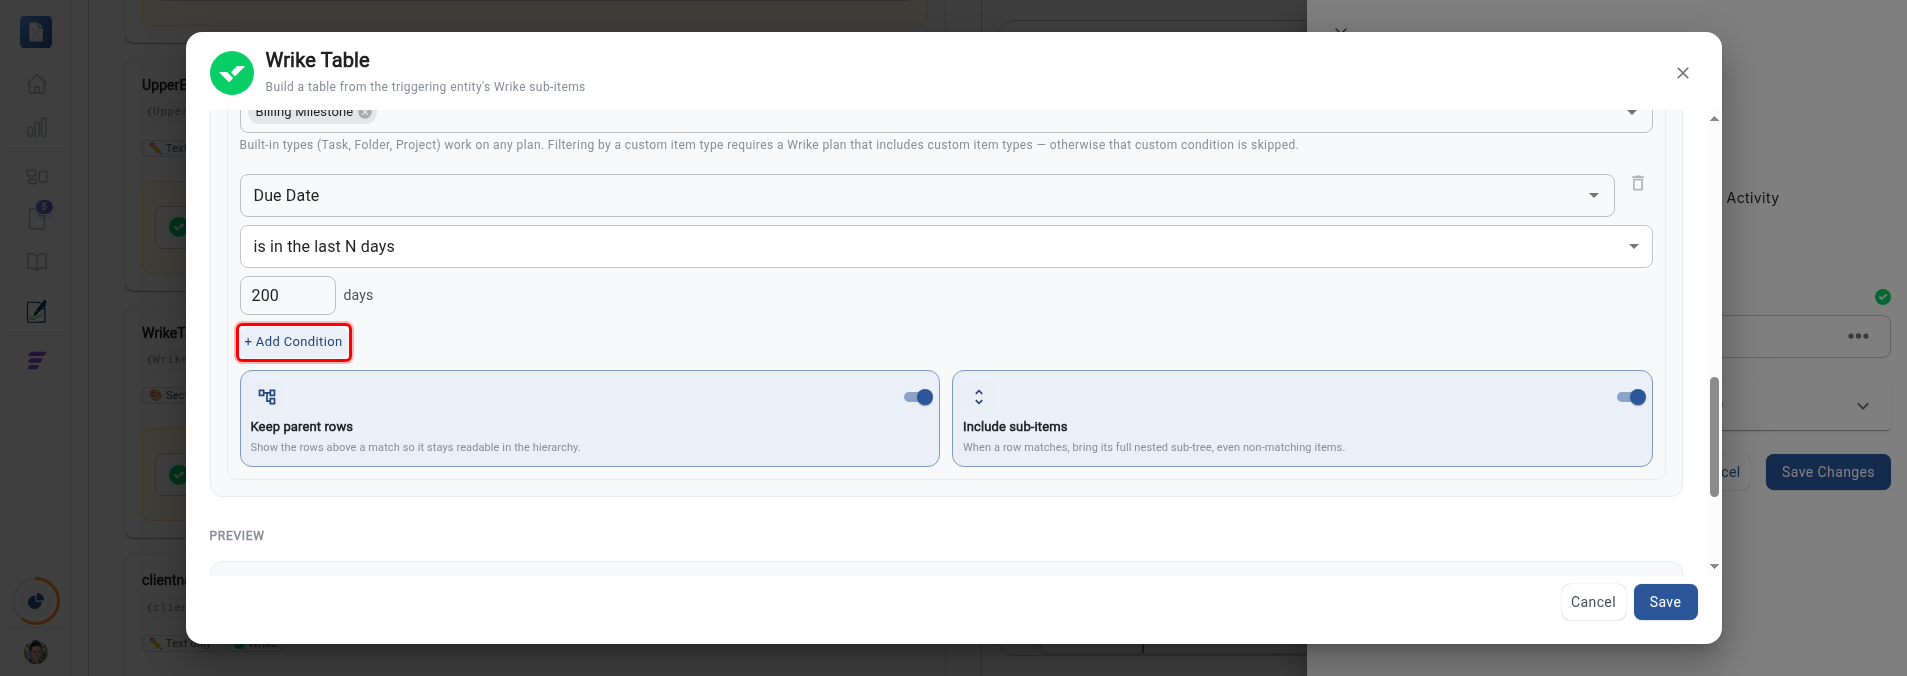
Each condition has its own field, operator, and value, and the remove (trash) icon next to a condition deletes just that row. For example, to list only the milestones due in the next 30 days, add two conditions combined with all (AND):
- Item Type "is any of" Milestone
- Due date "is in the next" 30 days
Milestone is a Wrike custom item type, so this condition needs a Wrike plan that includes custom item types (see Notes and limits below). To exercise multiple conditions on any plan, use a built-in type instead, such as Item Type "is any of" Folder combined with a due-date condition.
The filter keeps a parent row whenever it, or any sub-item beneath it, matches the conditions.
When Expand nested sub-items is on, two extra options control how a match pulls in the rows around it:
- Keep parent rows (on by default): keeps the parent rows above a match, so a deeply nested match still reads in context. Turn this off to show only the matching rows themselves; a match whose parents are hidden moves up to the top level.
- Include sub-items (off by default): when a row matches, also show everything nested beneath it, even if those sub-items don't match the filter. Use this to filter the top of your hierarchy and then bring each matching branch in whole.
For equals / not equals on a number, currency, or percentage field, type the value exactly as it appears in the table cell, including the currency symbol and decimals. For example, a value shown as $50,000.00 should be entered as $50,000.00, not $50,000.
Step 6: Save
Click Save in the table builder to apply your configuration, then Save Changes on the variable to store it on the template.
What happens at generation time
The table is built by the Wrike automation when a document is generated, so a Wrike Table variable is read-only on the generation page (it shows an informational banner instead of an input). There is nothing to fill in by hand. If you want to enter content manually instead, use Switch to manual input on the generation page.
Notes and limits
- Row cap: a table renders at most 500 rows. If more sub-items qualify, the table shows the first 500 and notes how many were omitted.
- Plan entitlements: Wrike custom item types and finance fields (such as Budget or Actual Cost) require a Wrike plan that includes them. If your plan does not, those fields are left blank and a custom item-type filter condition is skipped (the table is never silently emptied). The built-in Task, Folder, and Project types work on any plan.