How to Set Up Job Books (Combined PDF)
A Job Book is a single combined PDF made from every attachment on a Wrike task or project. When a task or project changes to your trigger status, TurboDocx gathers its attachments, converts each one to PDF, merges them into one file (oldest first), and attaches the finished Job Book back into Wrike.
This is the Merge to Job Book automation action. Use it to roll loose deliverables, photos, and supporting documents into one tidy hand-off file.
Prerequisites
- A connected Wrike account (see Setting Up a Wrike Automation)
- A Wrike workflow status you want to use as the trigger, and the folder or project you want to monitor
This guide picks up at the automation's action step. If you have not connected Wrike or chosen a trigger status and folder yet, follow Setting Up a Wrike Automation first.
Open the Wrike automation builder
Step 1: Open the Wrike configuration
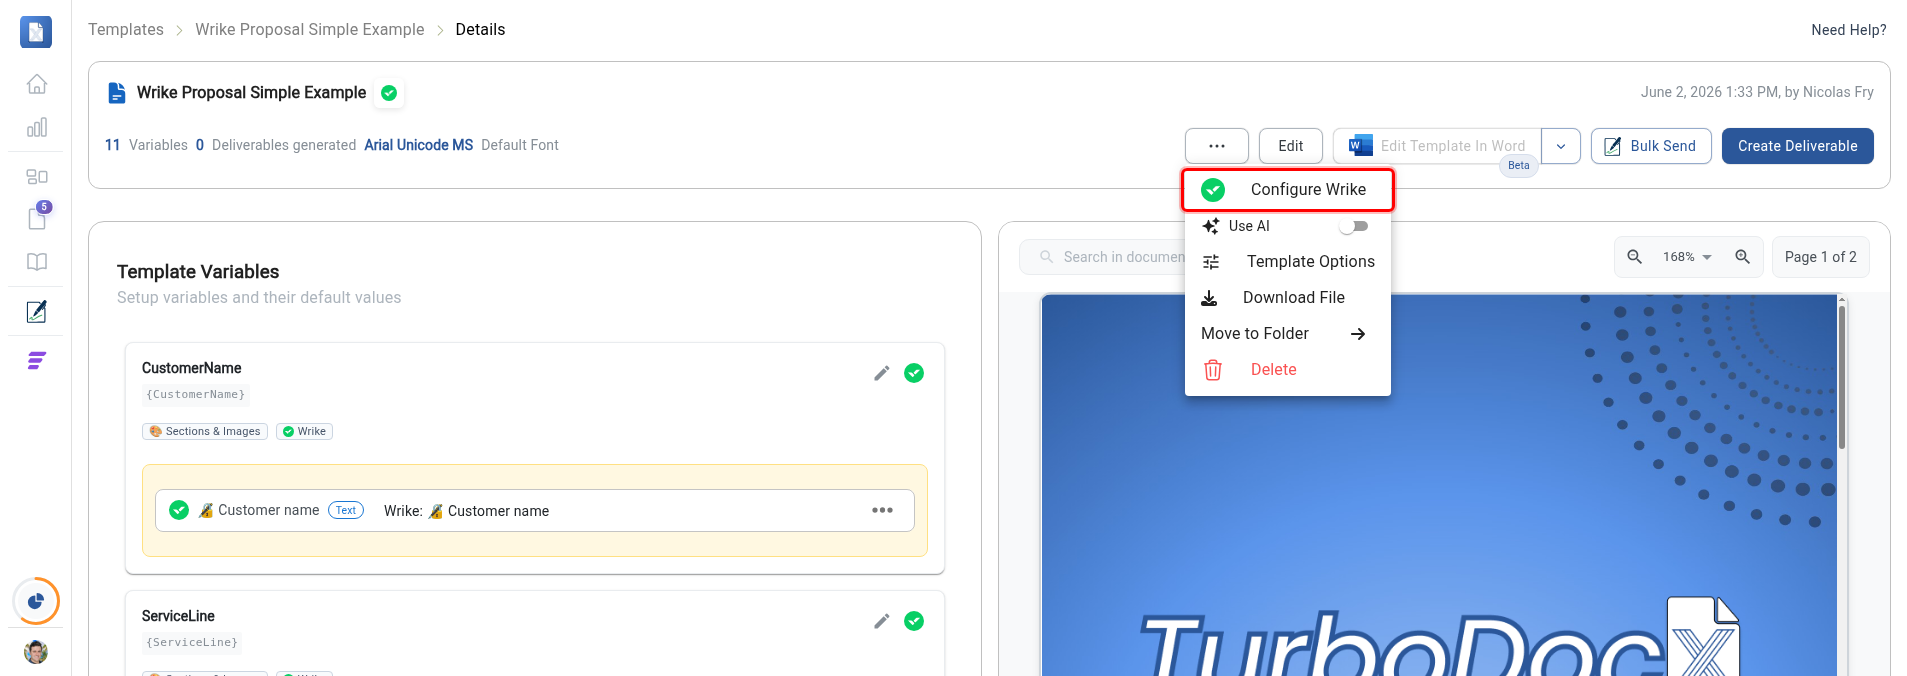
On your template's Details page, click the "..." (three-dot) button in the top toolbar, then click Configure Wrike in the menu that opens.
Step 2: Start a new automation
The Wrike Automations window opens and lists your existing automations. Click the Create Automation button near the top right.

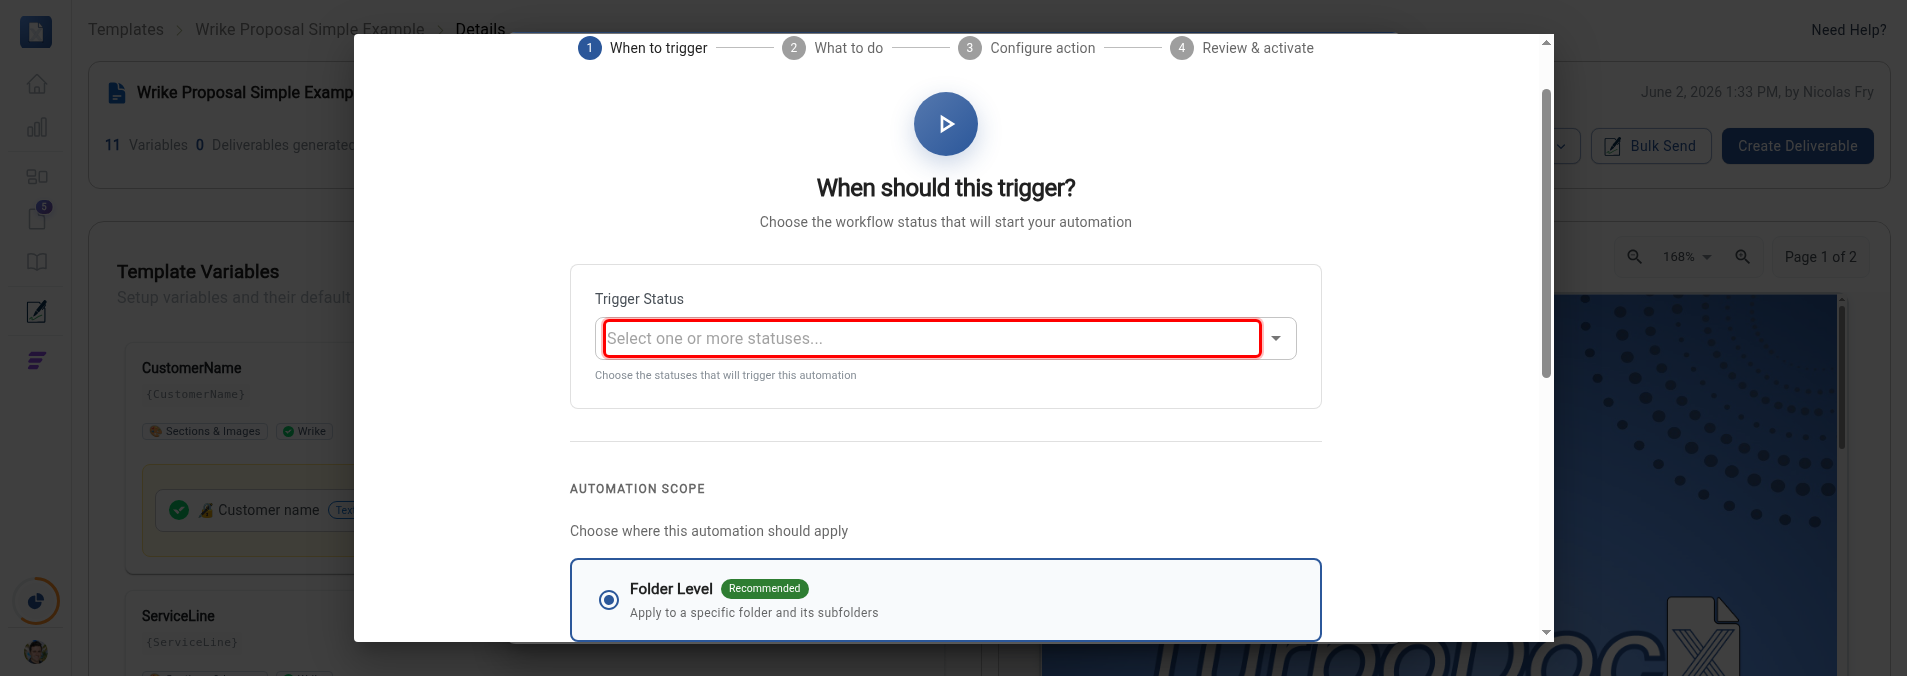
Step 3: Choose a trigger status
On the When to trigger step, click the Trigger Status field and pick the workflow status that should start the automation. Then choose the automation scope (Folder Level or Account Level) and click Next.
The Job Book is built from whatever item hits the trigger status. When a task triggers, its attachments are merged; when a project triggers, the project's attachments are merged.
Configure the Job Book
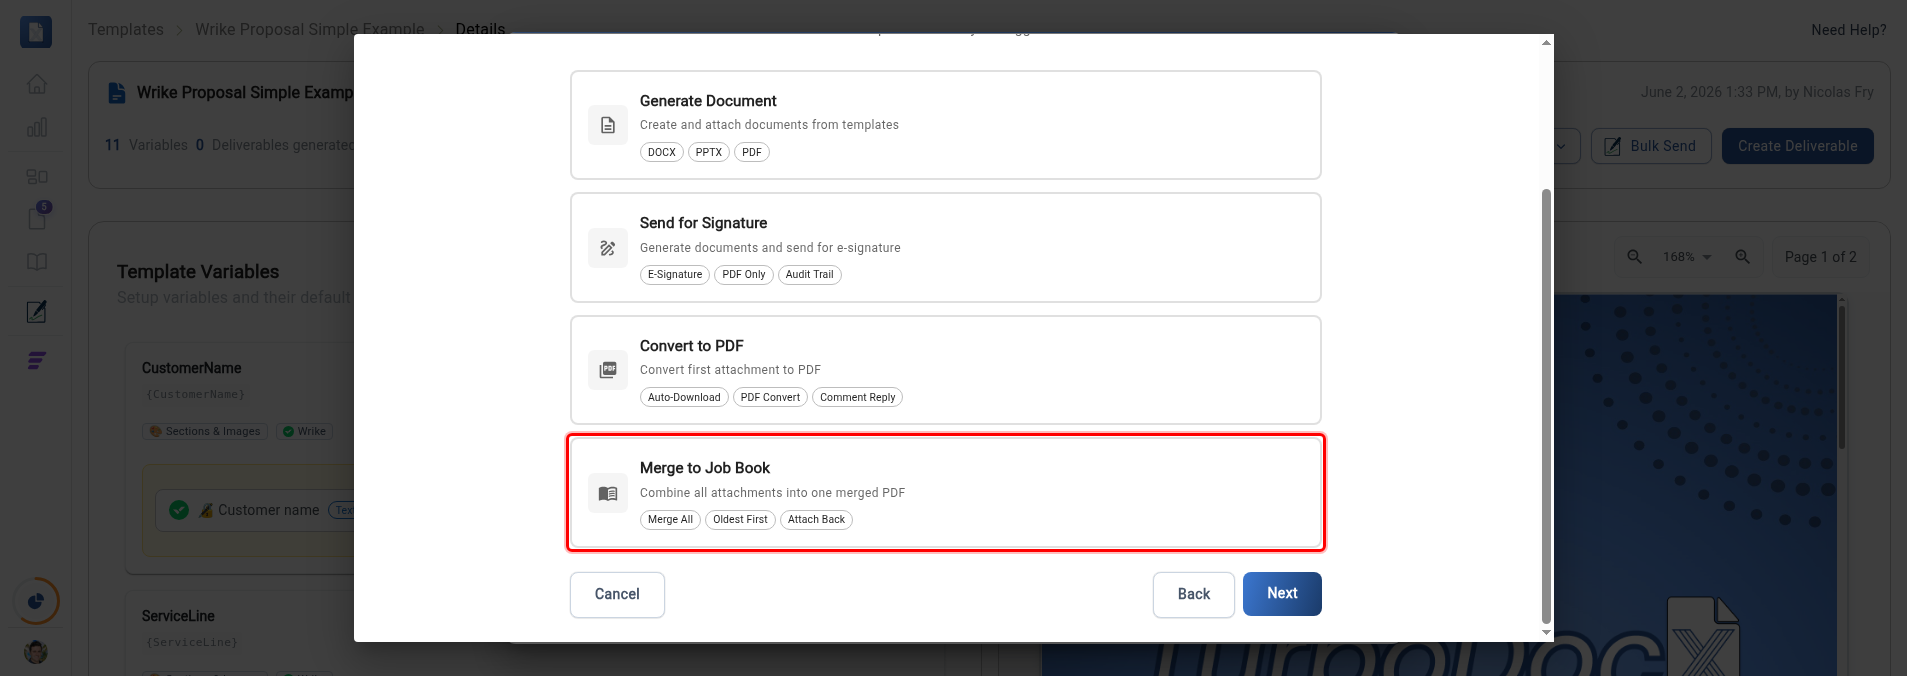
Step 4: Select the Merge to Job Book action
On the What to do step, click the Merge to Job Book card. Its description reads "Combine all attachments into one merged PDF." Then click Next.
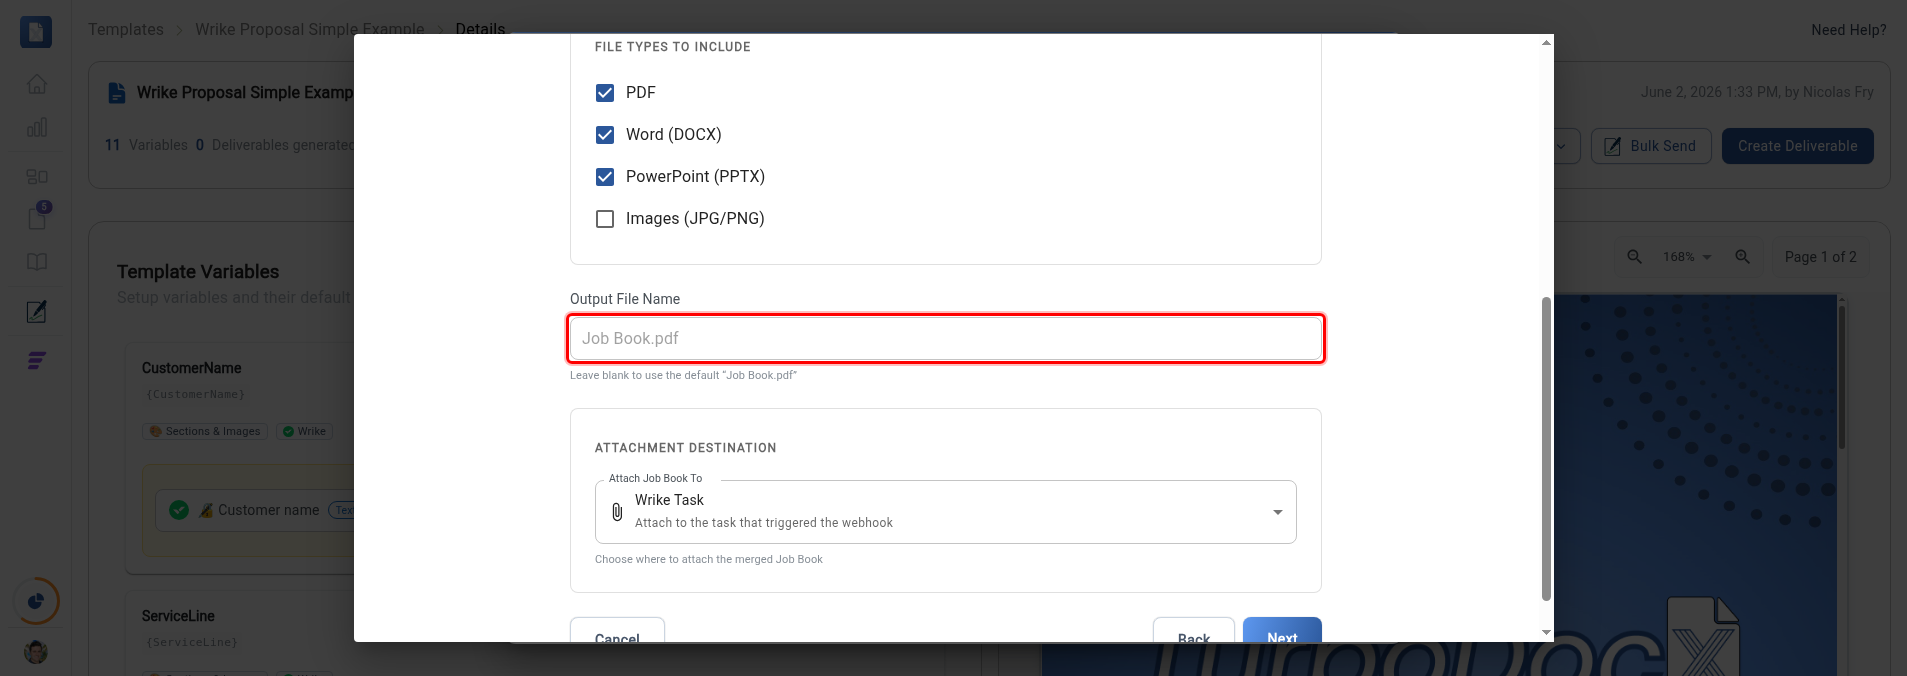
Step 5: Choose which file types to include
The Configure Job Book step opens with a How it works summary at the top. Under File Types to Include, tick the attachment types you want merged into the book:
- Word (DOCX)
- PowerPoint (PPTX)
- Images (JPG/PNG)
Leave a type unchecked to skip those attachments. At least one type must be selected.
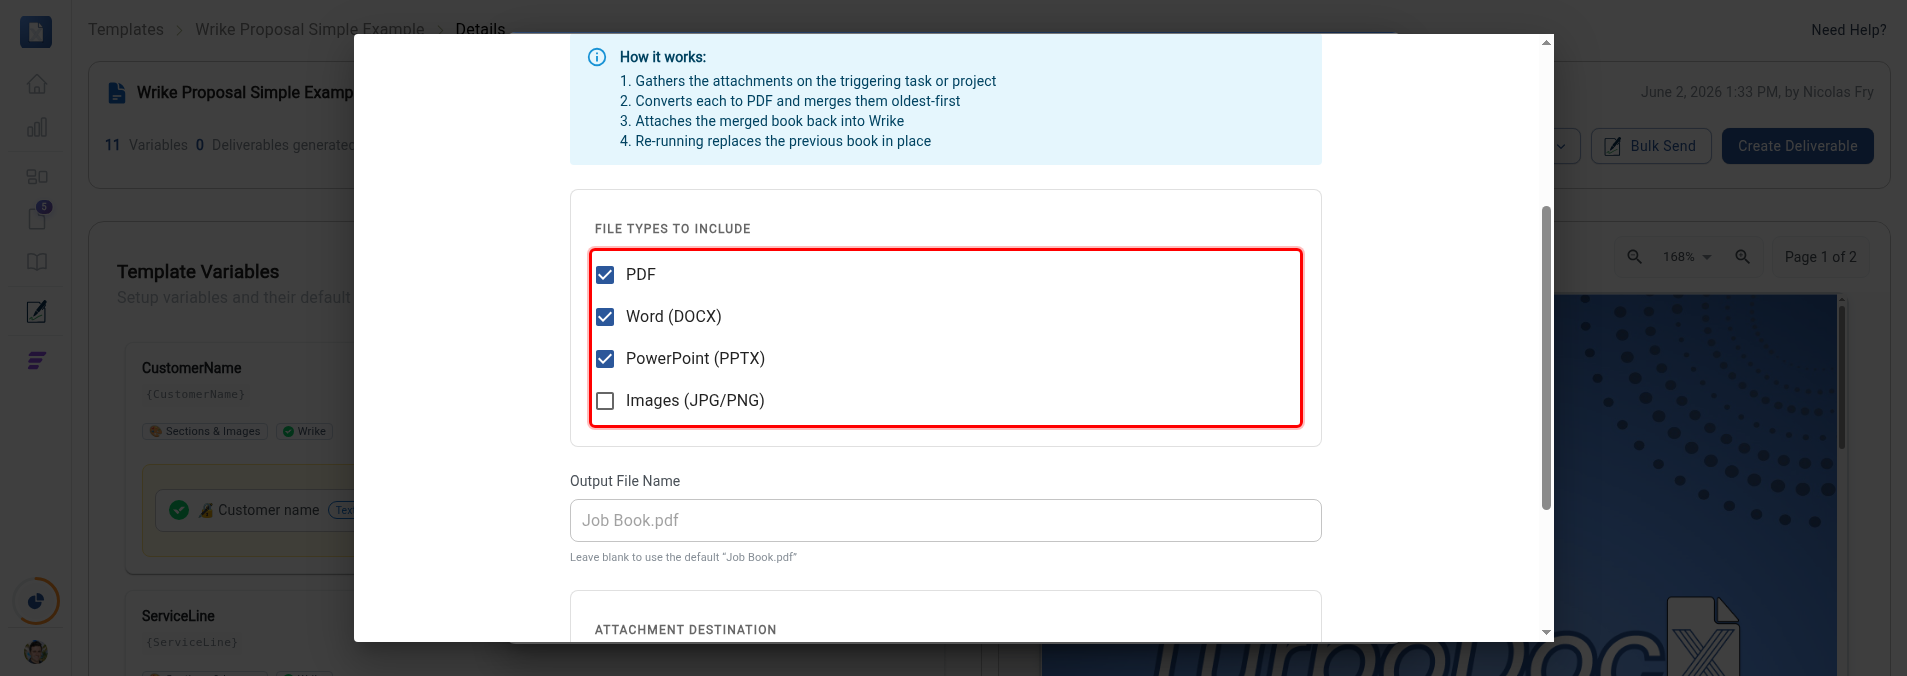
Step 6: Name the output file (optional)
In the Output File Name field, type a name for the combined PDF. Leave it blank to use the default name, Job Book.pdf.
Step 7: Choose where the Job Book is attached
Under Attachment Destination, click the Attach Job Book To dropdown and choose where the finished file lands:
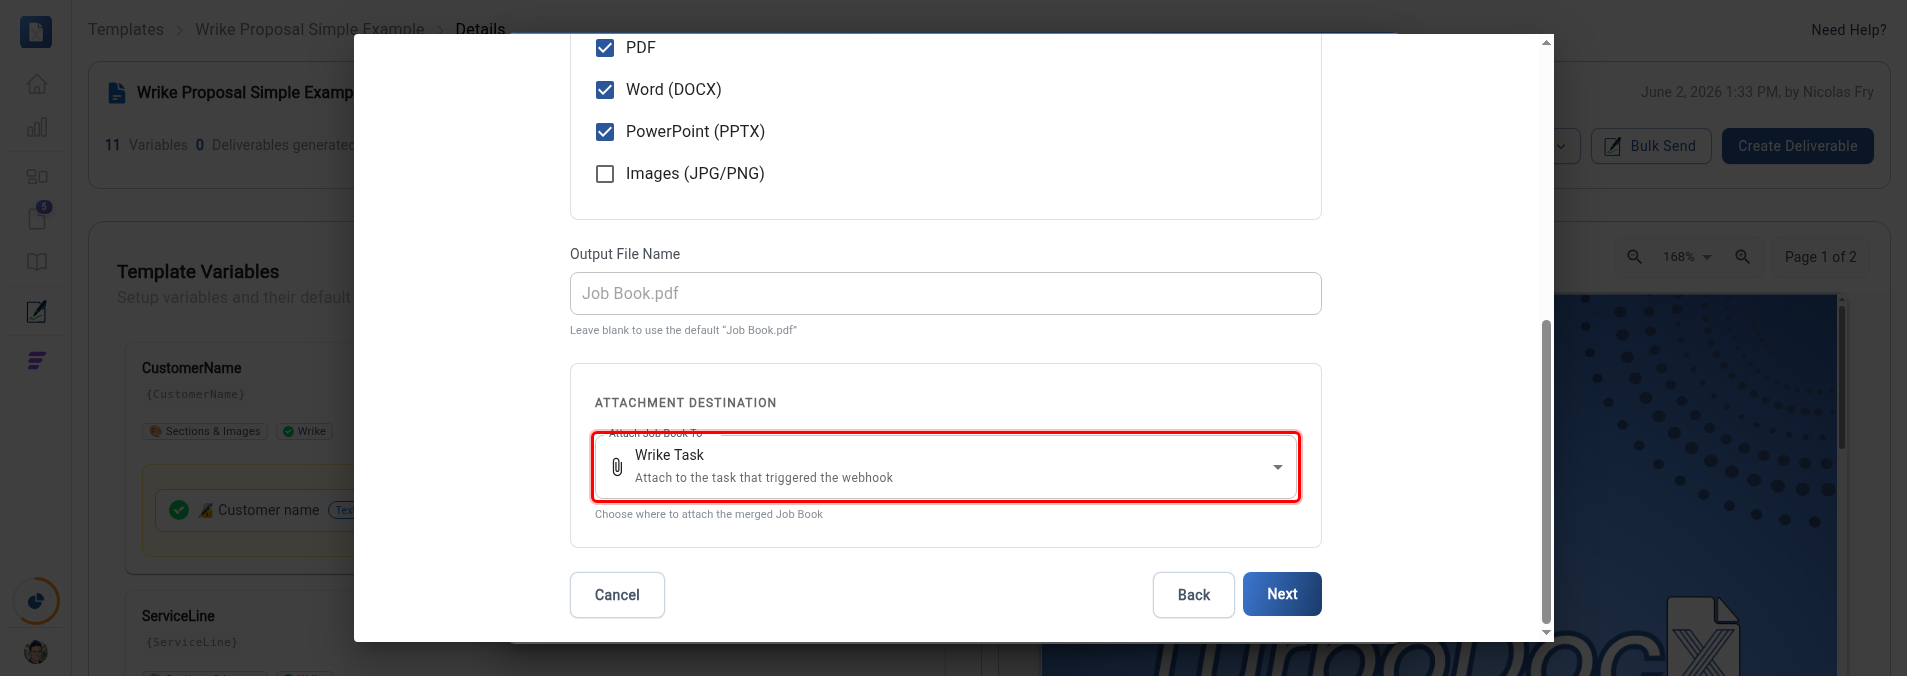
- Wrike Task — attach to the task that triggered the automation.
- Parent Folder — attach to the folder that contains the task.
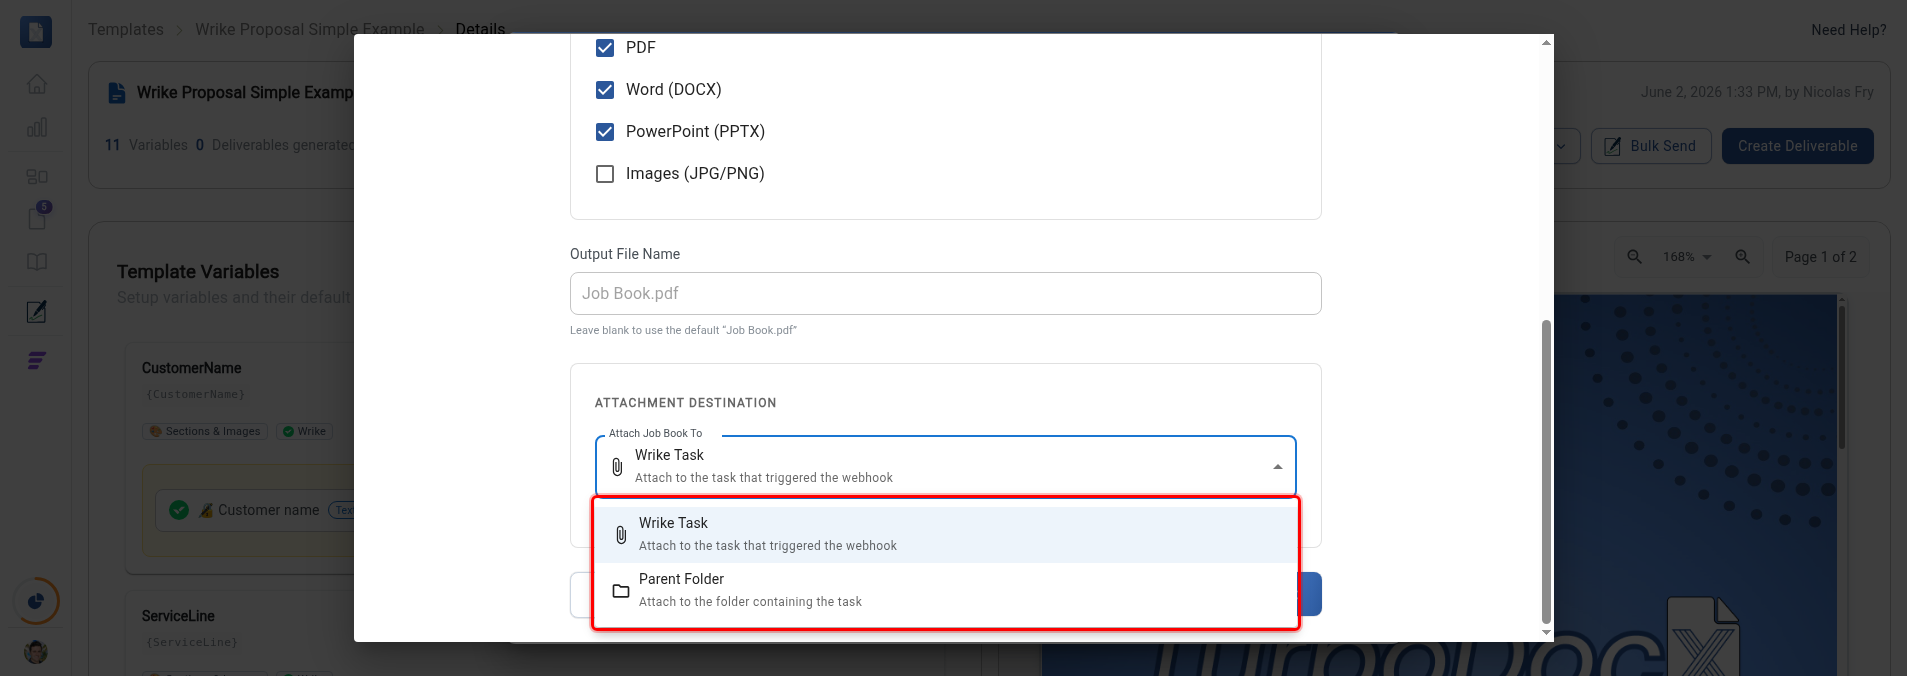
Pick an option, then click Next.
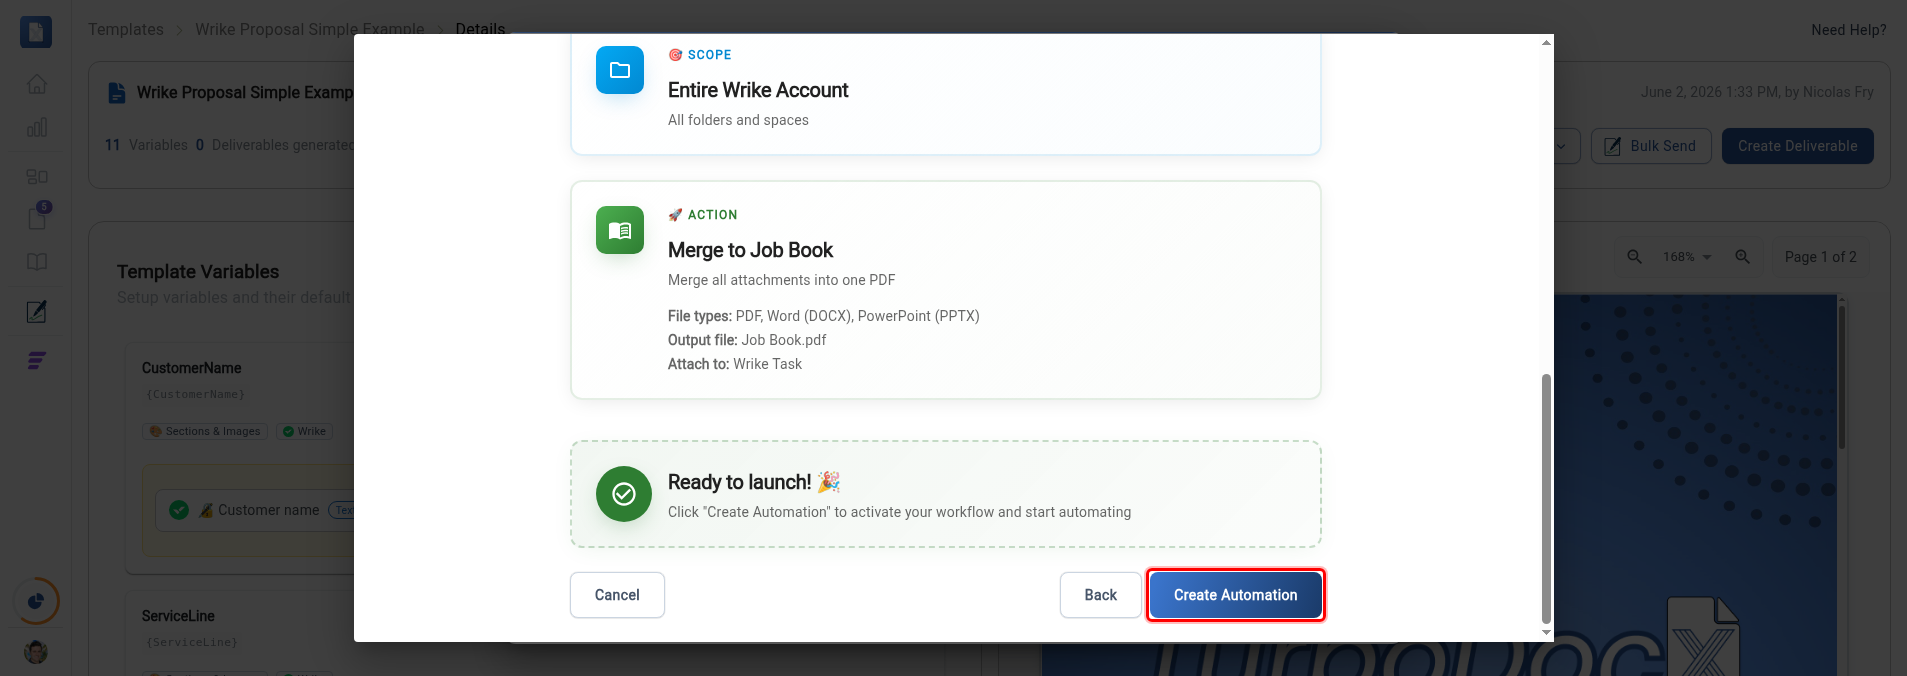
Step 8: Name and create the automation
On the Review & activate step, the Automation Blueprint summarizes the trigger, scope, action, file types, output file name, and attachment destination. Type a name for the automation in the Name Your Automation field, then click Create Automation to activate it.
How it works at run time
When a task or project changes to your trigger status, TurboDocx:
- Gathers the attachments on the triggering task or project
- Converts each included file to PDF and merges them oldest-first
- Attaches the merged Job Book back into Wrike
If the automation runs again on the same item, the new Job Book replaces the previous one in place instead of creating a duplicate. Add or update attachments and re-trigger to refresh the combined file.