How to Set Your Quote Sender Information
Every quote shows a "Prepared by" block with a name, phone, and email so your customer knows who sent it. This guide walks you through setting that information once for your whole organization, so it appears consistently on every quote — no matter who creates or sends it.
What You'll Accomplish
By the end of this guide, you will have:
- ⚙️ Opened your organization's quote template settings
- ✍️ Set a Sender Name, Sender Phone, and Sender Email
- 💾 Saved your changes
- 👀 Confirmed the new information appears in the "Prepared by" preview
Quote sender information is an organization-wide setting, so you need an Administrator role. Once saved, it applies to every quote — including quotes created through the API, SDKs, or n8n, which have no mailbox of their own and rely entirely on this setting.
Step 1: Open your organization Settings
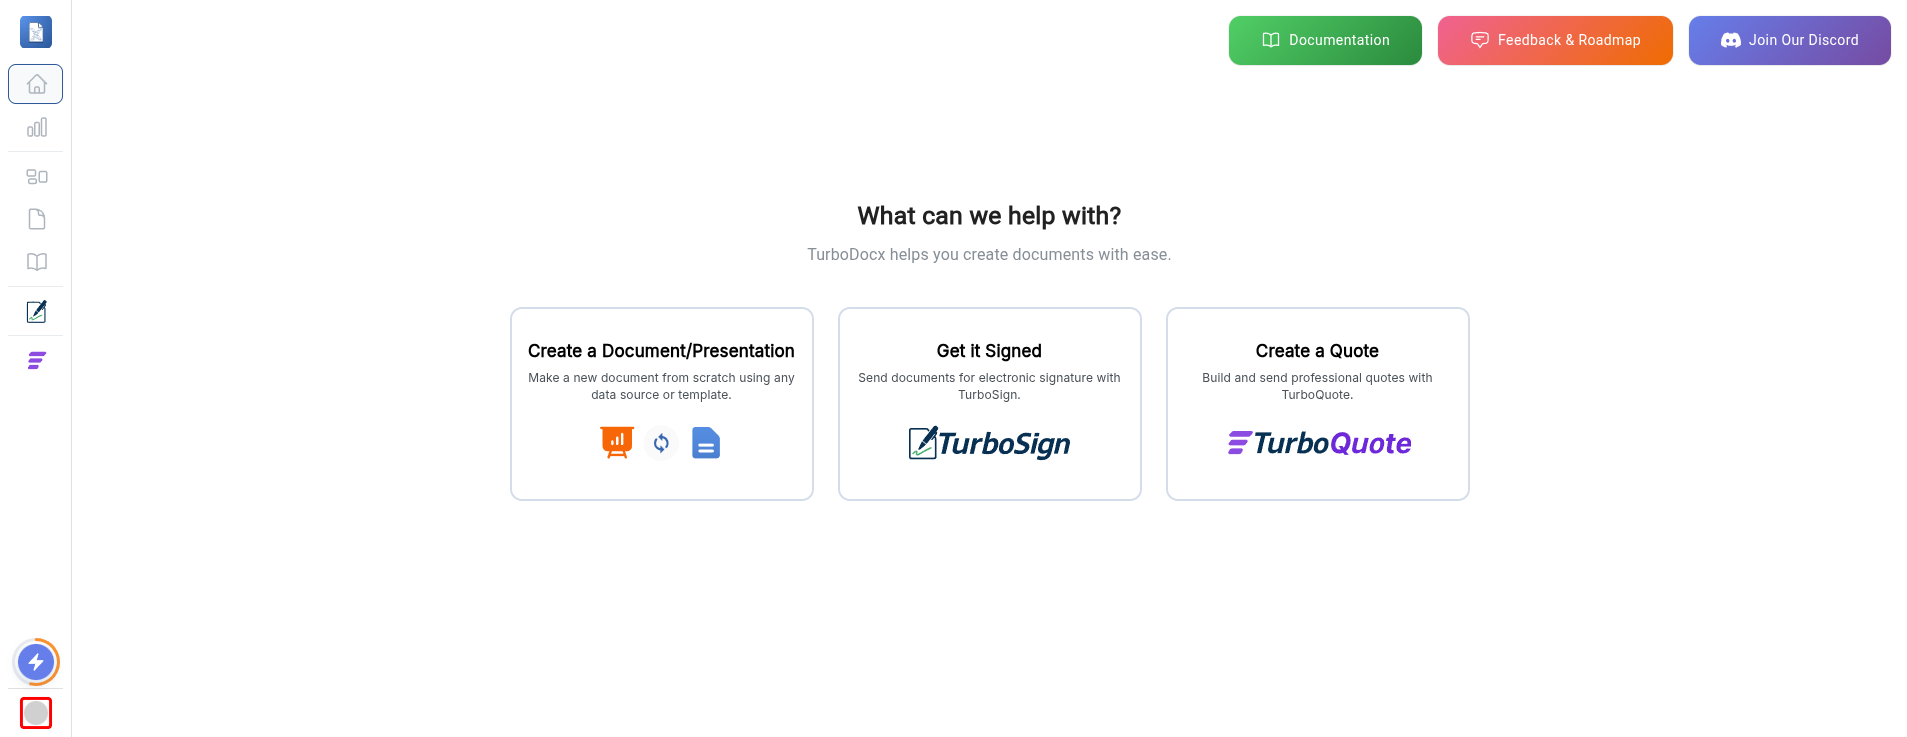
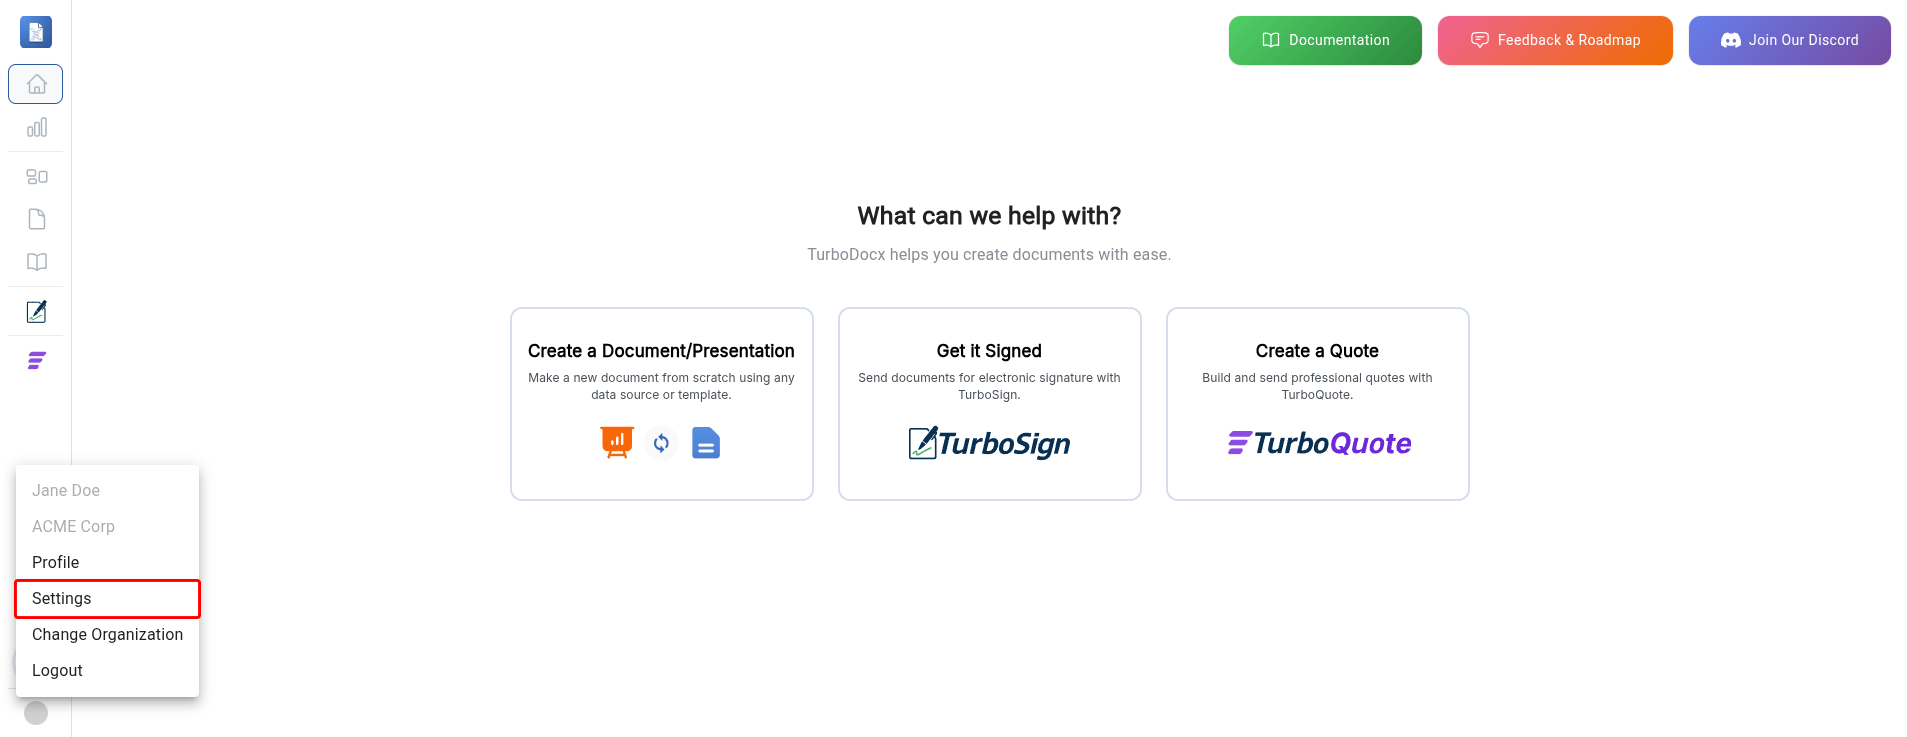
From anywhere in TurboDocx, open the user menu from your avatar at the bottom of the left sidebar, then select Settings.
Instruction: Click your User Avatar, then click Settings.
Step 2: Open Branding and formatting
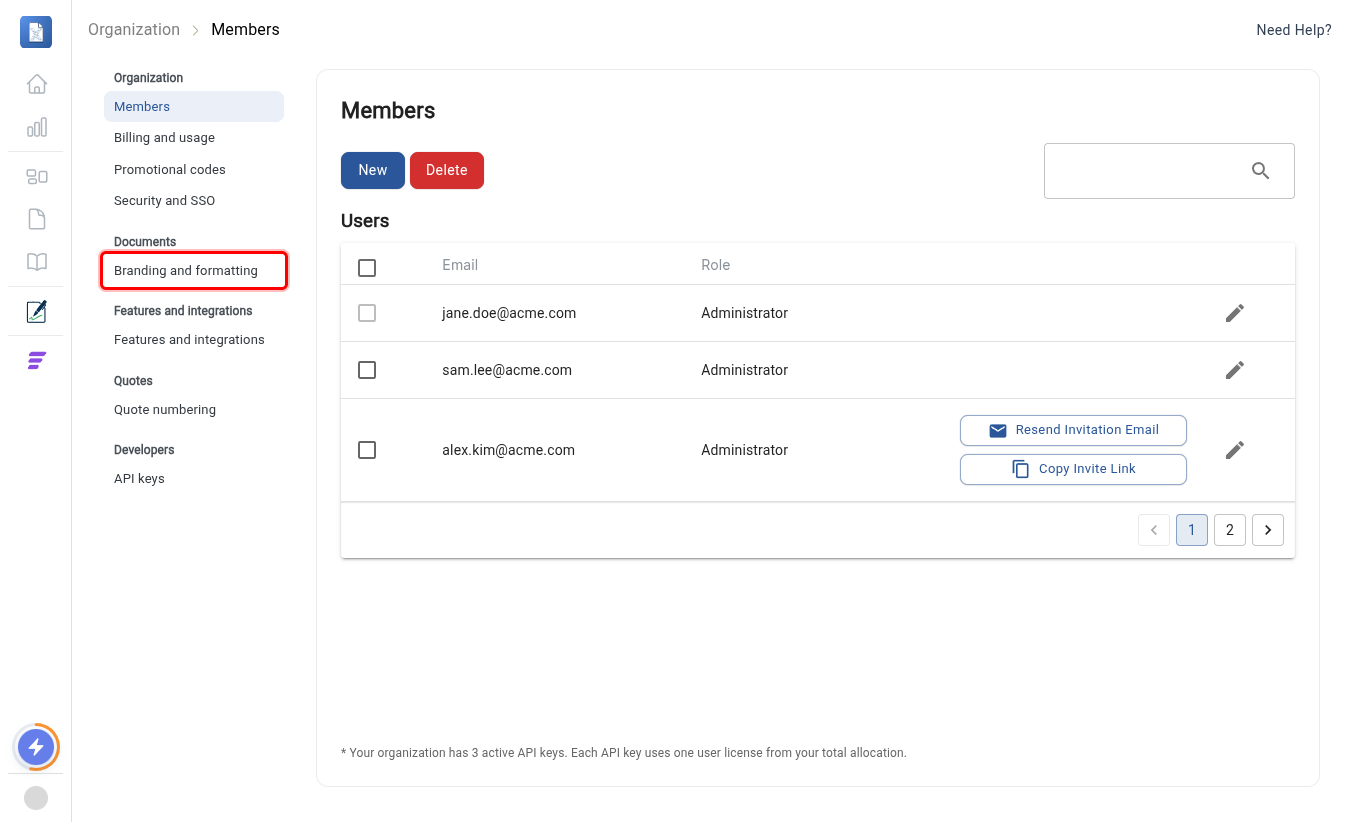
The Settings page has a menu down its left side, grouped into sections. Sender information lives on the Branding and formatting page, under Documents.
Instruction: In the left menu, click Branding and formatting.
Step 3: Switch to the TurboQuote tab
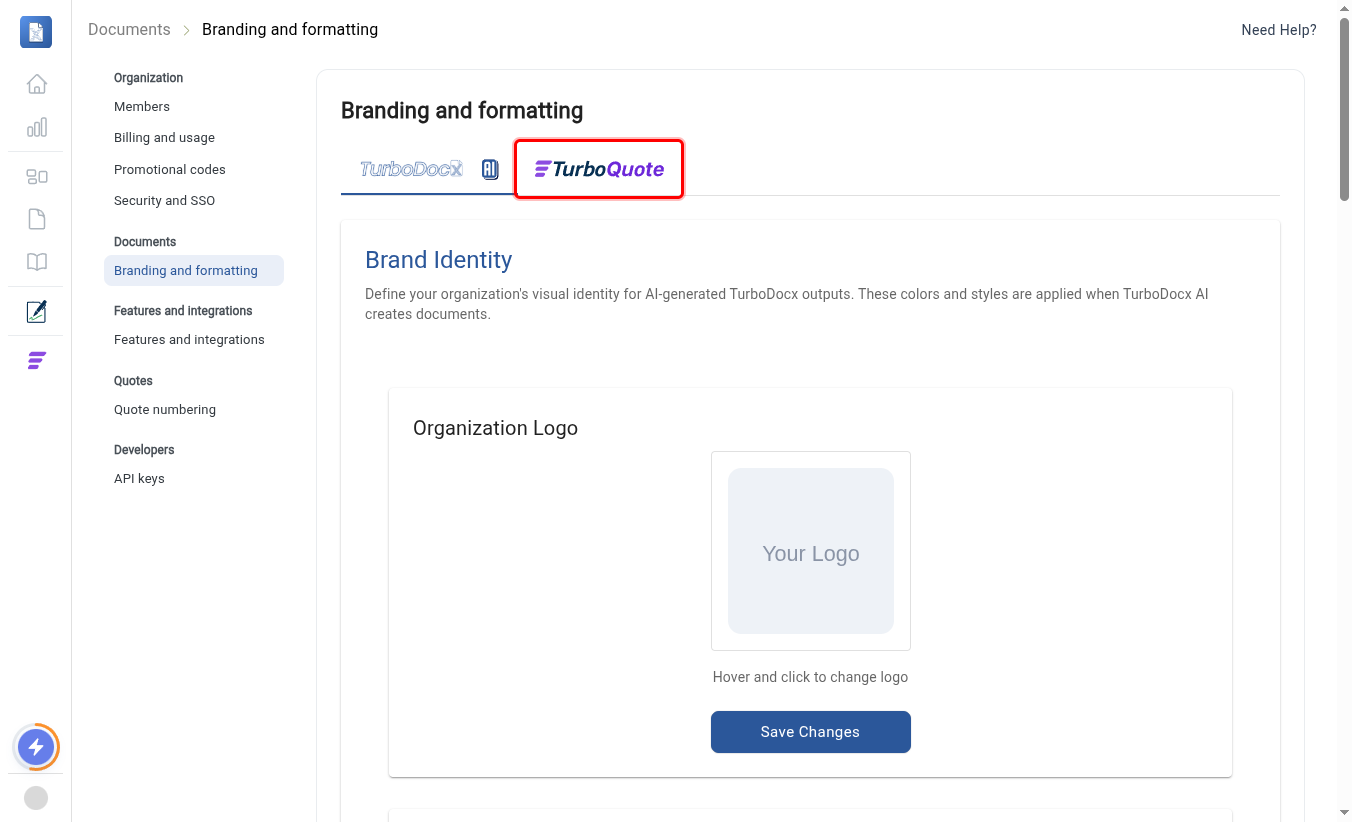
Branding and formatting has two tabs at the top — one for TurboDocx documents, one for TurboQuote. Sender information for quotes lives under the TurboQuote tab.
Instruction: Click the TurboQuote tab.
Step 4: Fill in your Sender Information
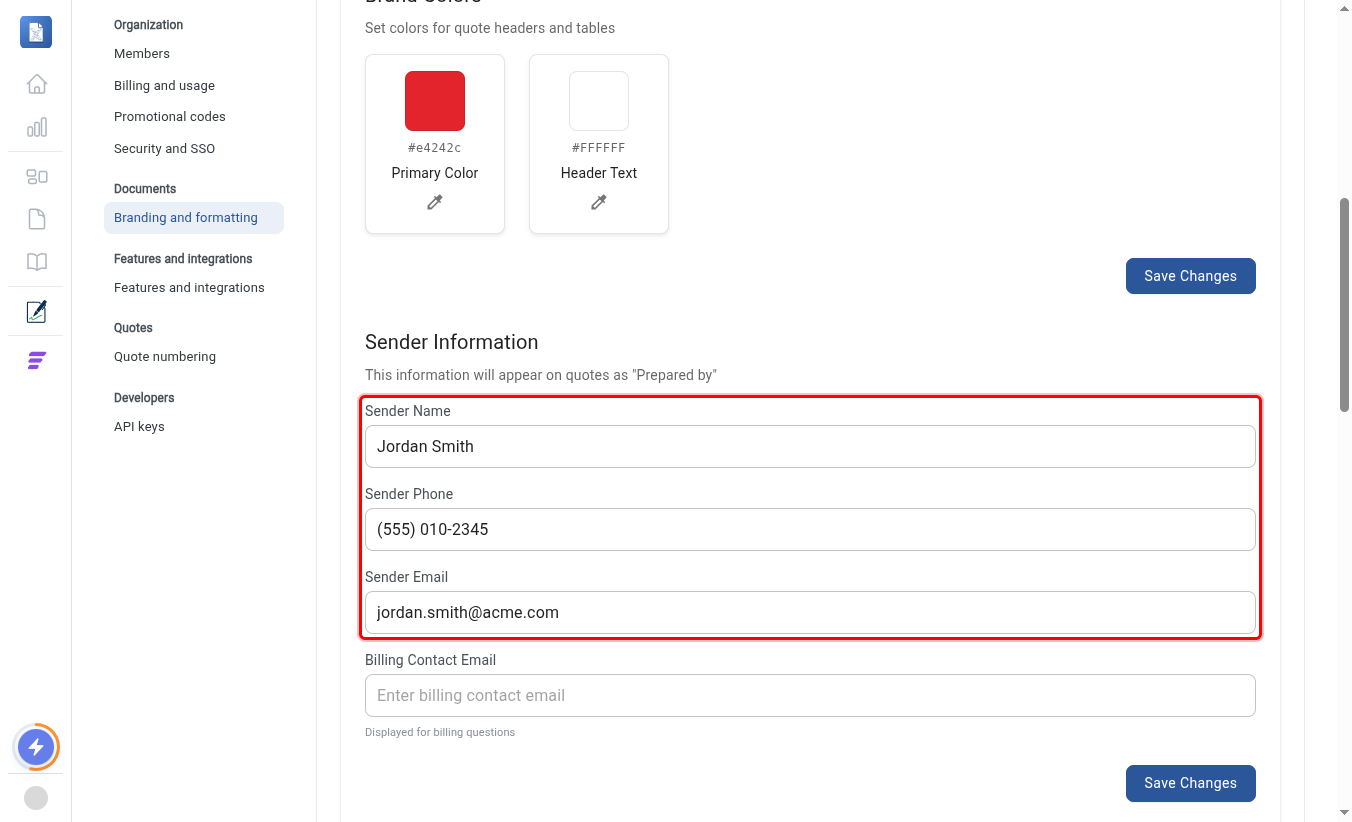
Scroll down to the Sender Information section. This is exactly what appears as "Prepared by" on your quotes, shown live in the Quote Preview — beside the form on wide screens, or further down the page on smaller ones.
- Sender Name — the name your customers see (for example, your own name or a team name).
- Sender Phone — an optional contact number.
- Sender Email — the reply-to address customers use to reach you.
Instruction: Enter your Sender Name, Sender Phone, and Sender Email.
A quote created through the API, an SDK, or an n8n workflow has no mailbox of its own — its "Prepared by" email can only come from this template. If it's not set, those calls are rejected with 400 SenderEmailRequired until you configure it here.
Step 5: Save your changes
The Save Changes button for this section becomes active as soon as you make a change.
Instruction: Click Save Changes.
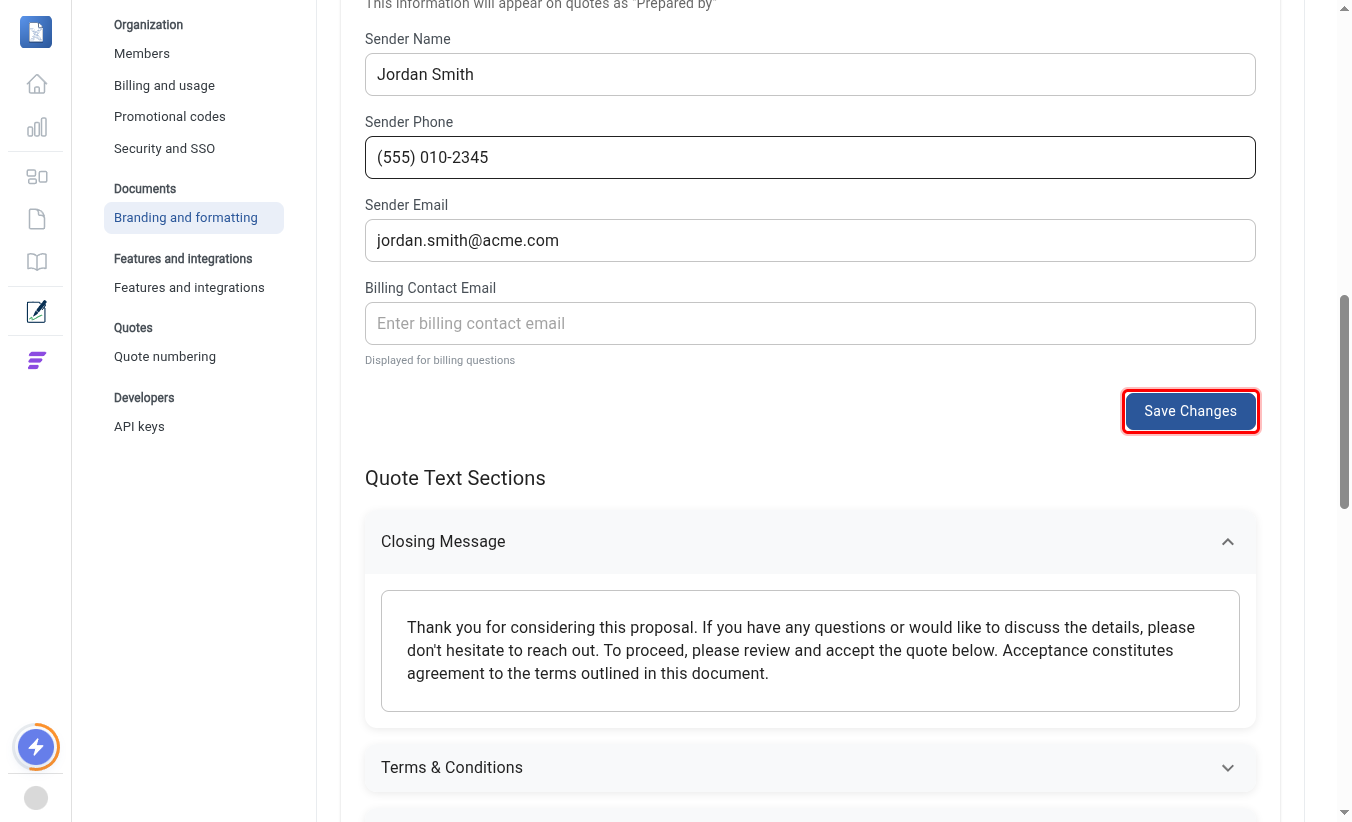
Once saved, the button greys out again and the Quote Preview reflects your new Sender Name, Phone, and Email under "Prepared by."
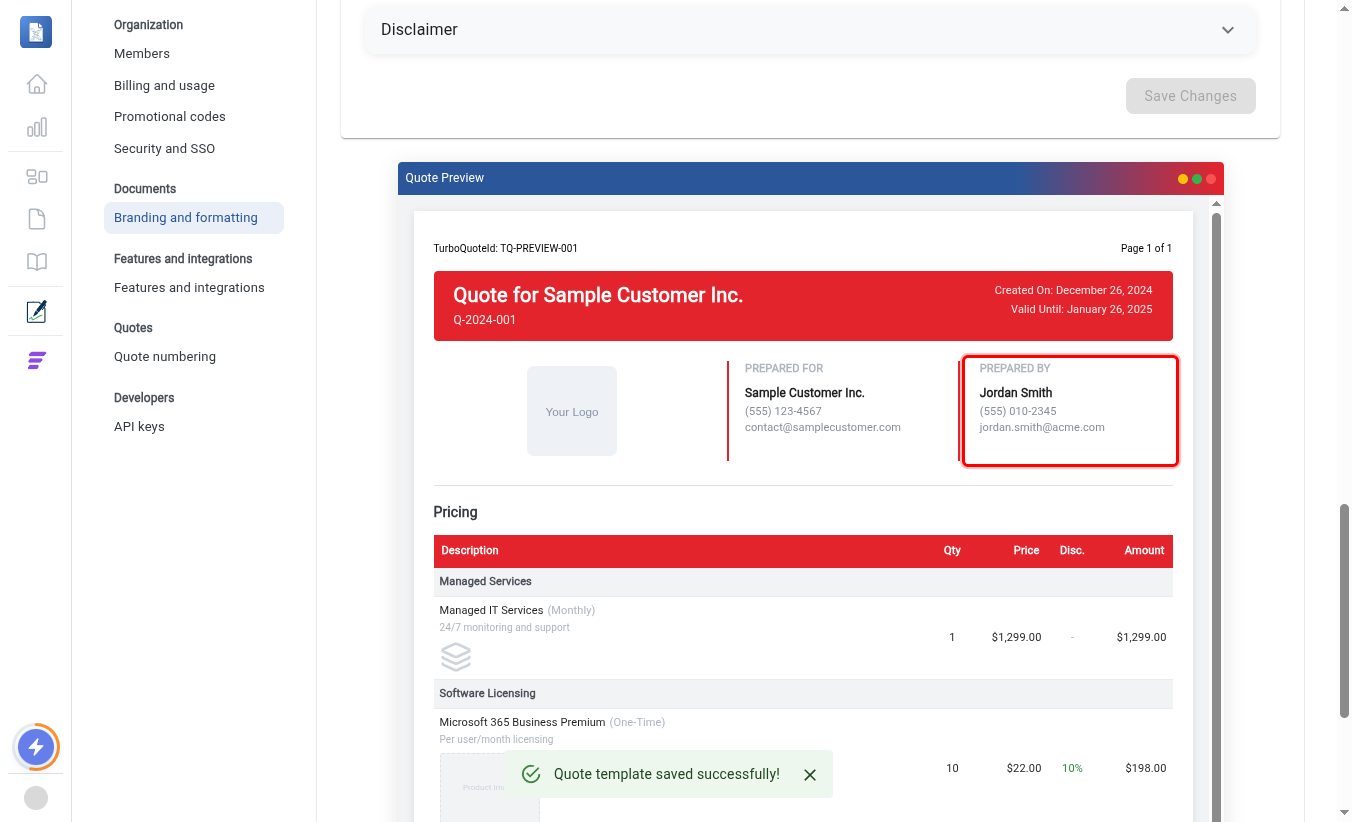
Every quote — created in the app, through the API, an SDK, or n8n — now shows this Sender Information as "Prepared by." See Prepared By & Sender Identity for exactly how that resolution works and what happens for API-created quotes.