Install TurboSign for Salesforce
There are two ways to install TurboSign for Salesforce in your org. Most admins use the one-click install link.
| Method | Best for | Who does it |
|---|---|---|
| One-click install link | Most orgs | A Salesforce admin, in the browser |
| Deploy from source | Teams that review and deploy code themselves | A developer, with the Salesforce CLI |
After either one, you configure the app in Salesforce Setup. To configure it after installing from the Salesforce CLI instead, see Scripted setup for admins.
Saving signed files back to your Salesforce records depends on TurboDocx's Salesforce write-back feature, which is part of TurboDocx. You turn it on by connecting Salesforce in TurboDocx, in Step 4 of the setup guide.
Before you install
- You need the System Administrator profile (or a user with permission to install packages) in the org.
- Your org must run custom Apex. Enterprise, Unlimited, Performance, and Developer Edition orgs work, and so do their sandboxes. Professional and Group editions don't. See Which Salesforce orgs can use it.
- No org to try it in? A free Salesforce Developer Edition org works.
- Try a sandbox first if you have one. Install, set up, and send a test document there before production. To see the signed files saved back to the sandbox record, install version 1.1.0 or later and connect that sandbox in TurboDocx, as described in Step 4 of the setup guide.
Install with a one-click link
The install link installs TurboSign for Salesforce as an unlocked package. It takes a few minutes.
-
Open One-click install links and click the link for your org: production or Developer Edition, or sandbox.
-
Log in to the org as a System Administrator, if Salesforce asks. If it asks even though you're already signed in, you can use your My Domain address in the link instead.
-
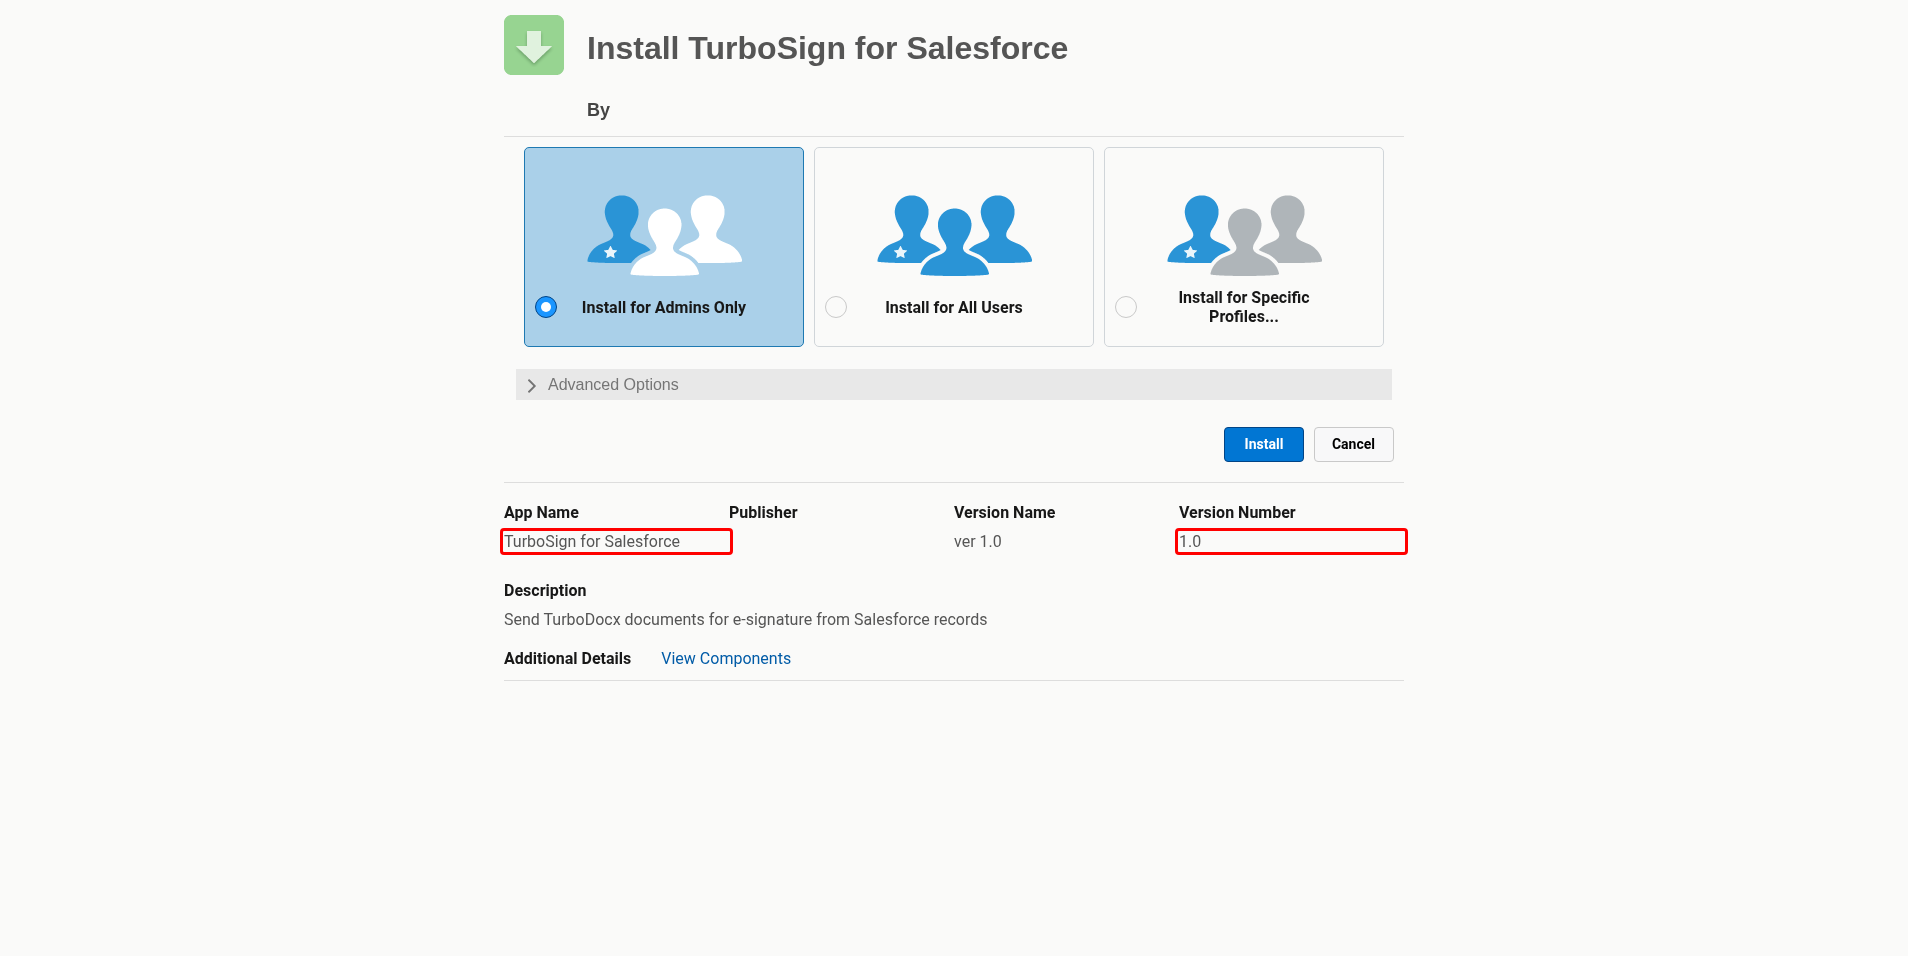
Check that the install page shows TurboSign for Salesforce and the version you expect.
-
Select Install for Admins Only.
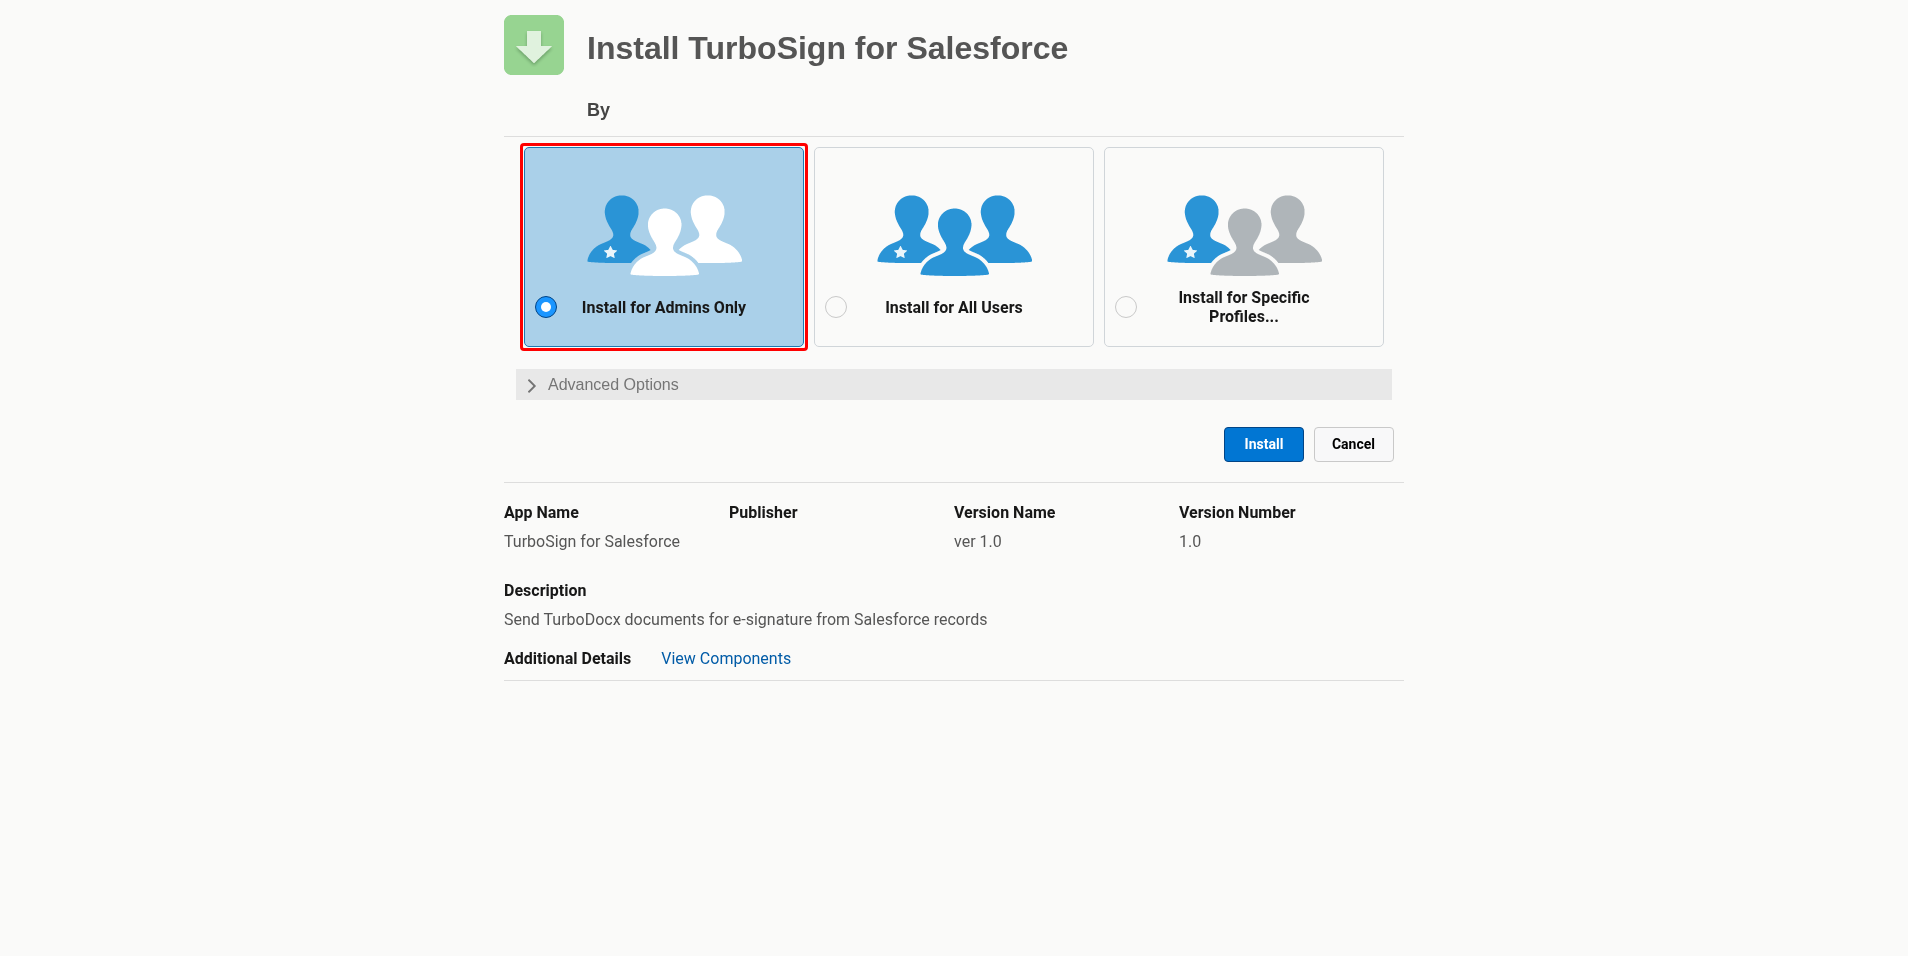
This gives the package's access only to admins for now. You give your reps access with the TurboSign permission sets in the next part, which is all they need.
-
If the page asks you to confirm that you're installing a non-Salesforce application, check the box.
-
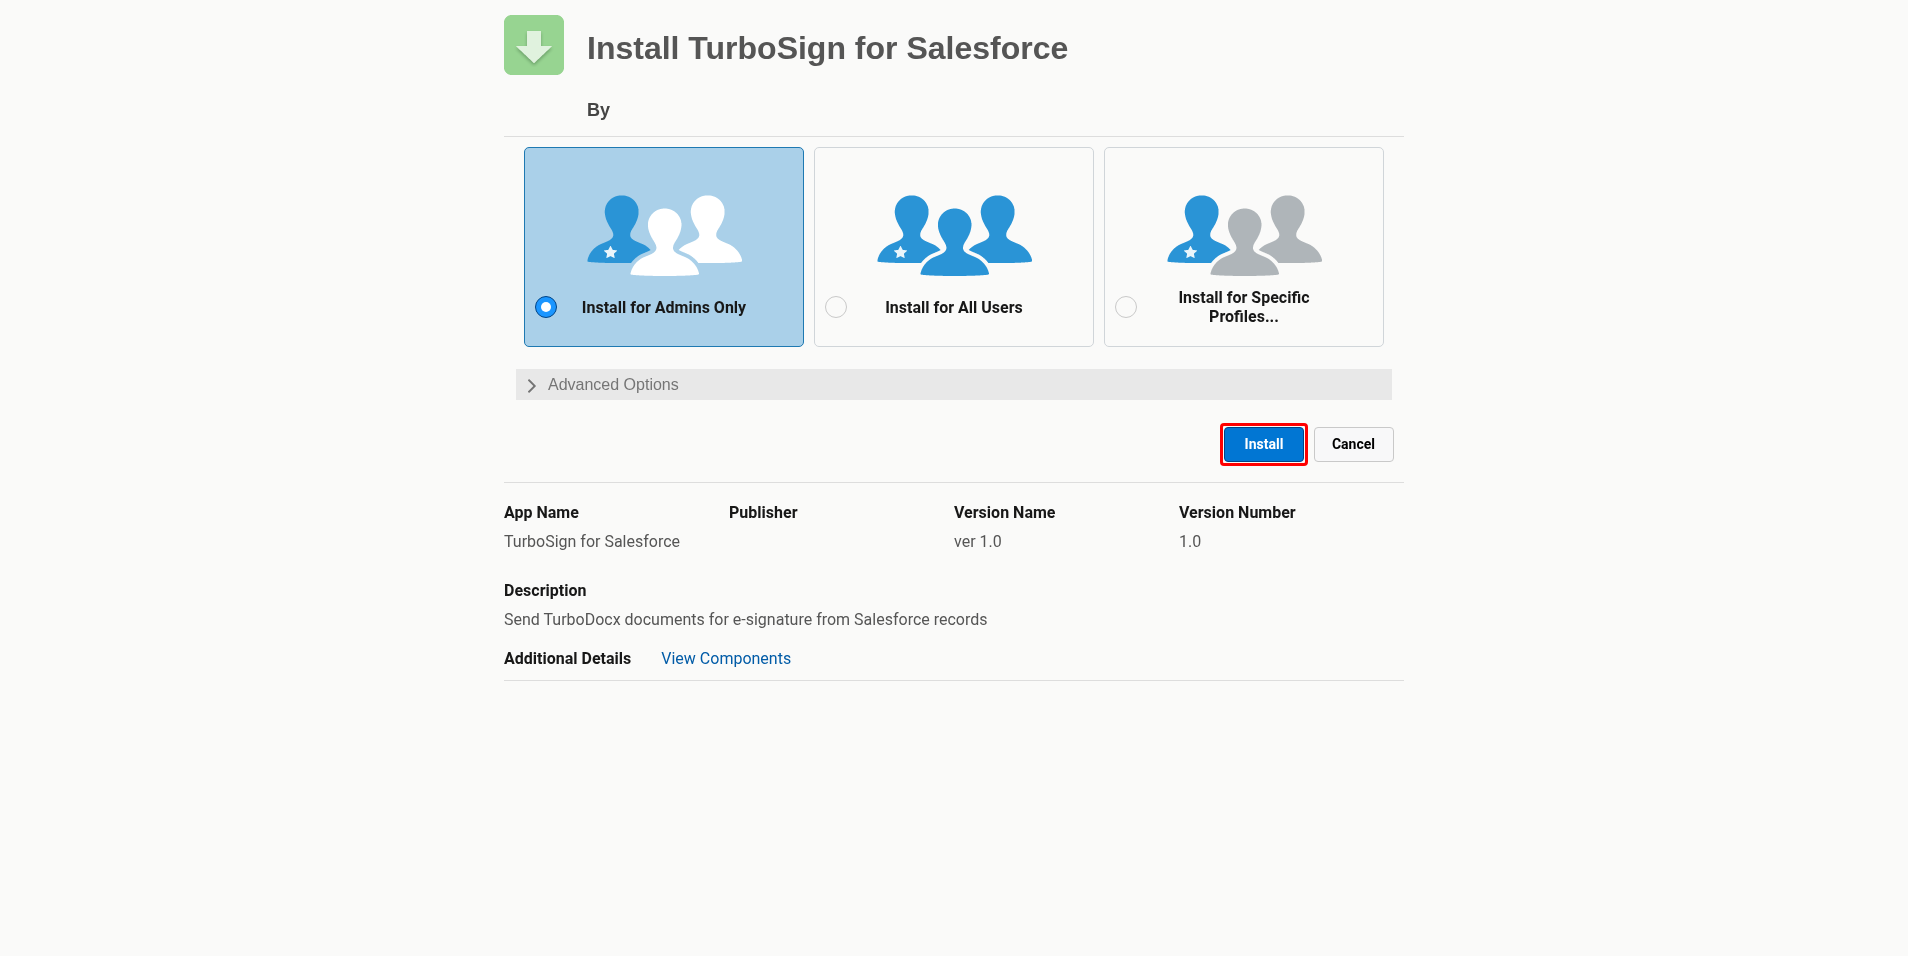
Click Install.
-
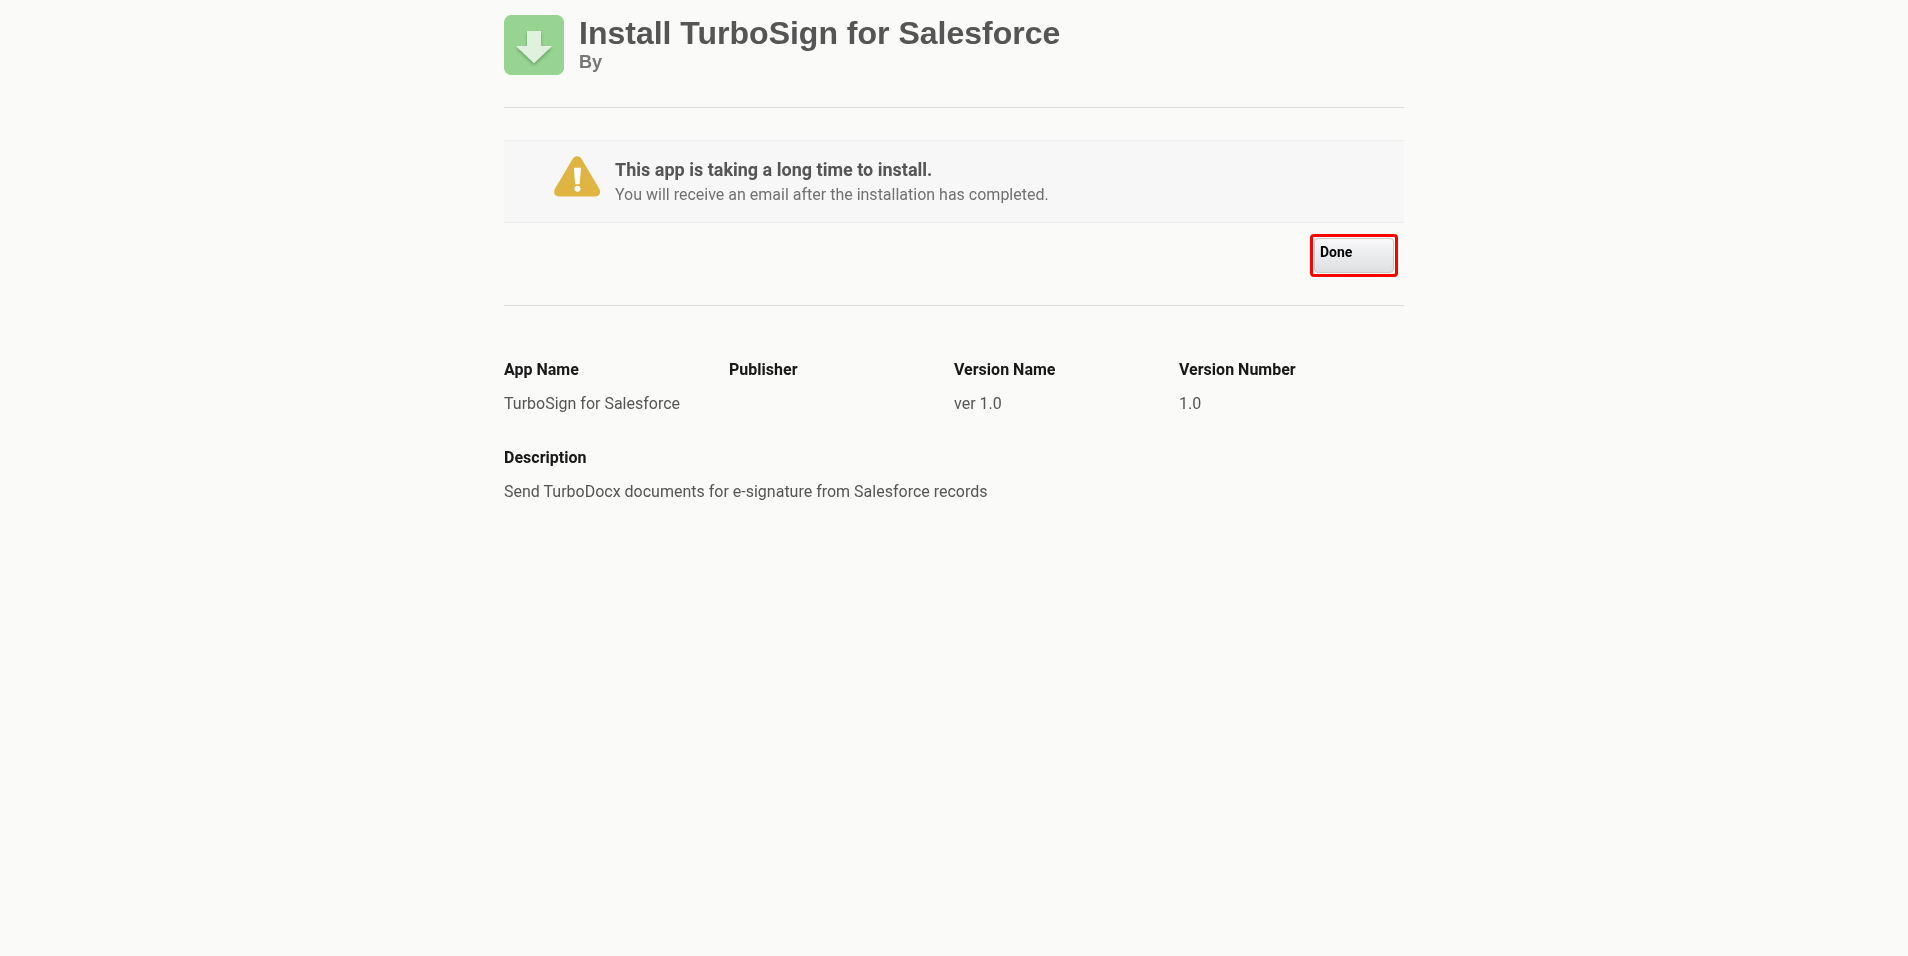
Wait for the install to finish, then click Done. If Salesforce says This app is taking a long time to install, click Done. The install keeps running, and Salesforce emails you when it finishes.
To confirm the install, open Setup, type Installed Packages in Quick Find, and click Installed Packages. TurboSign for Salesforce is in the list. See Check which version is installed.
Right after installing
The package is installed but not connected yet. Finish these steps in Set up TurboSign for Salesforce:
- Store your API key and Organization ID in the TurboDocx API External Credential.
- Check the Named Credential URL.
- Assign the permission sets: TurboSign Admin to admins, TurboSign User to reps and to any automation user.
- Connect Salesforce in TurboDocx so signed files are saved back to your records (version 1.1.0 or later). The connection needs the api, refresh_token, and openid scopes.
- Build a document setup.
- Add the Send for Signature button to your Opportunity pages.
Upgrade to a newer version
- Find the newer version on the releases page.
- Open its install link in the org that already has TurboSign for Salesforce. Salesforce shows it as an upgrade.
- Select Install for Admins Only.
- Click Upgrade (or Install).
- Wait for the upgrade to finish, then click Done.
You install a newer version over the old one. You don't uninstall first. You can't install an older version over a newer one.
An upgrade puts the packaged URL back on the TurboDocx API Named Credential, so if you changed it, set it again. See Step 2 of the setup guide.
After an upgrade, open TurboSign Setup. If your templates load in TurboDocx Template, the connection still works.
Uninstall
Uninstalling deletes everything the package added: your document setups, the signature status and log records, and the stored API key and Organization ID. Signed PDFs and audit trails already saved to your records are ordinary Salesforce files, so they stay. If you need the setups later, retrieve them first.
- Open Setup.
- In Quick Find, type
Installed Packages, then click Installed Packages. - Click Uninstall next to TurboSign for Salesforce.
- Read the list of what will be removed, check the box to confirm, and click Uninstall.
If Salesforce won't uninstall because some components are still in use, it lists them. Remove those references first, for example the Send for Signature button on page layouts or in the Highlights Panel, the TurboSign Signatures panel on Lightning pages, and any Flow that uses a TurboSign action. Then uninstall again.
Deploy from source with the Salesforce CLI
Use this method if your team reviews the code and deploys it like your own. You get the same app as the install link, but upgrades and removal are up to you.
You need:
- Git and the Salesforce CLI (
sf). - System Administrator access to the target org.
-
Get the source code:
git clone https://github.com/TurboDocx/turbodocx-salesforce.gitcd turbodocx-salesforceTo deploy a specific release, check out its tag (for example
git checkout v1.1.0). Use 1.1.0 or later: earlier tags do not include the example setup the tests need or saving signed files back. Releases are listed on the releases page. -
Log in to the org and give it an alias. These examples use
myorg:# Production or Developer Editionsf org login web --alias myorg# Sandboxsf org login web --alias myorg --instance-url https://test.salesforce.com -
Deploy the app. Deploy both folders:
force-appholds the app, andunpackagedholds an example setup called Example Agreement that the app's Apex tests use. Without it, the tests fail.sf project deploy start --source-dir force-app --source-dir unpackaged --target-org myorg -
Run the Apex tests.
RunLocalTestsruns every Apex test in your org except tests from installed managed packages, so it runs more than just this app's tests:sf apex run test --test-level RunLocalTests --code-coverage \--result-format human --wait 30 --target-org myorg
Production deploys always run Apex tests, and every deploy must keep at least 75% code coverage across your org's Apex. Your org's own tests run too, so a failing test anywhere blocks the deploy. To check first without changing anything, validate the deploy:
sf project deploy validate --source-dir force-app --source-dir unpackaged \
  --test-level RunLocalTests --target-org myorg
Then follow the same steps as after an install. The Example Agreement setup shows up in the document list on Opportunities. To hide it from reps, open TurboSign Setup, pick Example Agreement in Edit an existing configuration, and click Deactivate. Each later deploy from source switches it back on, because the tests need it, so deactivate it again after each deploy.
To upgrade, pull the newer release and deploy again. Like a package upgrade, a deploy puts the source URL back on the TurboDocx API Named Credential, so check it afterwards. To remove a source deploy, your developer deletes the components with a destructive deploy. There is no one-click uninstall.
Configure from the command line
After the app is installed, you can do the setup from the Salesforce CLI instead of clicking through Setup: store the credentials, assign permission sets, check the connection, and deploy document setups as metadata. This is useful when you set up several orgs (sandboxes, staging, production) the same way. See Scripted setup for admins.